AWS Roles
The AWS Roles page lists the IAM roles this Fluency site can assume in customer AWS accounts. A role registered here is how the platform reads from an AWS account without a long-lived access key. From this page you can walk through creating a role on the AWS side, or register a role that already exists.
Menu path: Configuration → AWS Roles · URL path: /v2/configuration/aws-roles
Task guide: Connecting to AWS: creating the role and choosing between a role and an access key.
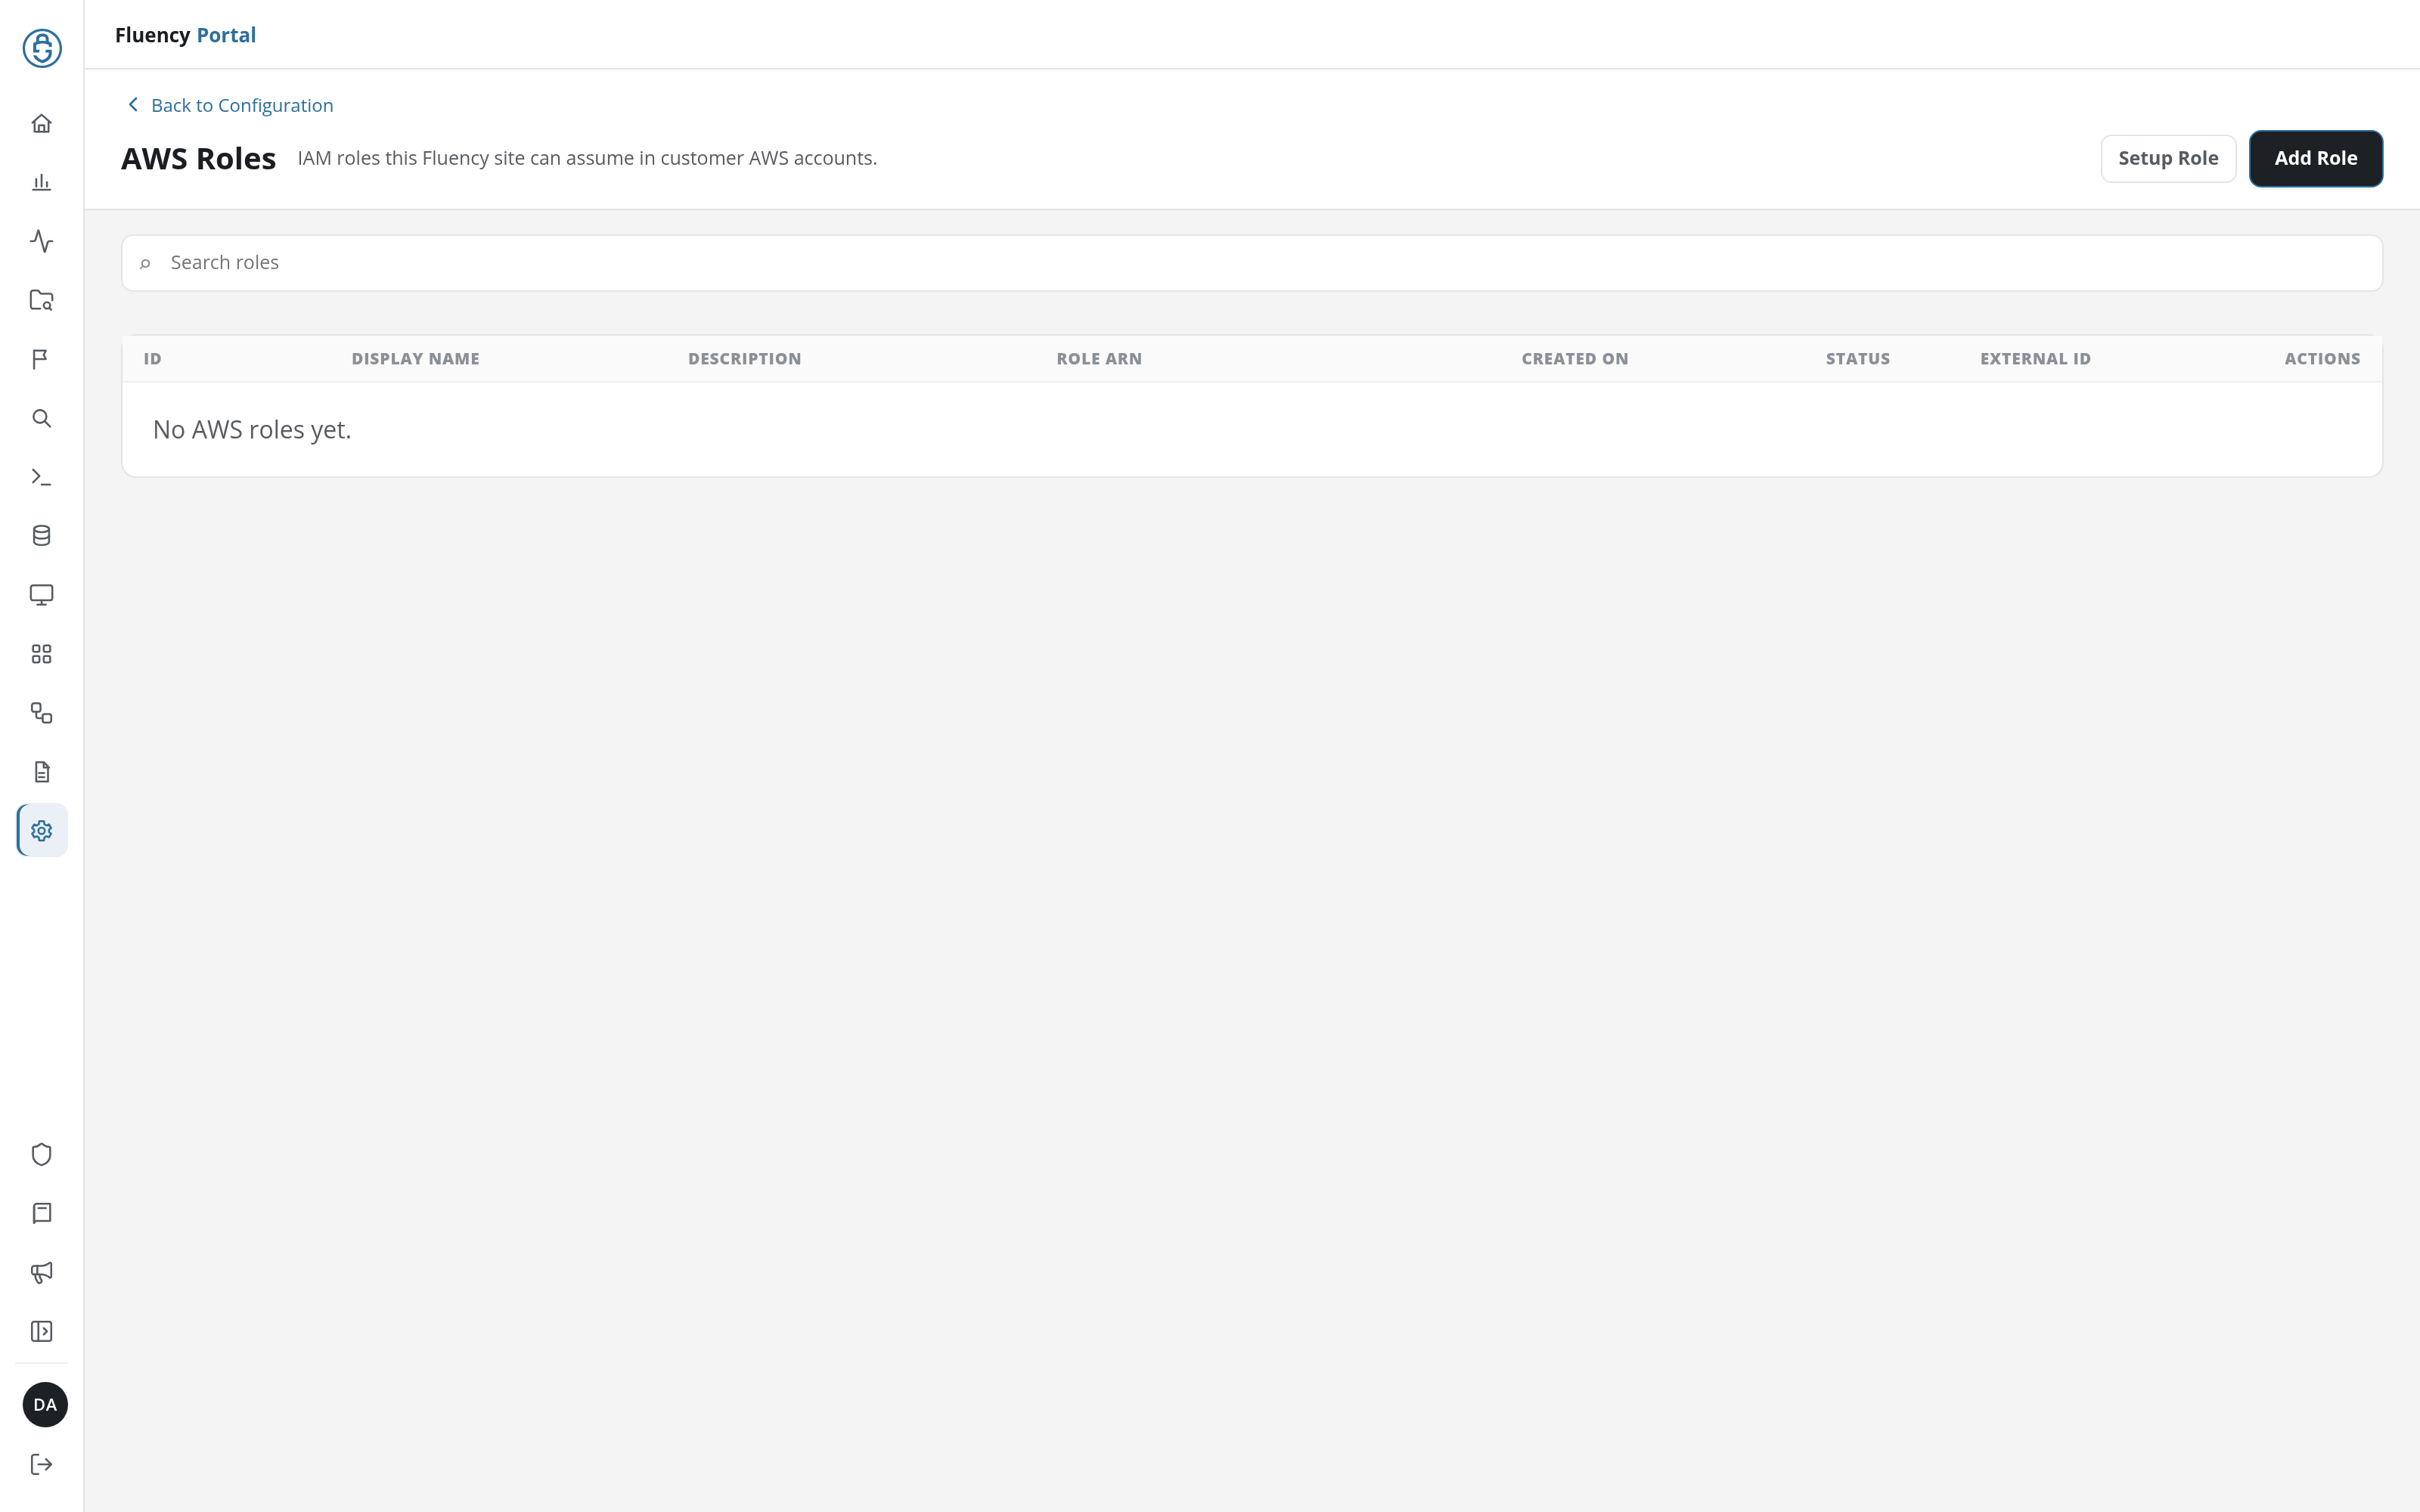
Page Layout
- Header: a Back to Configuration link above the title AWS Roles and the subtitle IAM roles this Fluency site can assume in customer AWS accounts, with the Setup Role and Add Role buttons on the right.
- Search field: a full-width field with the placeholder Search roles that narrows the table to the roles matching the text in any column, such as part of an External ID. When nothing matches, the table reads No matching roles.
- Role table: one row per registered role. When none are registered, the table reads No AWS roles yet.
Role Table
| Column | Contents |
|---|---|
| ID | The role's identifier on this site. |
| Display Name | The name the role is registered under. |
| Description | An optional description. |
| Role ARN | The Amazon Resource Name of the IAM role that is assumed. |
| Created On | When the role was registered. |
| Status | The result of the platform's attempt to assume the role, made each time the page loads, such as a red Invalid badge when the role cannot be assumed. |
| External ID | The external ID the role's trust policy requires. |
| Actions | Delete, the only action: a registered role cannot be edited. |

Delete a Role
Click the red Delete in the role's row. A Delete AWS Role confirmation asks Are you sure you want to delete this role?; confirm it to remove the role, which shows the notice Successfully deleted role., or cancel to keep it.
Setup Role
Setup Role is for a role that does not exist yet. It opens the Role Setup dialog (Create the AWS role Fluency will assume, then register it here.), a wizard whose four steps are numbered across the top: 01 Role Details, 02 CloudFormation, 03 Hosting Account, and 04 Complete Setup.
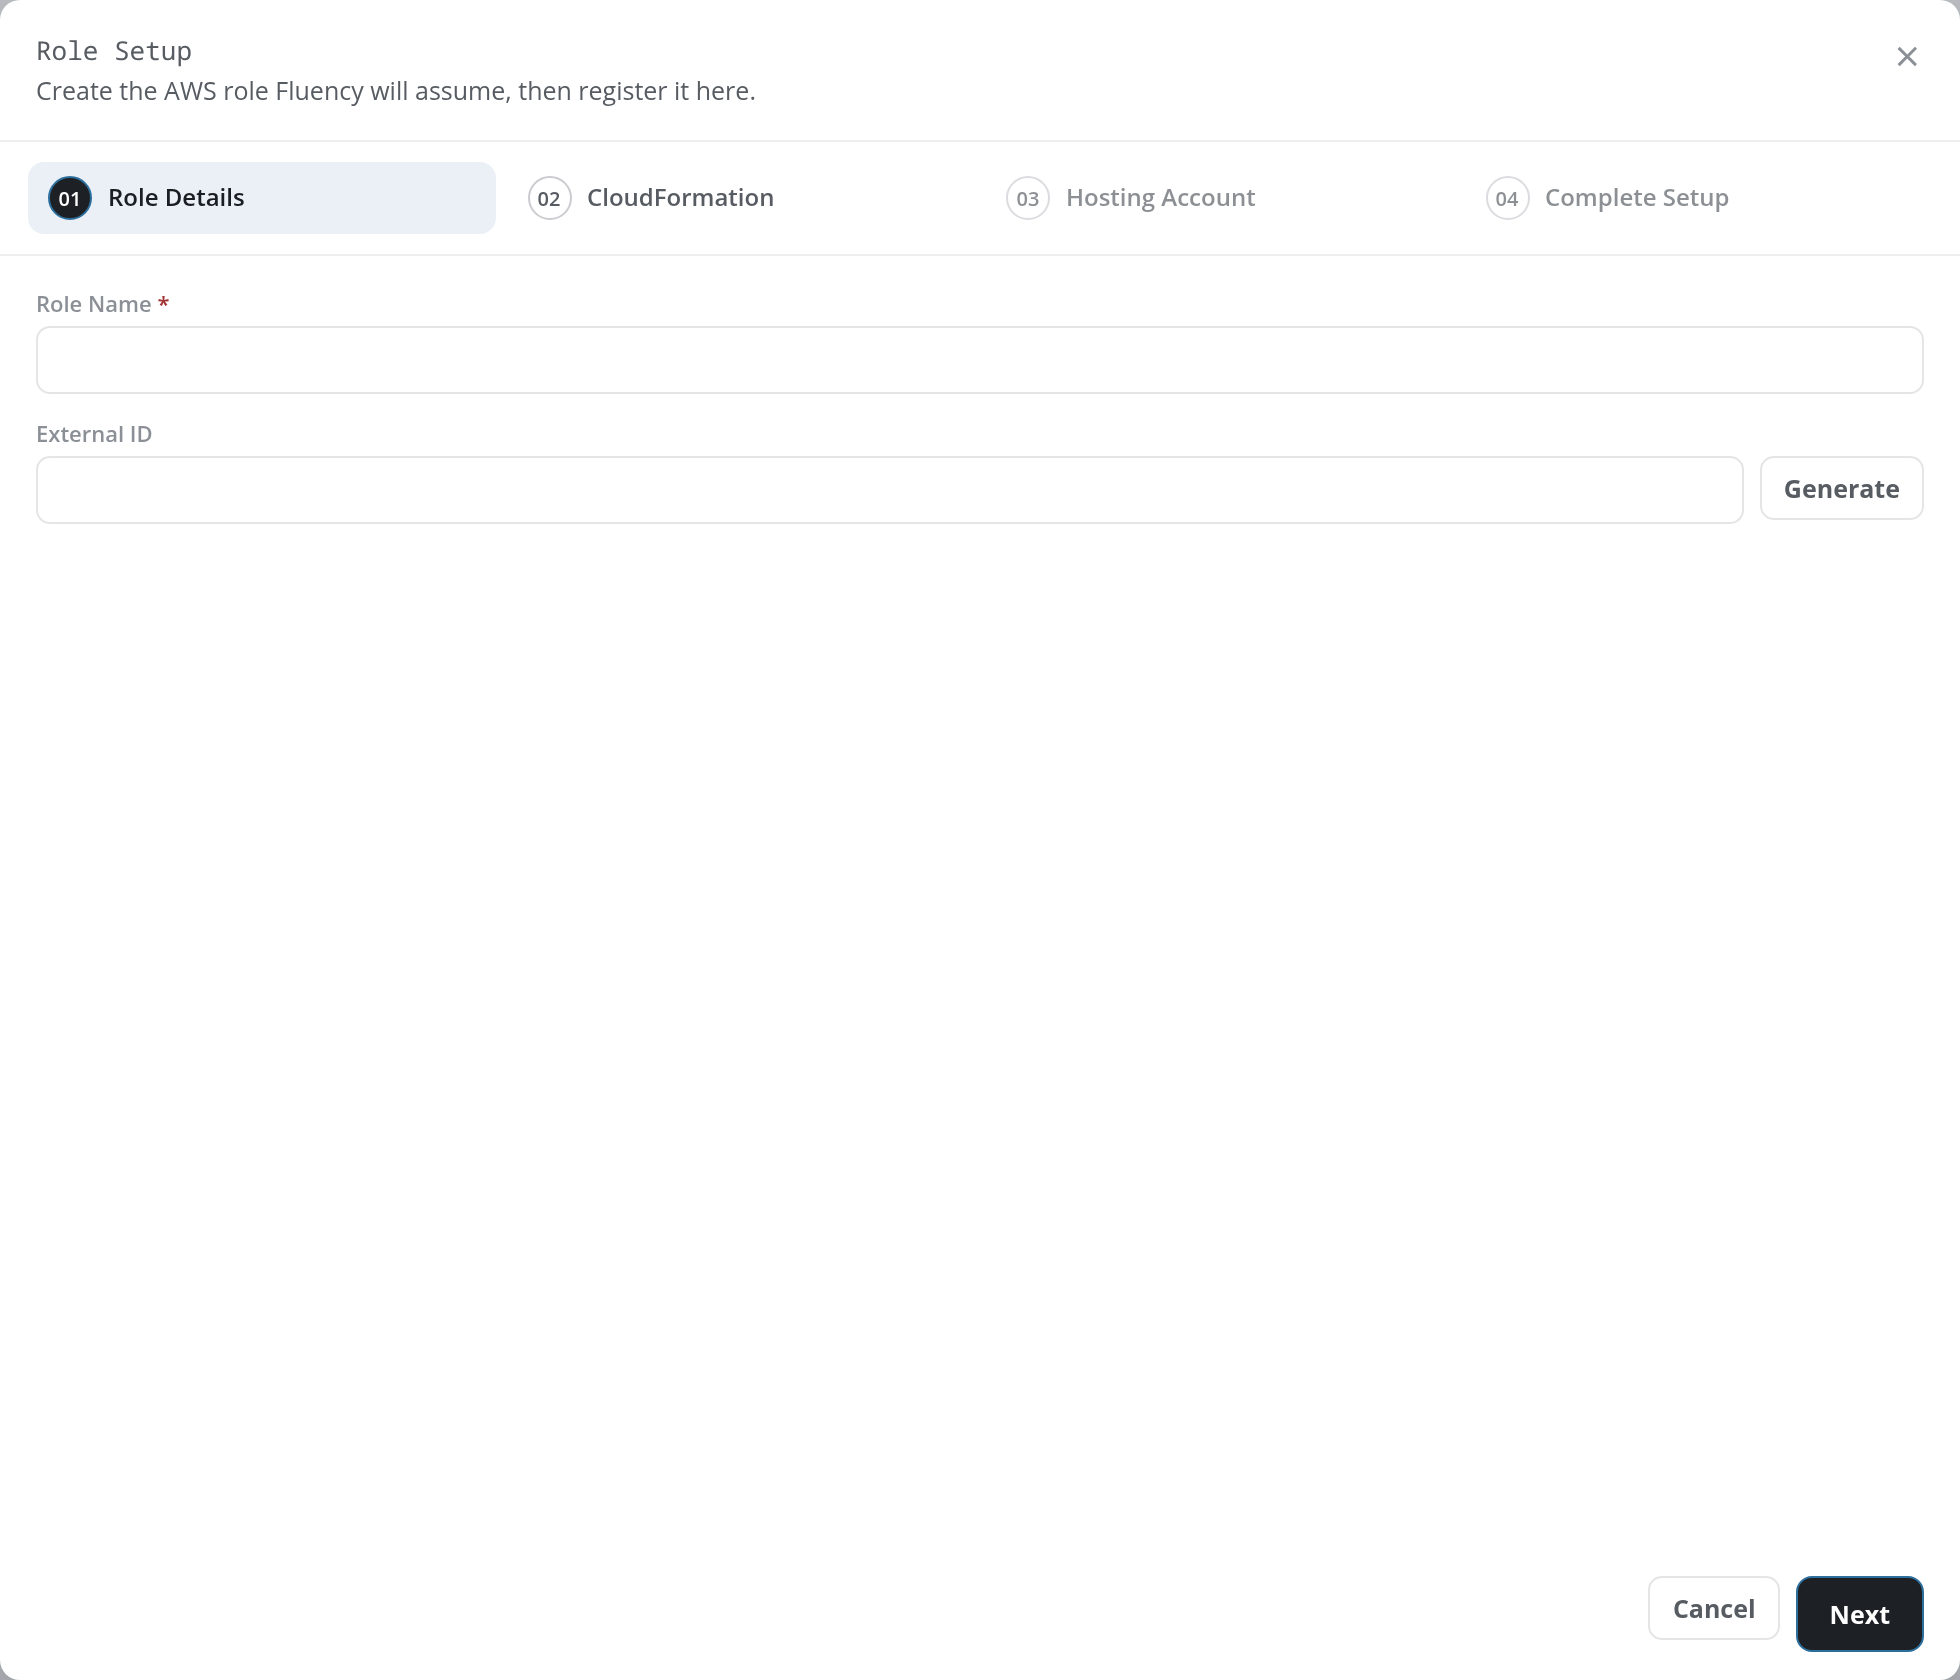
The first step, Role Details, has two fields:
- Role Name (required): the name of the IAM role to create in the AWS account. Next with it empty shows Role Name is required.
- External ID: the external ID the role's trust policy will require. Generate, at the field's right, fills in a random one:
ext_followed by ten lower-case letters and digits.
Next moves to the following step; Cancel or × closes the wizard. Once you have moved on, the Role Details are fixed for this run of the wizard: going Back shows them read-only, without Generate, so changing them means closing the wizard and starting again.
The second step, CloudFormation, carries the note Login to the AWS console and use the URL to create a new CloudFormation stack. and two tabs:
- CloudFormation: the stack's template URL, the Region, and a Description, each with a copy button, and a Parameters table holding IAMRole (the Role Name), ExternalID (the External ID, or a dash when there is none), and PodRoleARN (this site's own AWS role).
- Trust Policy: the trust policy the stack puts on the role, as JSON.
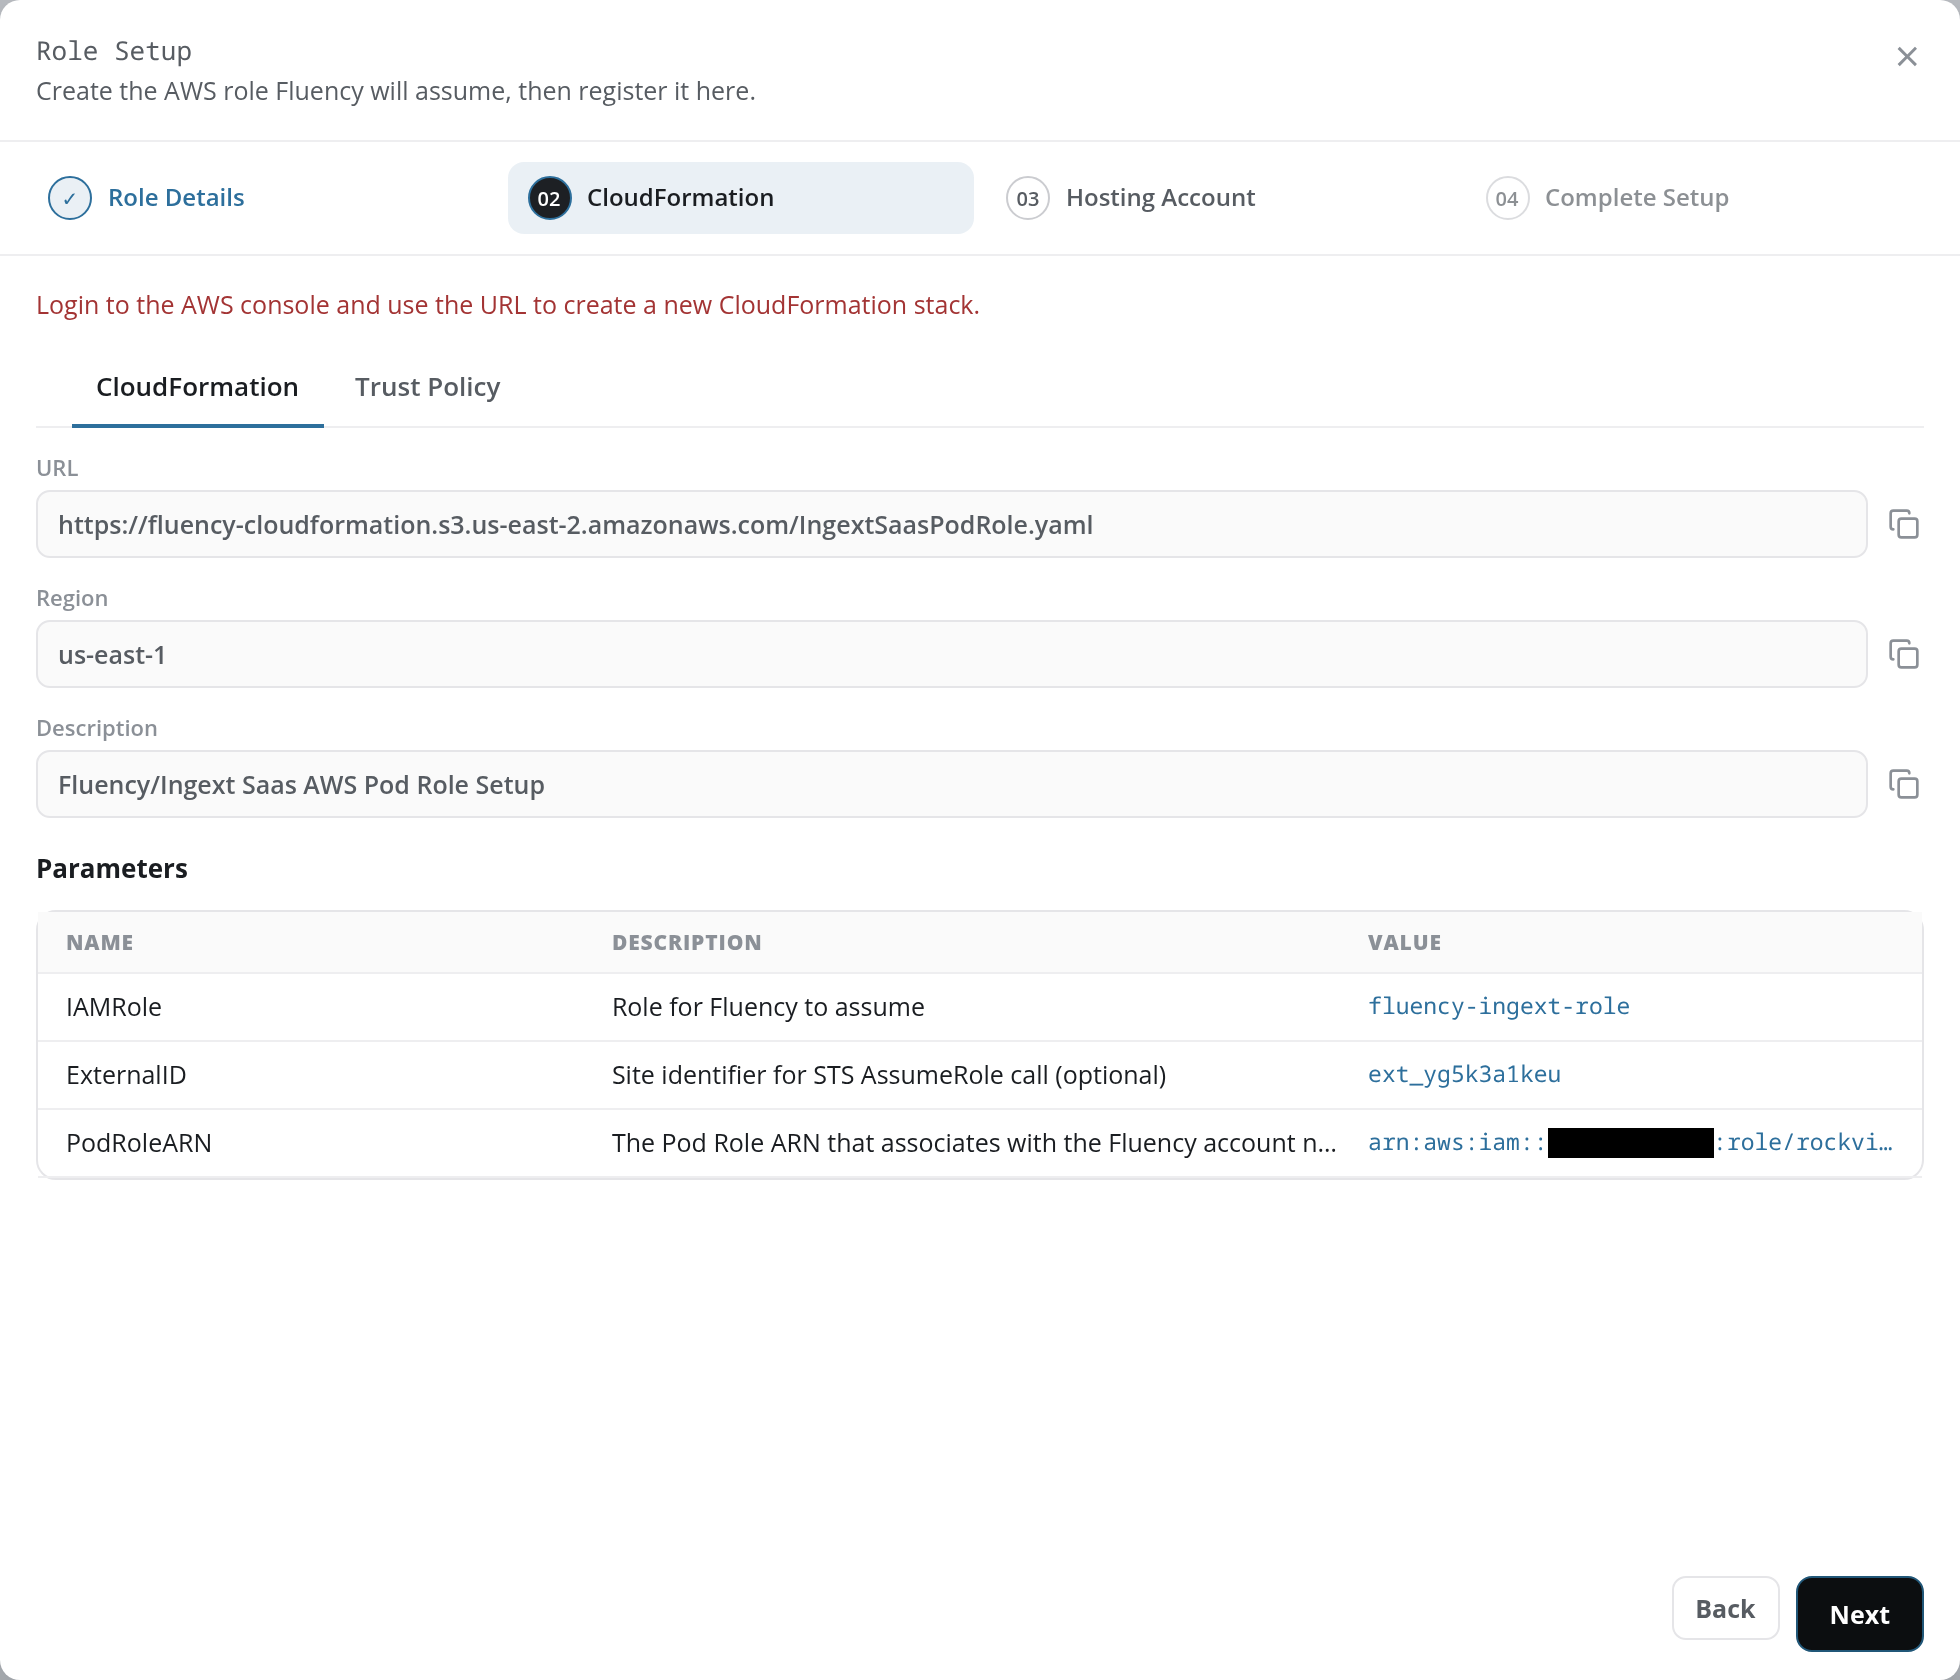
Connecting to AWS walks through creating the stack from these values.
Add Role
Add Role registers a role that already exists in the AWS account. It opens the Add Role dialog: Enter the AWS role Fluency should assume.
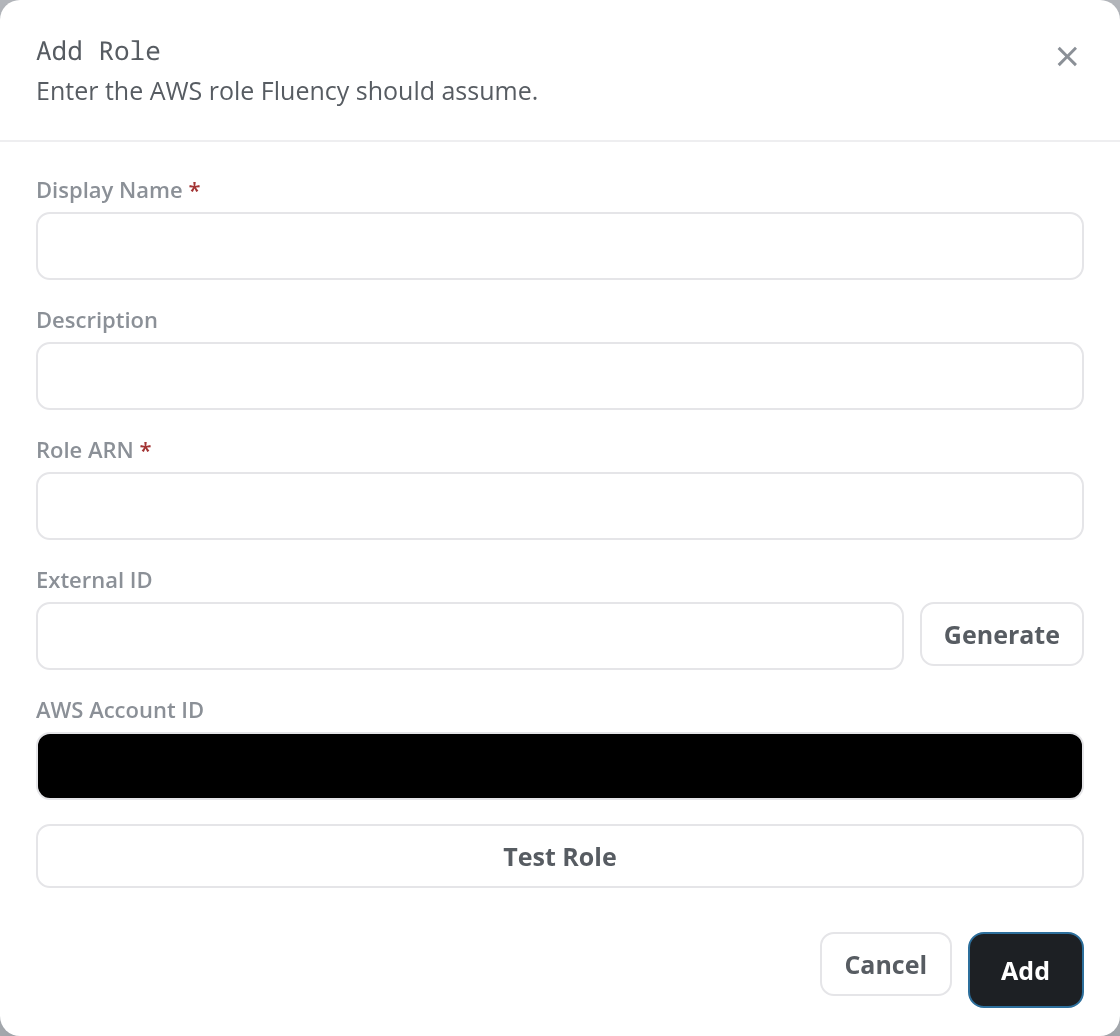
- Display Name (required): the name to register the role under.
- Description: optional free text.
- Role ARN (required): the ARN of the IAM role to assume.
- External ID: the external ID the role's trust policy requires; Generate fills in a random one.
- AWS Account ID: read-only: the AWS account ID of this Fluency site.
Test Role tries the details entered before they are saved. Add registers the role; Cancel or × closes the dialog without saving.
A missing required field stops Add with a red message inside the dialog, one at a time: Display Name is required, then Role ARN is required. Display Names are unique: a name another registered role already has is refused. A registered role shows the notice Successfully added role. above the table, and its row appears with the result of the platform's first attempt to assume it in Status.