Application Catalog
The Application Catalog lists every application template available to the account, grouped by category. Each template opens an install form; filling it in and installing it creates a new application on the platform. Each template has a page of its own in this reference, listed by category below.
Menu path: Applications → Install Application · URL path: /v2/applications/install
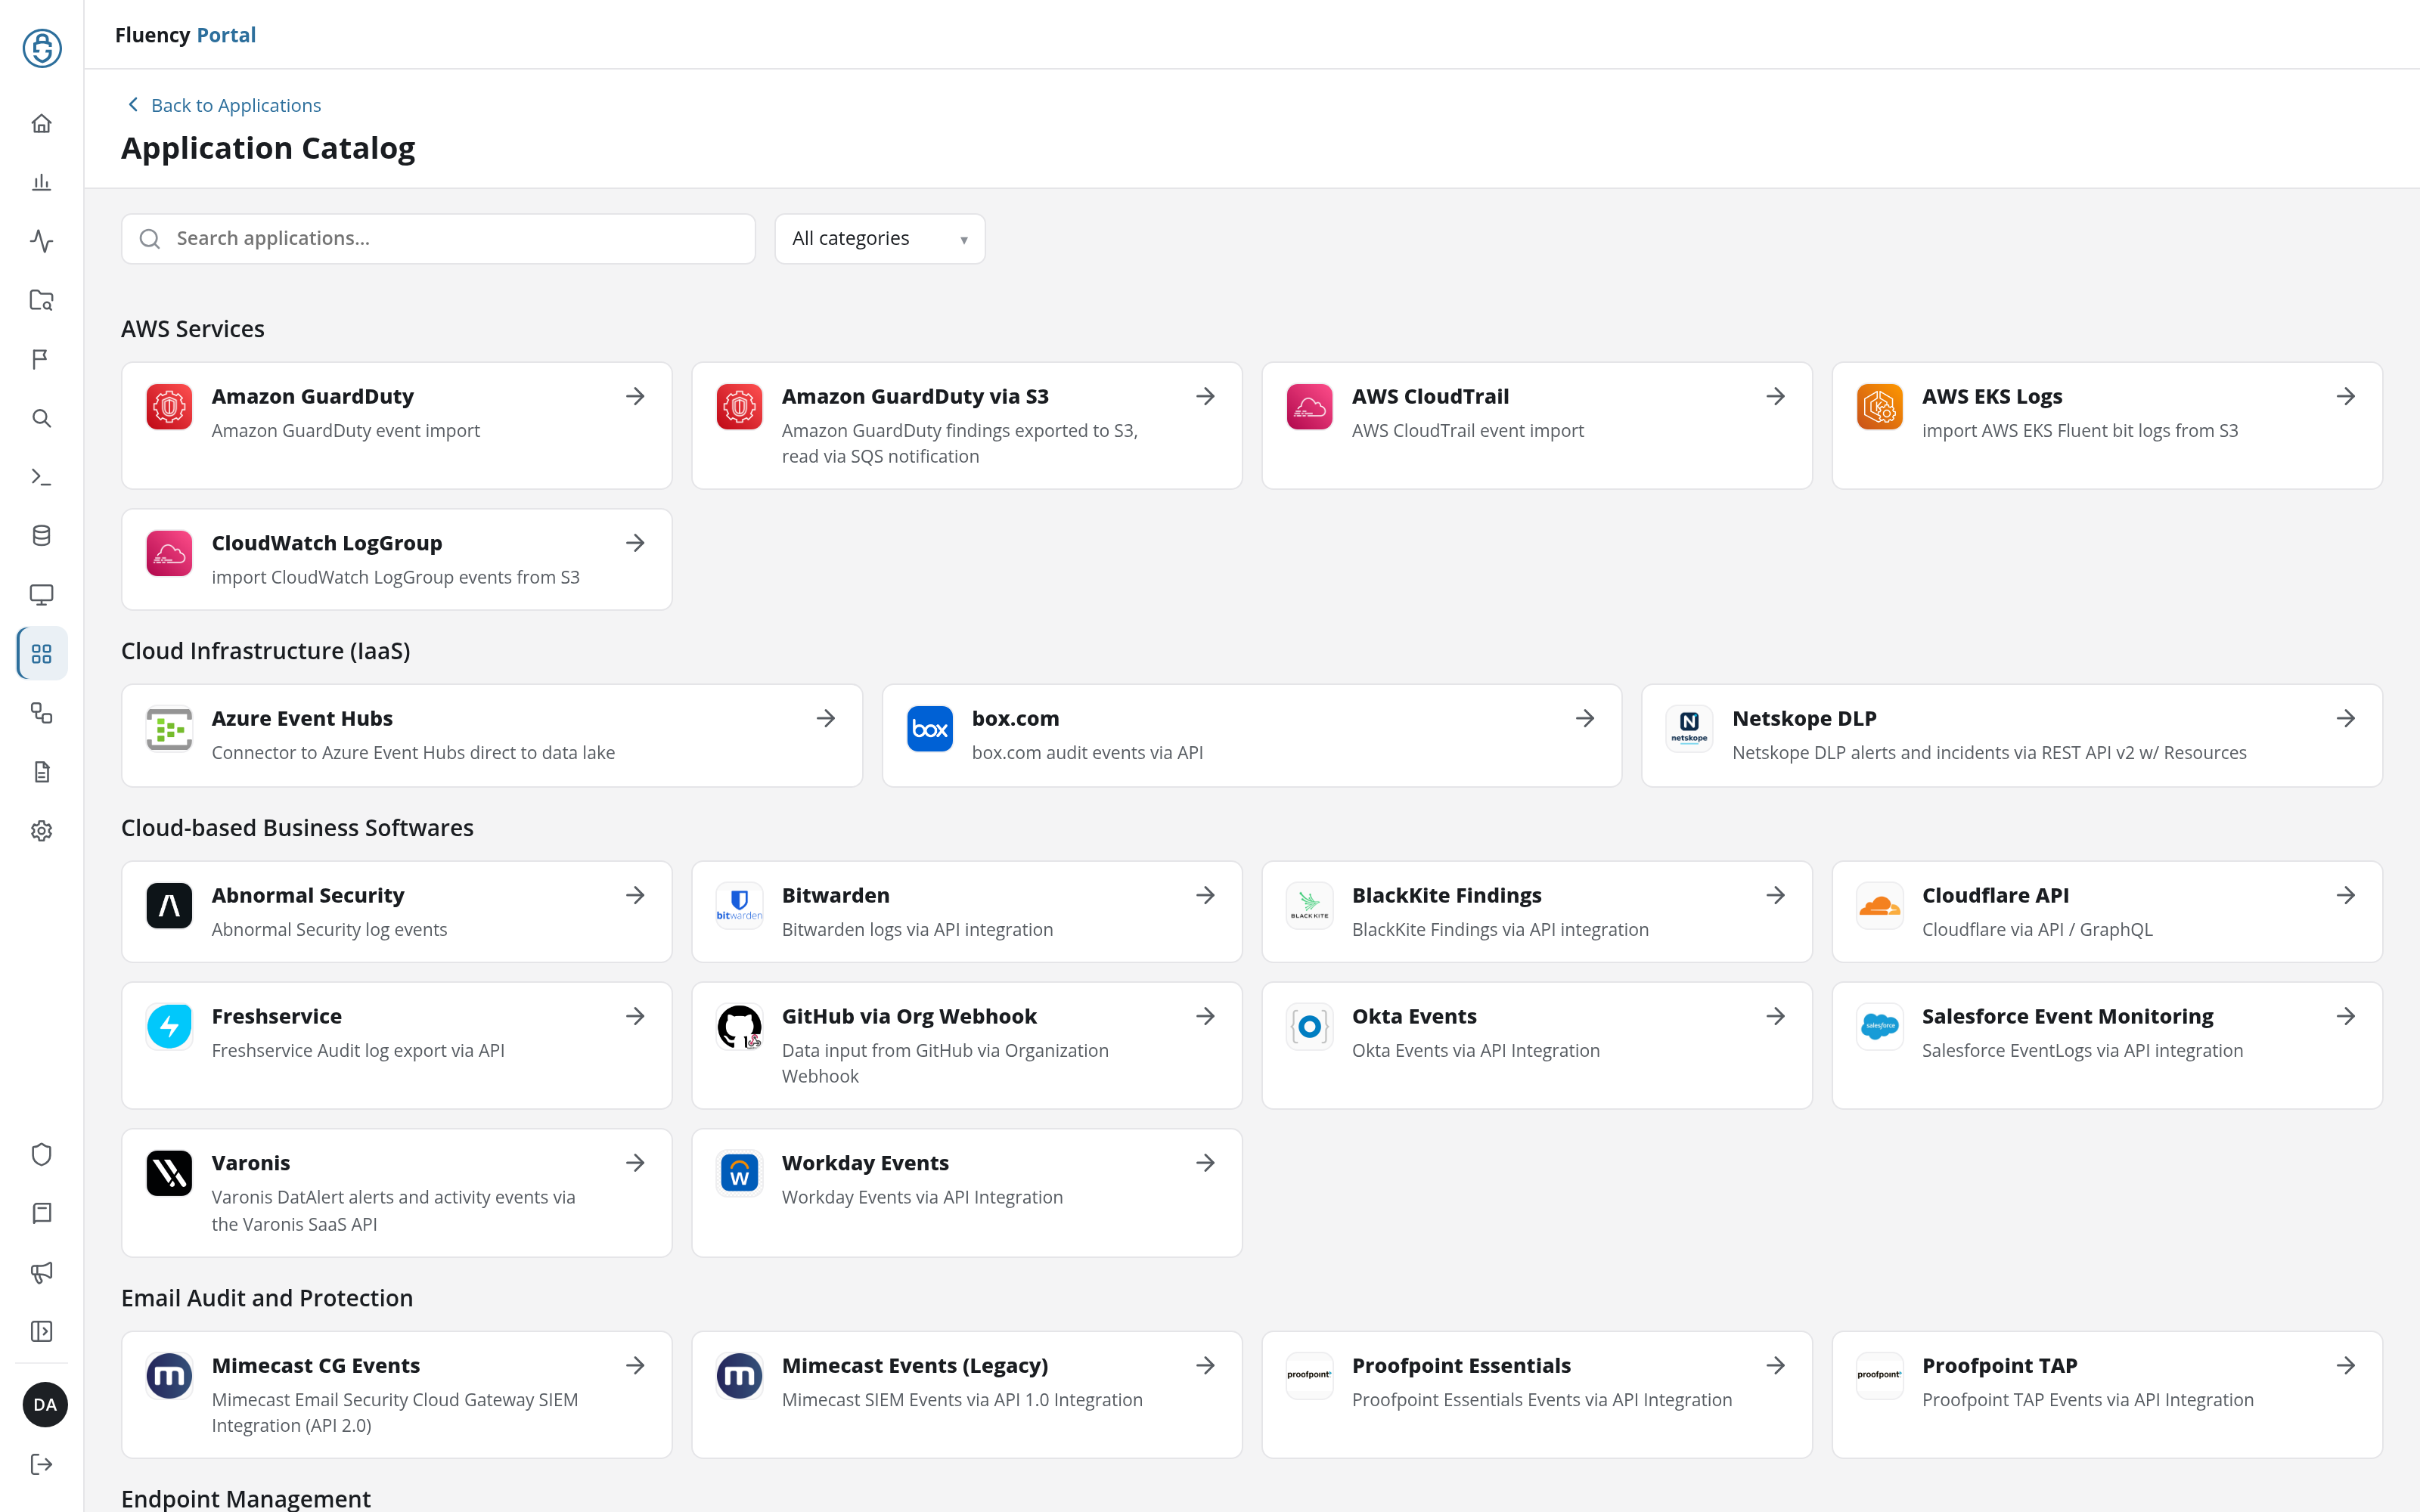
Page Layout
- Header: a Back to Applications link above the title Application Catalog.
- Toolbar: a Search applications… field and a category drop-down set to All categories.
- Catalog: the templates, grouped under category headings, as cards in rows of up to four.
Each card shows the template's icon, its name, a one-line description of what it collects and how (for example Amazon GuardDuty event import or Okta Events via API Integration), and an arrow in its upper-right corner. Click a card to open its install form.
Categories
The catalog's 72 templates are grouped into these categories, in this order. Each category's page lists its templates, and each template's page documents its install form field by field.
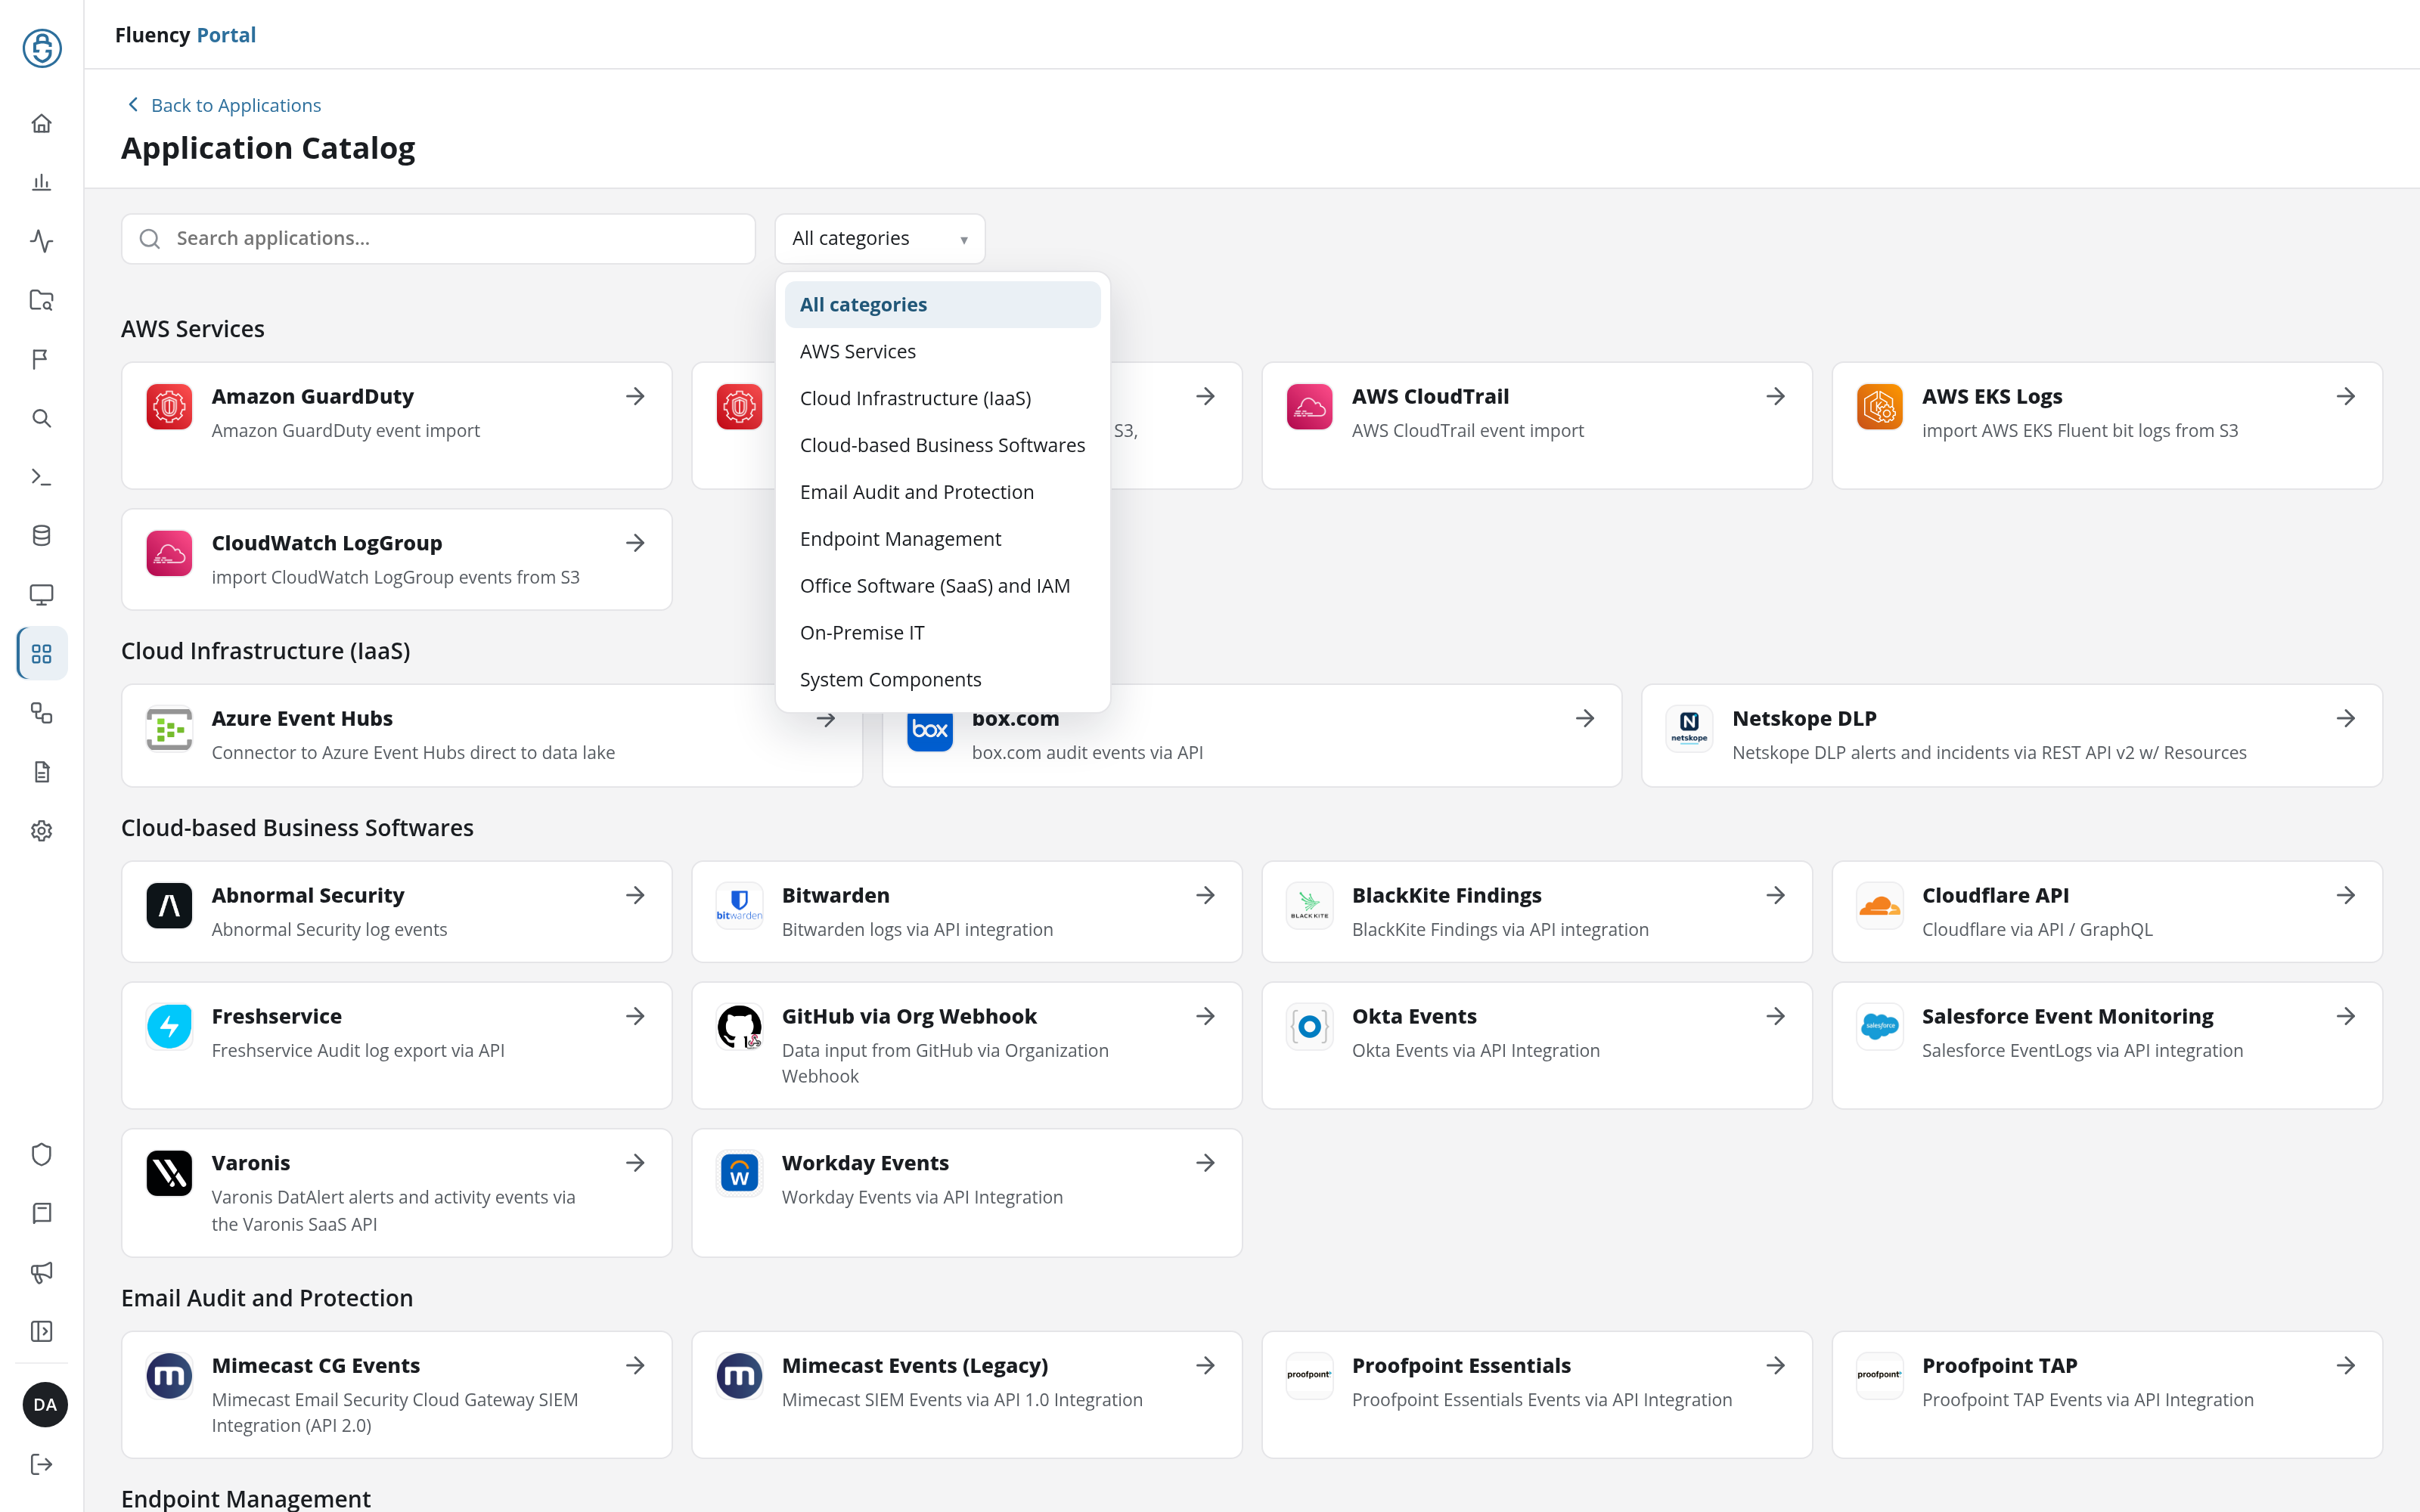
Category Filter
The All categories drop-down lists All categories followed by each category. Picking a category shows only that category's templates; All categories shows them all again.
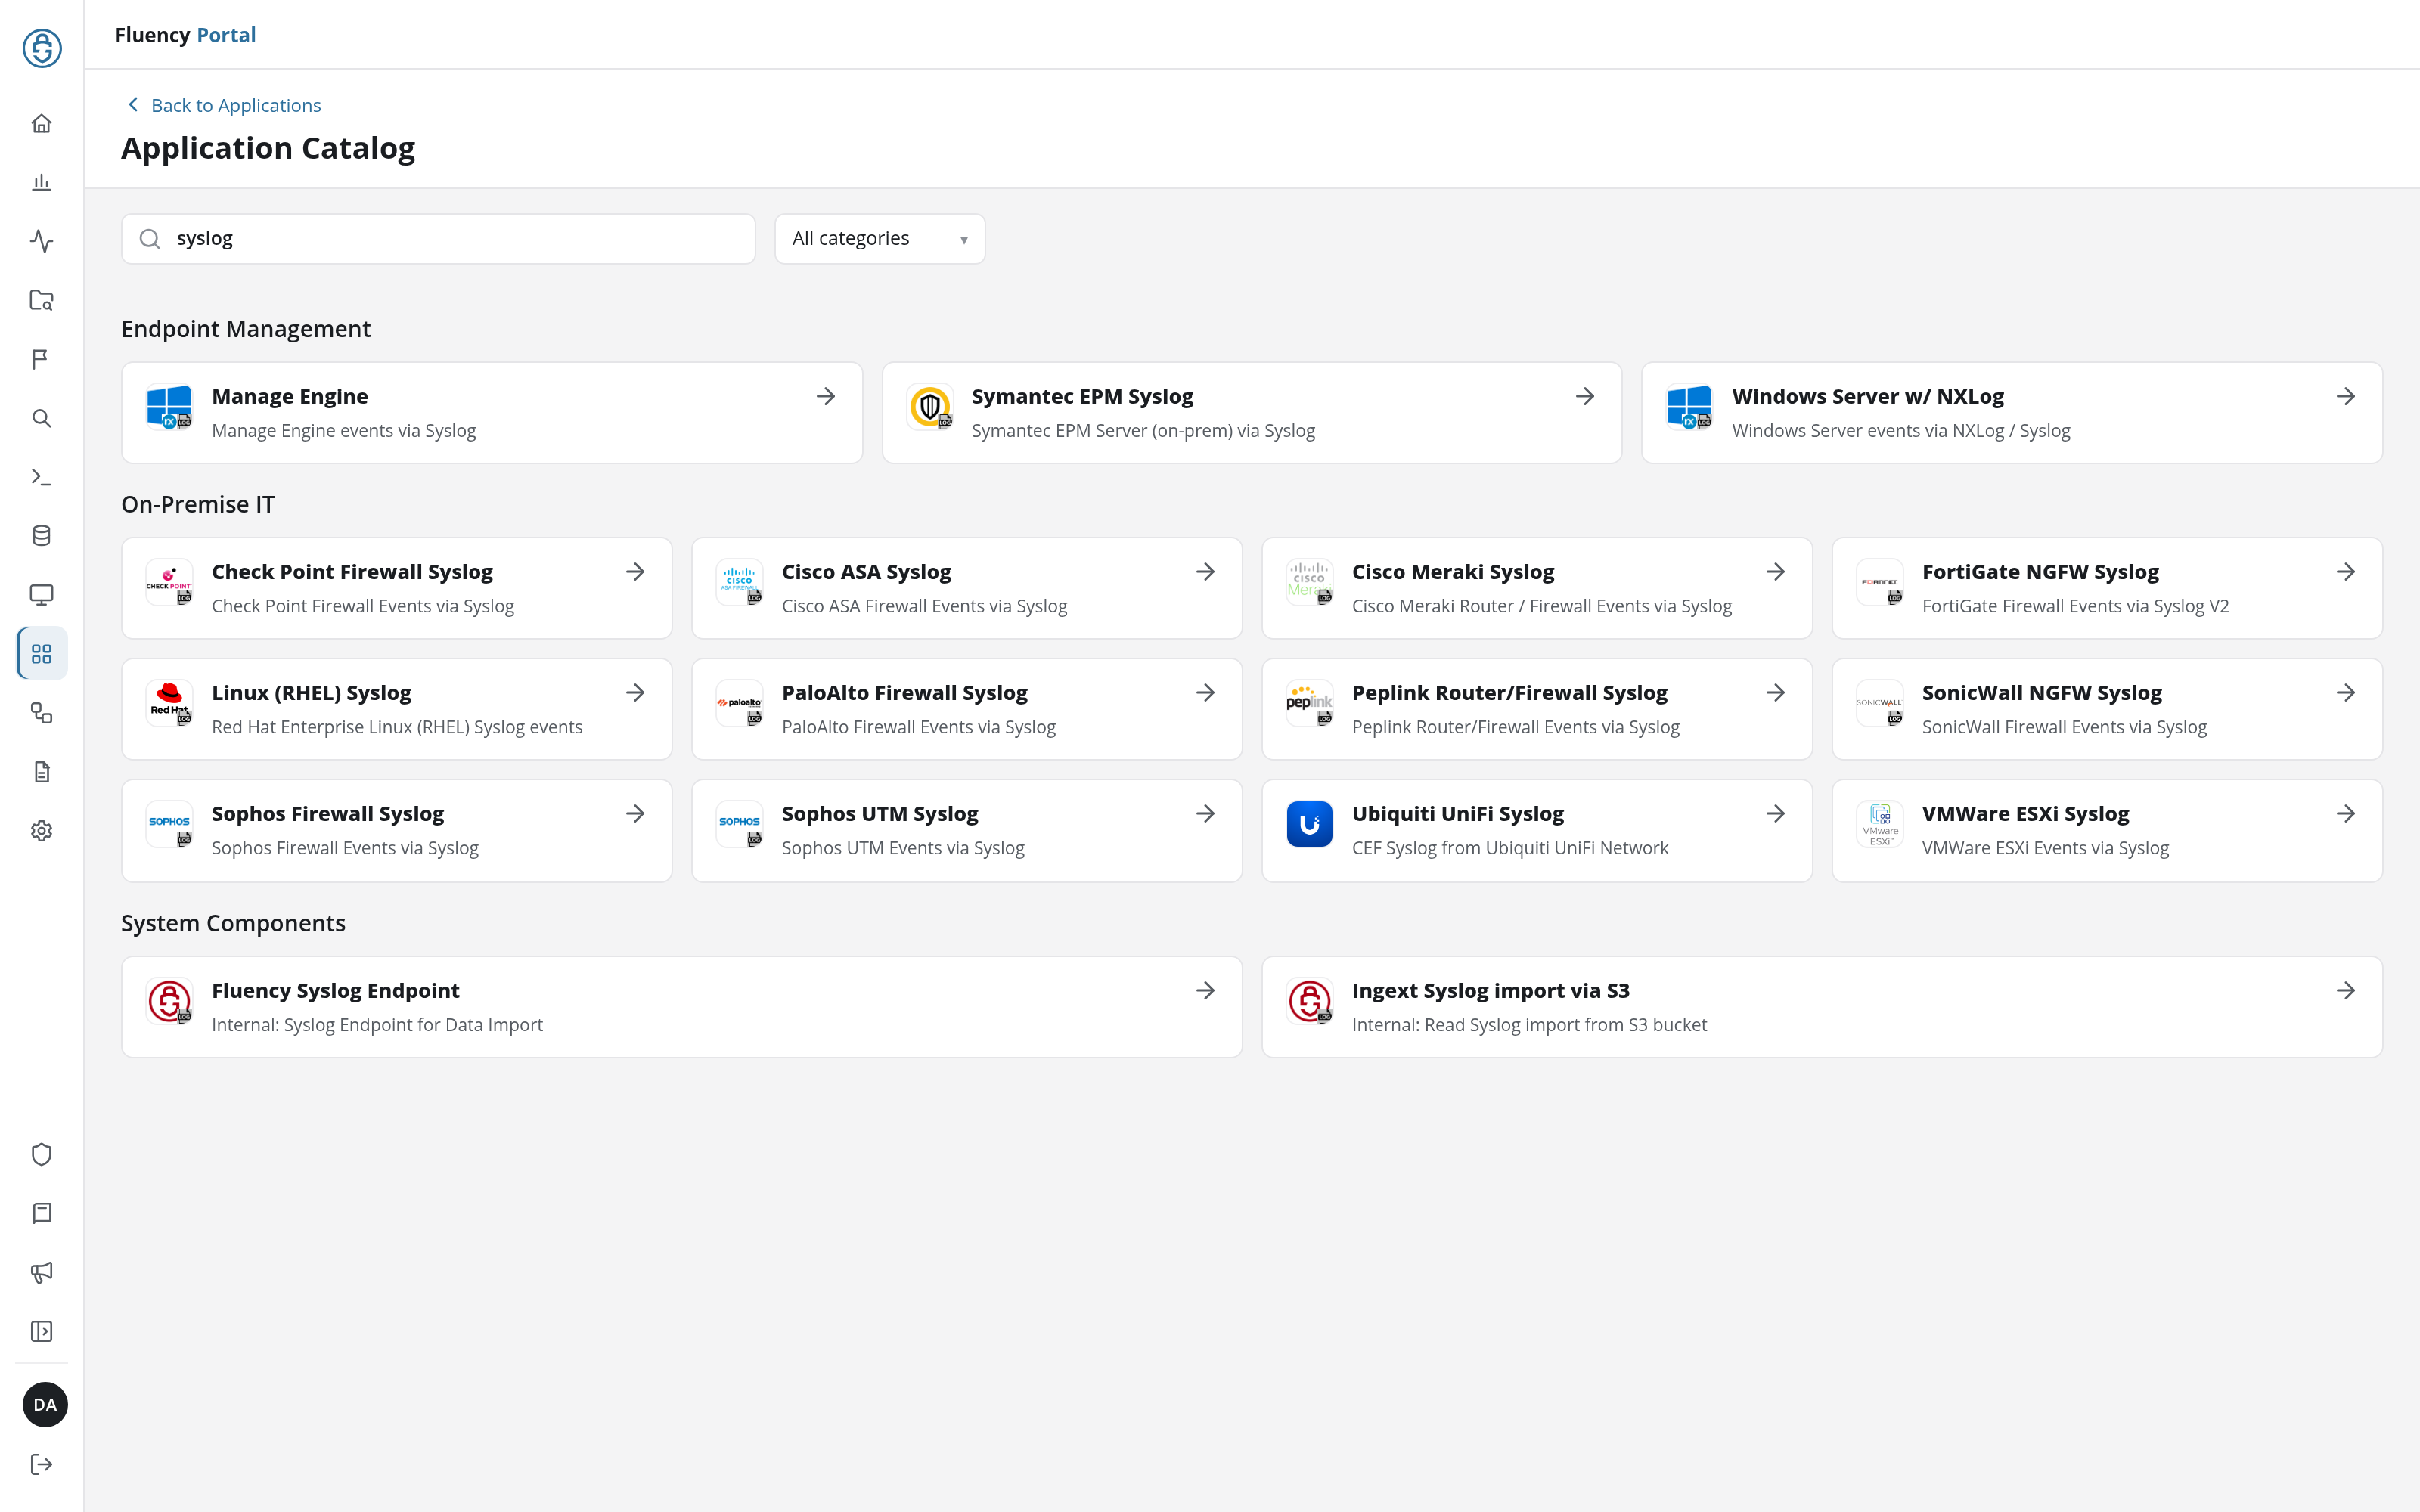
Search
Type in Search applications… to narrow the catalog to templates whose name or description matches. The results keep their category headings; categories with no match drop out.
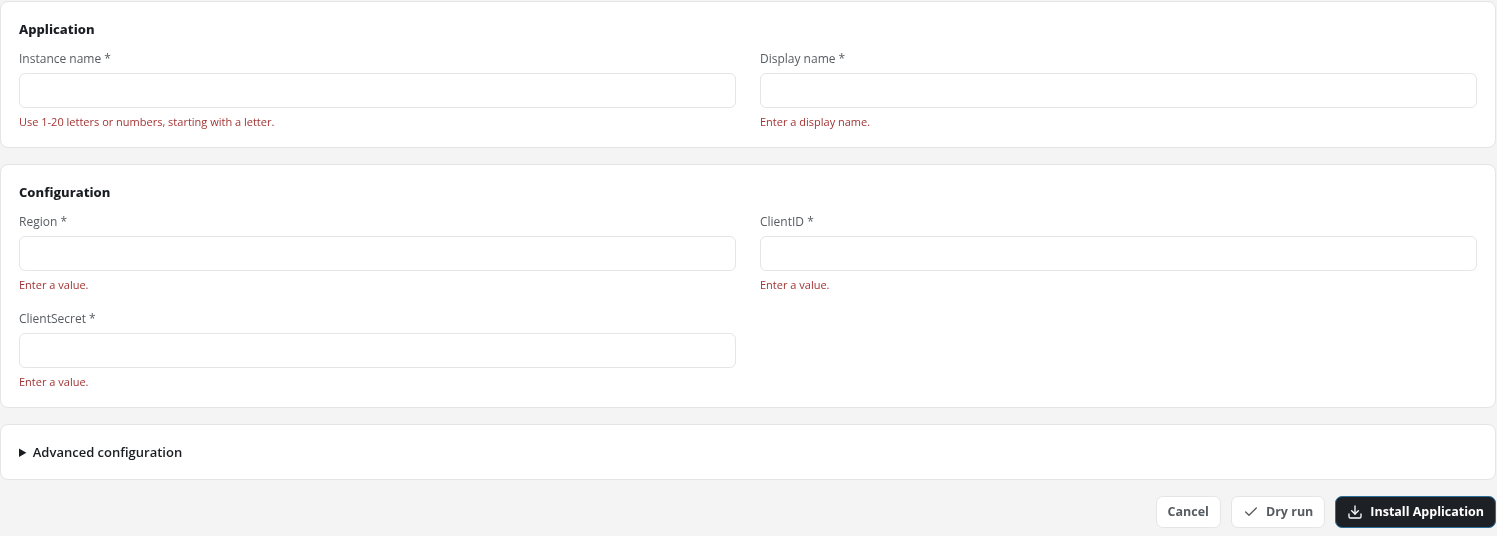
Install Form
Clicking a card opens that template's install form, titled Install followed by the template name (for example Install Amazon GuardDuty), with a Back to Catalog link above the title. The URL names the template: /v2/applications/install?template=AmazonGuardDuty.
Every form follows the same shape:
- Application: two required fields that identify this installation:
- Instance name: the instance's identifier, prefilled with
default. It names the instance in the application's URL and in the names of the components it installs. It takes 1 to 20 letters or numbers, starting with a letter, and the field accepts no more than 20 characters. - Display name: the name shown for the instance, prefilled with
Default. It appears beneath the application's name on the Applications page and as the title of its details page.
- Instance name: the instance's identifier, prefilled with
- Configuration: the template's own settings: credentials, regions, endpoints, and options. These differ from template to template. A required field is marked with an asterisk (*). 23 templates, among them every On-Premise IT syslog template, have no Configuration section.
- Advanced configuration: on 41 of the 72 templates, a collapsed section, opened by clicking its heading, holding the data lake settings: datalake, prefilled with
managed, and datalake index name, prefilled with the template's default index (for exampleGuardDutyon Amazon GuardDuty). Both are required. - Cancel, Dry run, and Install Application: at the bottom right. Install Application installs the application with the values in the form; Dry run checks those values first, without installing; Cancel returns to the catalog without installing.
Required Fields
Dry run and Install Application first check the form itself, and show every problem at once, each under its field:
| Message | When |
|---|---|
| Use 1-20 letters or numbers, starting with a letter. | Instance name is empty, starts with a digit, or holds anything but letters and digits (a space or a hyphen, for example). |
| Enter a display name. | Display name is empty. |
| Enter a value. | A required Configuration or Advanced configuration field is empty. |
| This application instance is already installed. | An instance of this template with the same Instance name is installed. Choose another instance name. |
After Installing
When Install Application succeeds, the Applications page opens with a notice naming the new application by its Display name, such as Default is launching., and lists the application. Its components appear on the Platform diagram, and its details page shows what the installation created.
Dry run
Dry run checks the form's configuration and credentials without installing anything. While it runs, the button reads Checking… and the form shows Checking configuration and credentials… This can take up to 45 seconds. Then a Dry run passed or Dry run failed section appears above the buttons, with the verdict and a table of the checks made: Status (pass, fail, warn, or skip), Check, and Details.
After a failed dry run, an Install despite failed checks? section warns that The application may not collect data until these problems are fixed., and Install Application becomes Install anyway, greyed out until I understand the checks failed and want to install anyway. is ticked. Changing a field clears the result.
On a form whose Enable Admin Consent Mode? is ticked, Dry run is greyed out, with the note Dry run is skipped in admin consent mode. Turn off admin consent to check your own credentials.
Each template's page (for example Amazon GuardDuty, or Azure Directory Audit, whose fields depend on a checkbox) shows its form with every section expanded and lists its fields with their types, whether they are required, and their defaults.