Zoom Video
The Fluency portion of this guide references the older Cloud Integrations page (under the "Data Ingress" menu), which does not exist in the current interface — integrations are now managed on Platform → Integrations (see Page Functionality). The Fluency-side steps and screenshots need to be re-verified against the current interface.
Zoom has no application template. It is connected as a REST integration on Platform → Integrations using a Server-to-Server OAuth app, with a Fluency-issued webhook URL registered as a Zoom event subscription. See the Integration Matrix for which products use which path.
Fluency's integration to Zoom Video is supported via two parts, an API integration, and a webhook subscription. (Sept 2023)
Zoom (Part 1: API)
Creating a Server-to-Server OAuth app
Go to the Zoom App Marketplace. Click "Develop" in the dropdown menu in the top-right corner of the page and select "Build App". A new page will appear displaying the available app types.
Click "Create" in the Server-to-Server OAuth section.
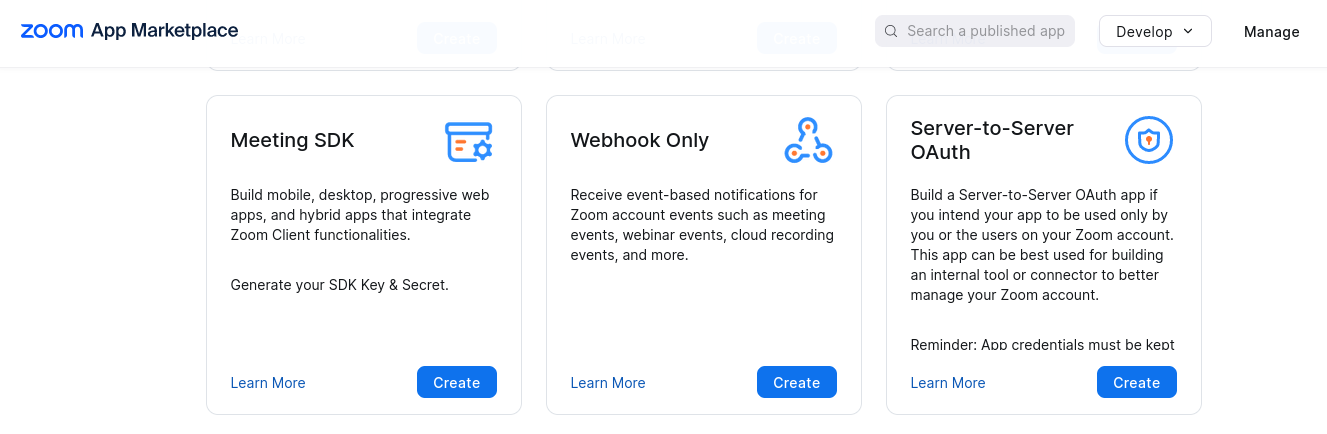
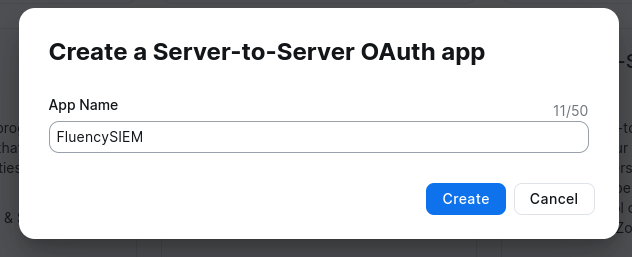
Add a name for your app and click "Create".
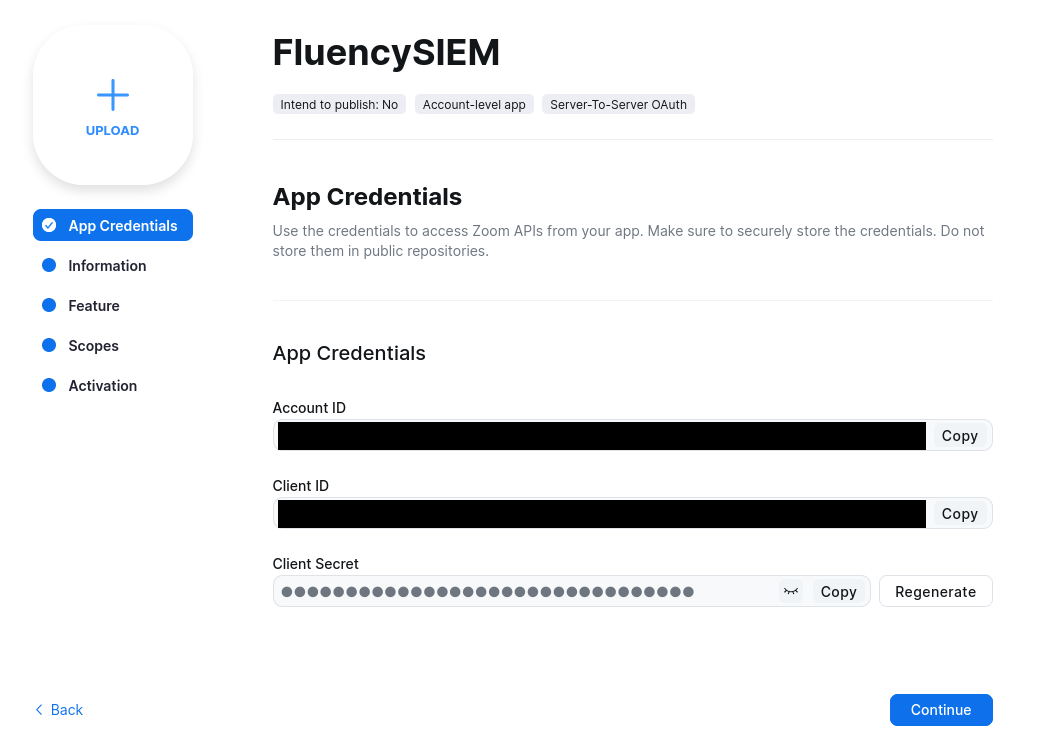
After the app is created, copy the information in the "App credentials" tab for the next section in Fluency. Click "Continue".
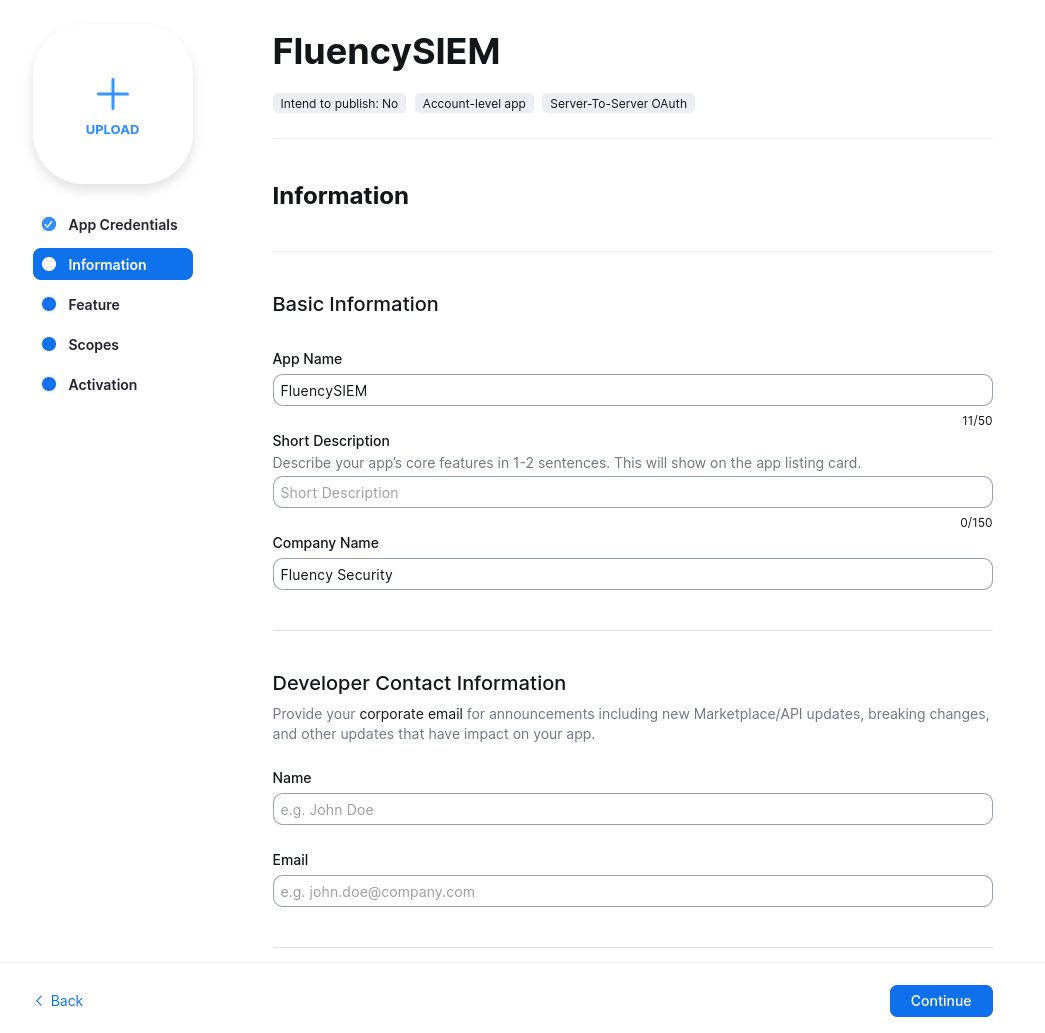
On the following page, update the "Company Name" and the "Developer Name" and "Email" information sections. (These fields are required to continue.)
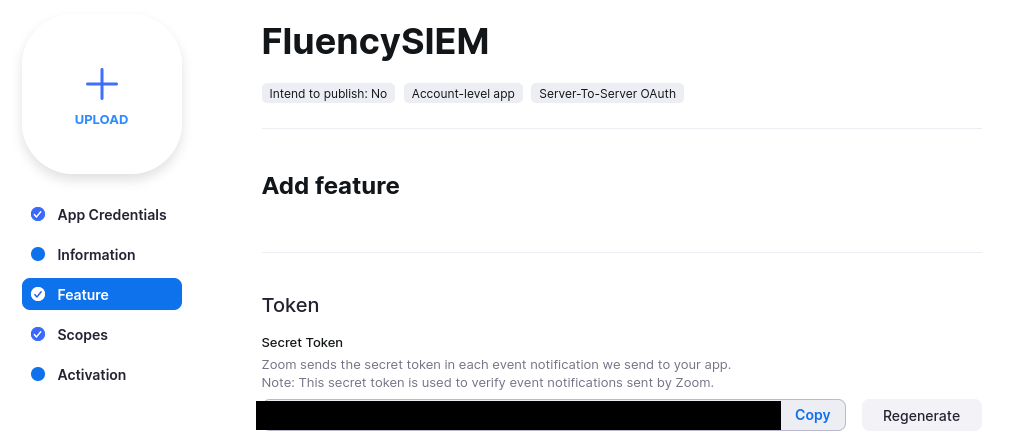
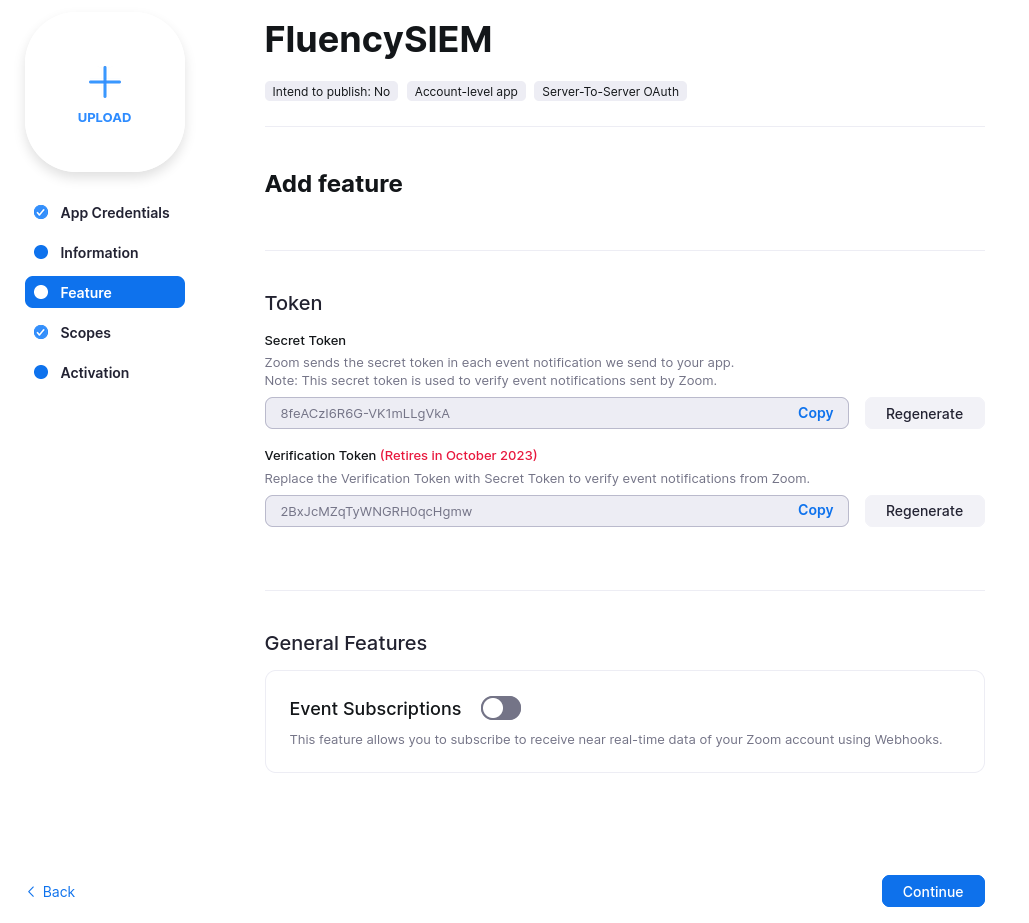
Continue to the "Feature" tab, to view the "Secret Token". You will need the it for the next section in Fluency, too.
Continue to configure the Scopes for this App.
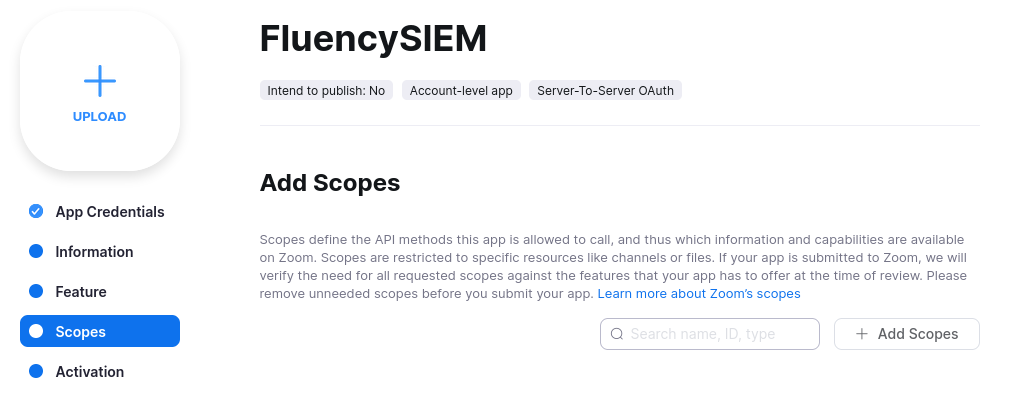
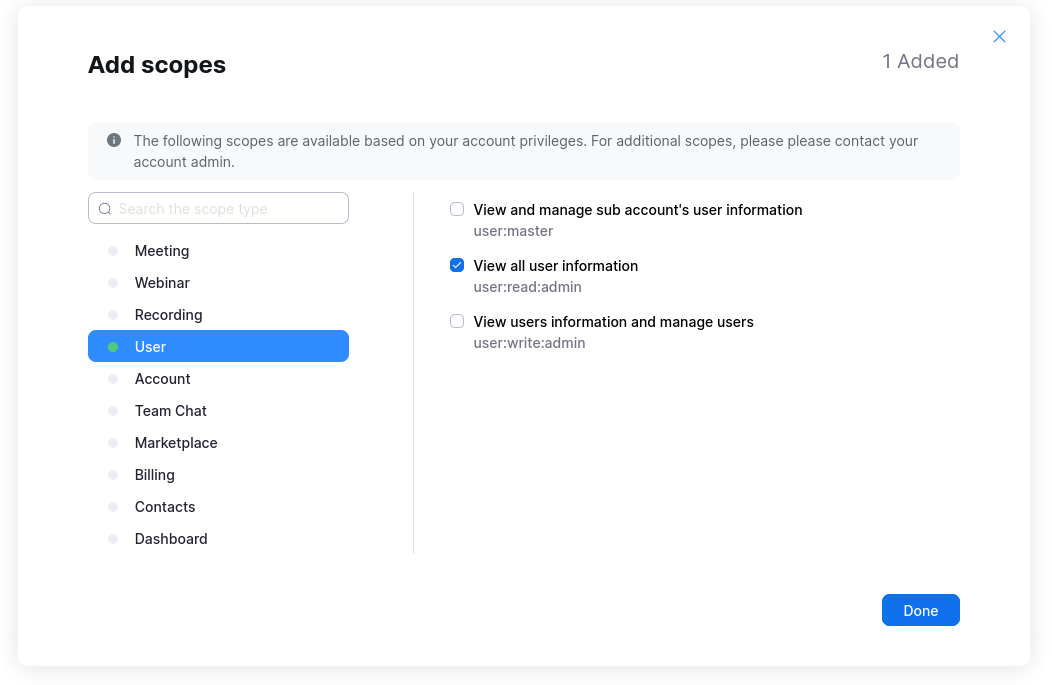
The scope "View all user information" should be assigned to this App. Click "Done".
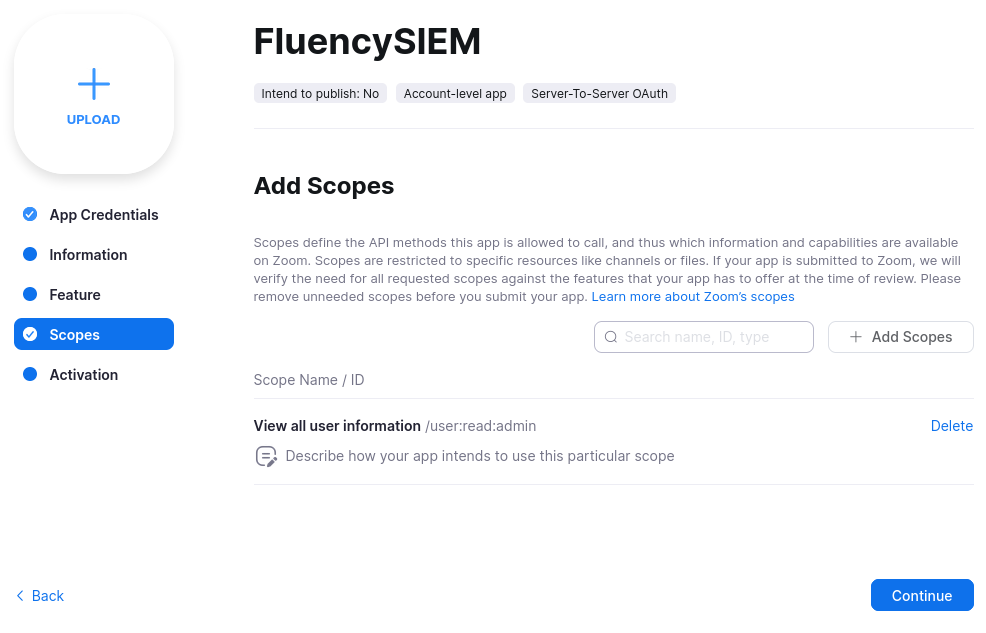
Once complete, activate the App.
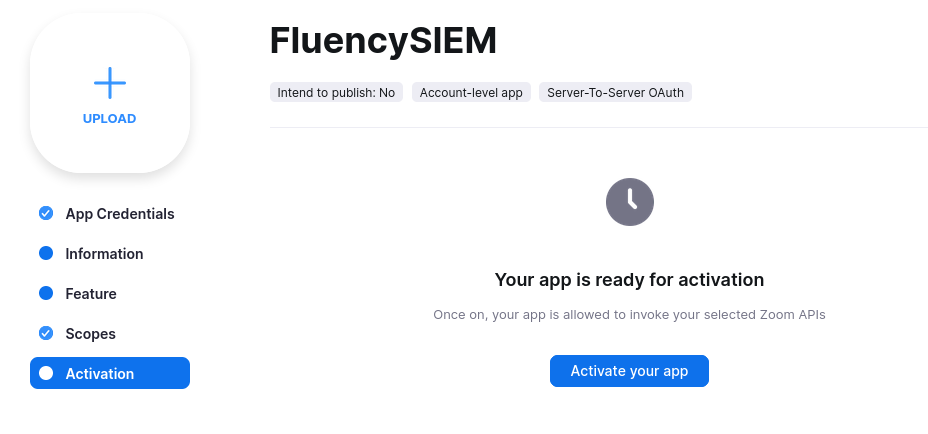
Refer to Zoom's documents for full instructions on creating a Server-to-Server OAuth app:
Fluency: Configuring a Zoom Plugin
Sign in to your Fluency portal at https://<companyname>.app.ingext.io — see Fluency Web Interface for the URL formats.
Choose the Integrations option under the Platform menu in the navigation bar.
On the following page, navigate to the Business Cloud Tools section.
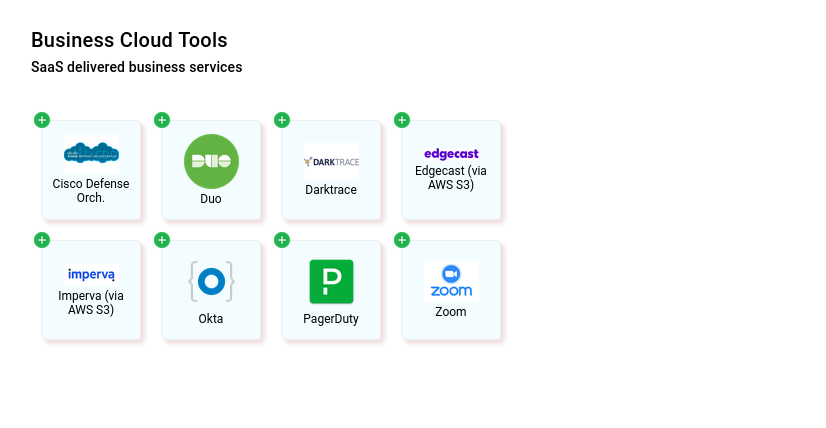
To Add an integration, choose the Zoom icon from the group on the left side of the page to create a new integration endpoint.
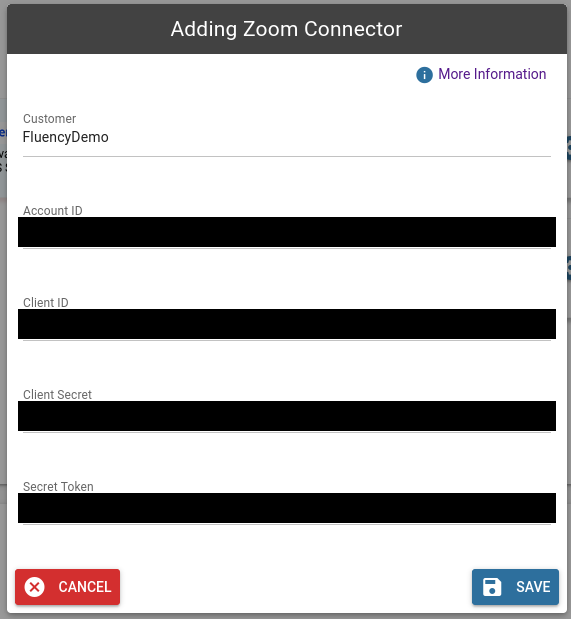
These are the required pieces of information to create this import ,fill them in according to the previous section and click Save.
Returning to the previous page, find the newly created integration on the right side of the Business Cloud Tools section.
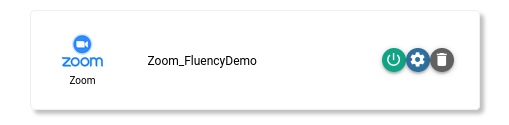
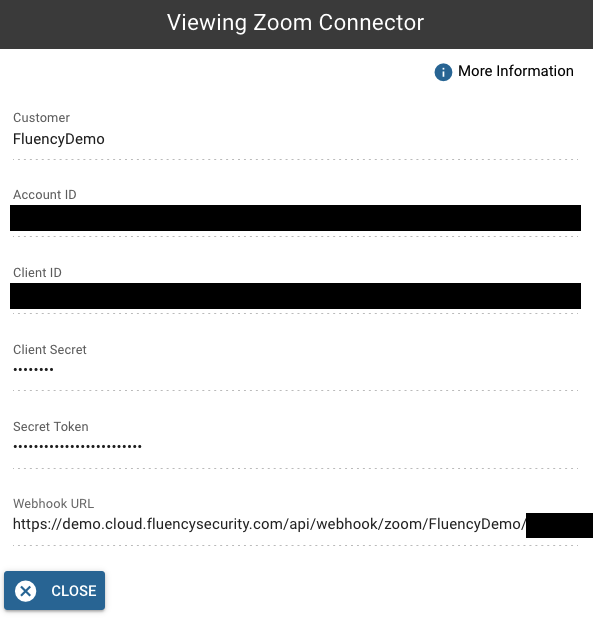
Click on the gear button to view the integration. Notice that there is a new row "Webhook URL". Copy that URL for next section.
Zoom (Part 2: Webhook)
Return to the newly created App, by navigation to the Zoom App Marketplace. Click "Manage" in the dropdown menu in the top-right corner of the page to see the list of "Created Apps".
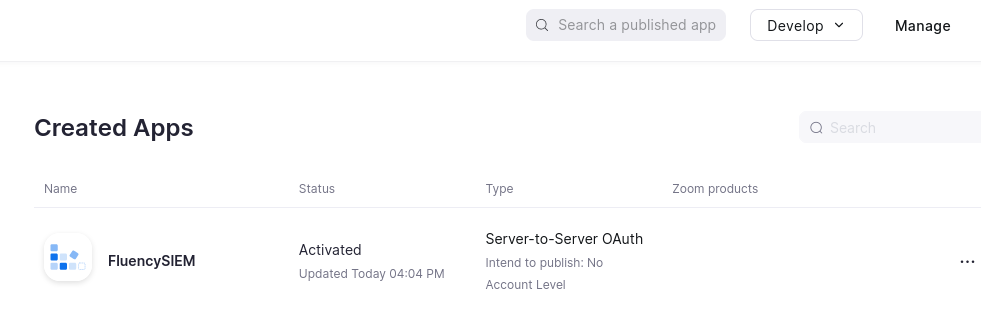
Select the name of the app, and navigate to the "Feature" tab.
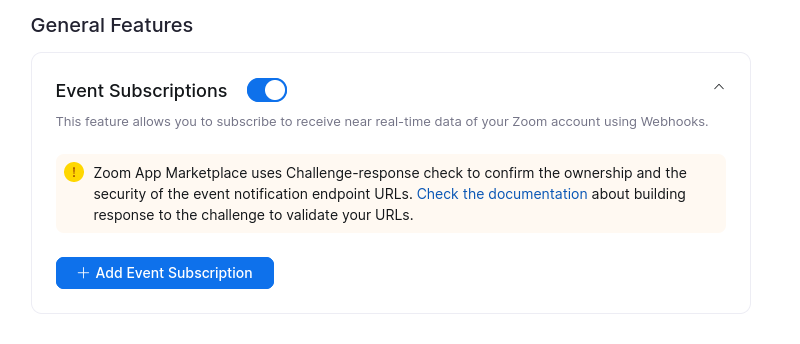
Enable the "Event Subscriptions" toggle, and click "+ Add Event Subscription".
Give this item a "Subscription name", and use the webhook URL from Fluency for the "Event notification endpoint URL". Be sure to validate the URL.
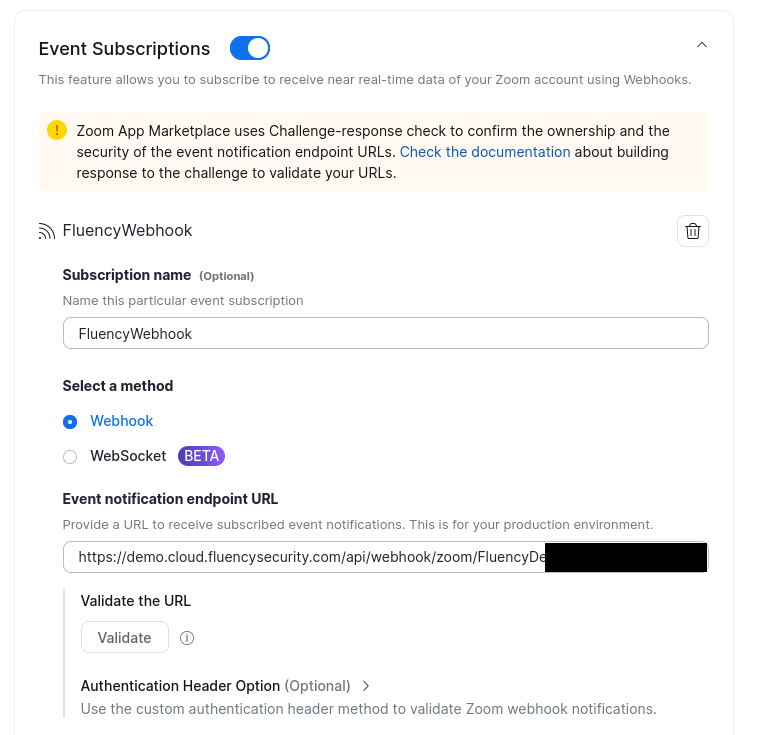
Then click "+ Add Events" to this subscription.

Select some or all of the event types:
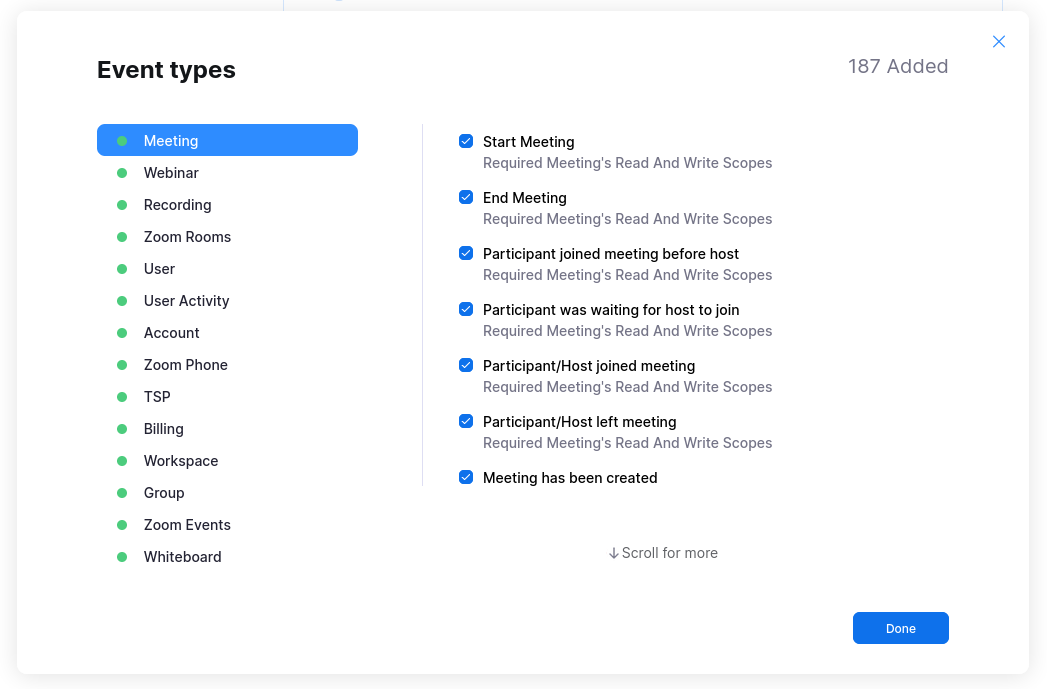
All event types may not need to be selected, however, ensure at least the types under the Meeting, User and User Activity categories are chosen at a minimum.
Select the option for "All users in the account", and click on the "Save" button.
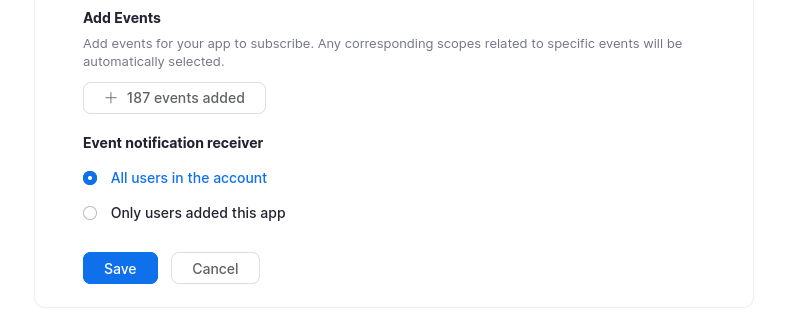
Refer to Zoom's documentation for further details on the Event Subscription webhook:
References
Developer's guide:
https://developers.zoom.us/docs/api/webhooks/#validate-your-webhook-endpoint