SentinelOne EDR
The Install the Application section is verified against the 2026-07 interface capture. Other platform-side steps on this page describe an earlier interface and have not been re-verified.
Fluency's integration with SentinelOne has three portions:
- As a SIEM, Fluency has the ability to accept Syslog export from SentinelOne's cloud portal.
- Fluency can also use SentinelOne's API to collect and tabulate Agents, Applications and Threats information on the Fluency Resources page.
- Lastly, Fluency can ingest and store SentinelOne's CloudFunnel 2.0 (an addtional S1 add-on) feed, to provide deep insight and complete visibility.
Syslog Export: Configuration
The Syslog configuration page is found under the Settings section of the SentinelOne main menu.
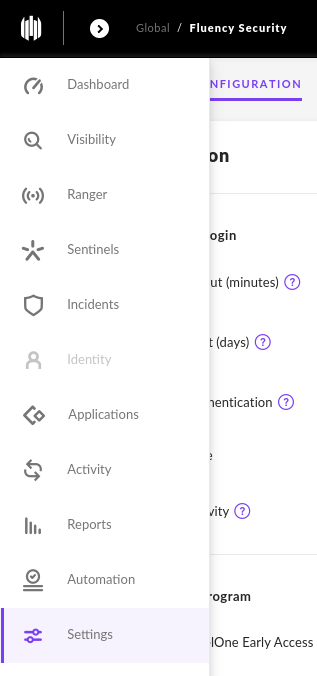
Under the Integrations tab, navigate to the Syslog Section.
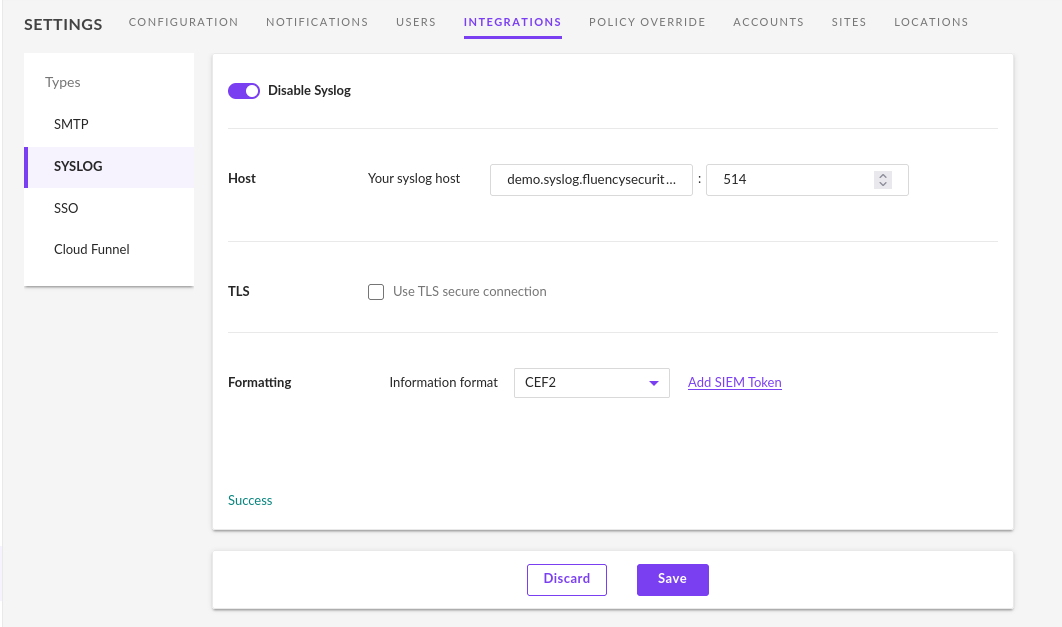
Toggle Enable Syslog, and complete the Host section of the page.
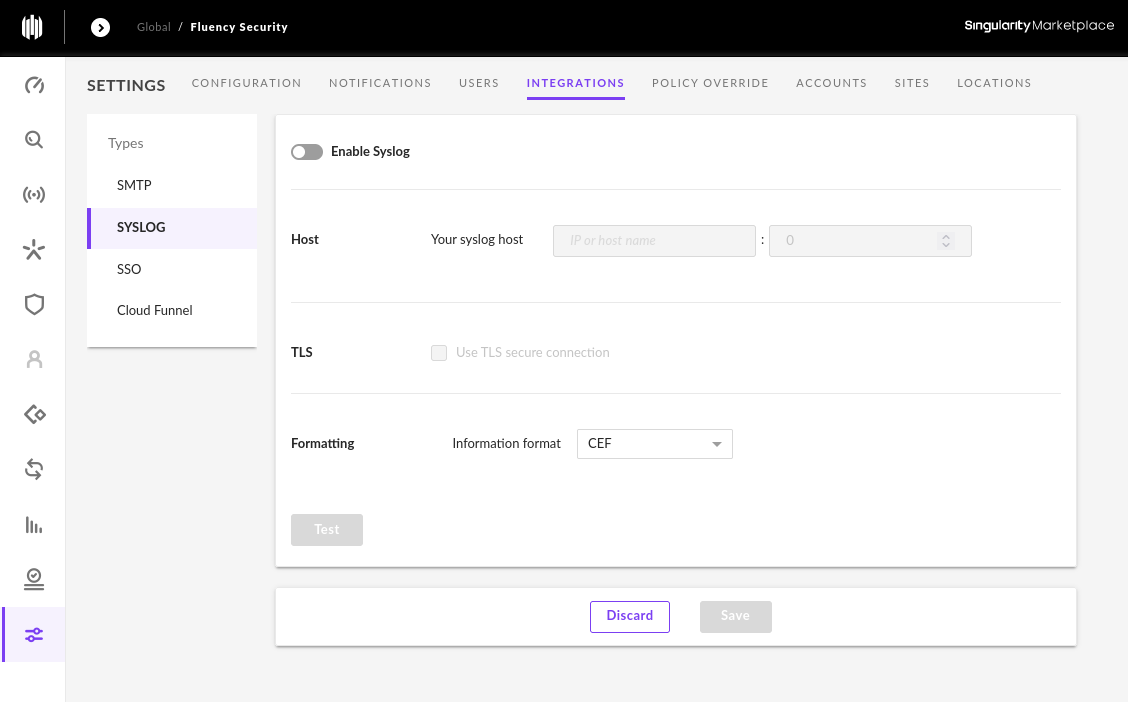
Syslog Server
The log server address is the designated Syslog URL of your Fluency server.
<company>.syslog.fluencysecurity.com
The default normal Syslog port is UDP 514.
NOTE: In the older interface this information was found on the Setup Review page (under the Overview section), which is not part of the current interface. The platform's syslog listener settings are now under Platform → Administration → Syslog Ports; verify where the endpoint address is displayed in the current interface.
Syslog w/ TLS
It is also possible to configure Syslog over TCP with TLS. The port depends on the destination: a collector appliance listens for tls on 6514, while the cloud syslog endpoint uses a port allocated to your tenant — read it from Platform → Administration → Syslog Ports.
A Server certificate is required.
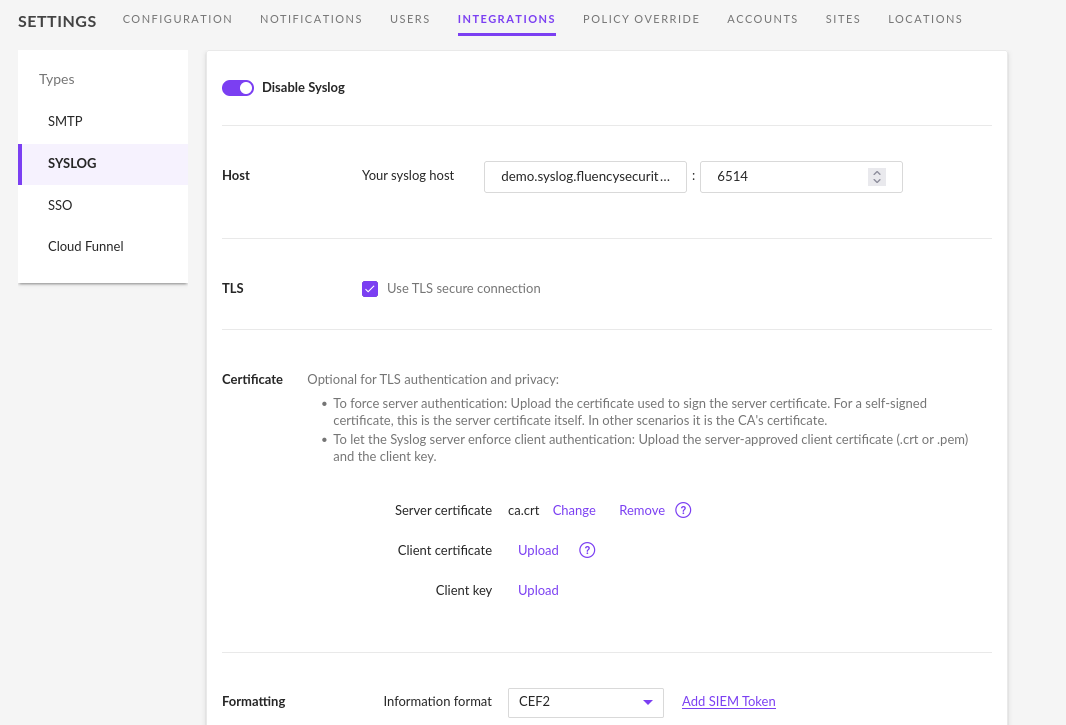
NOTE: In the older interface the CA cert file was downloaded from the Setup Review page (under the Overview section), which is not part of the current interface. The current route is Platform → Administration → Syslog Ports, whose Download CA (ca.crt) button issues the certificate — see Syslog Ports. If that button is not present on your instance, raise a support ticket.
For all Syslog export methods, the CEF2 format should be selected.

Additionally, the Test button can be used to verify the connection.
Should the above test be successful, click Save to complete the Syslog configuration.
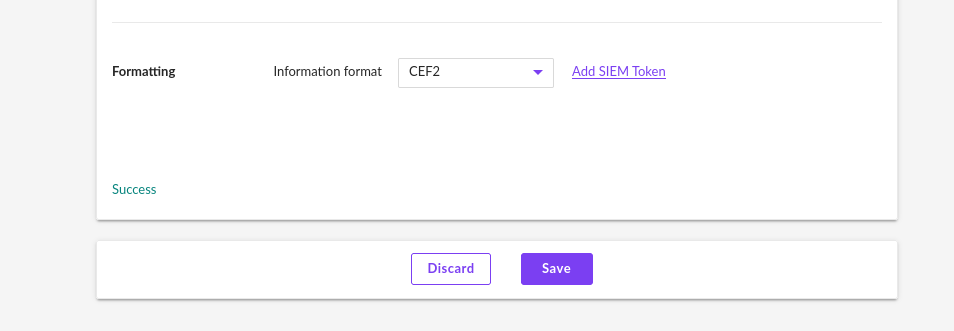
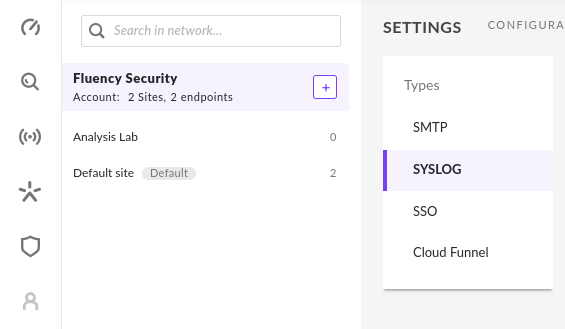
Note: the Syslog setting can be configured either 'per site' or 'per account' in the SentinelOne portal.
    Choose the appropriate scope for your deployment.
Syslog Notifications
The notification settings may need to be configured for Syslog. Navigate back to the the Settings section of the SentinelOne main menu, and choose the Notifications tab.
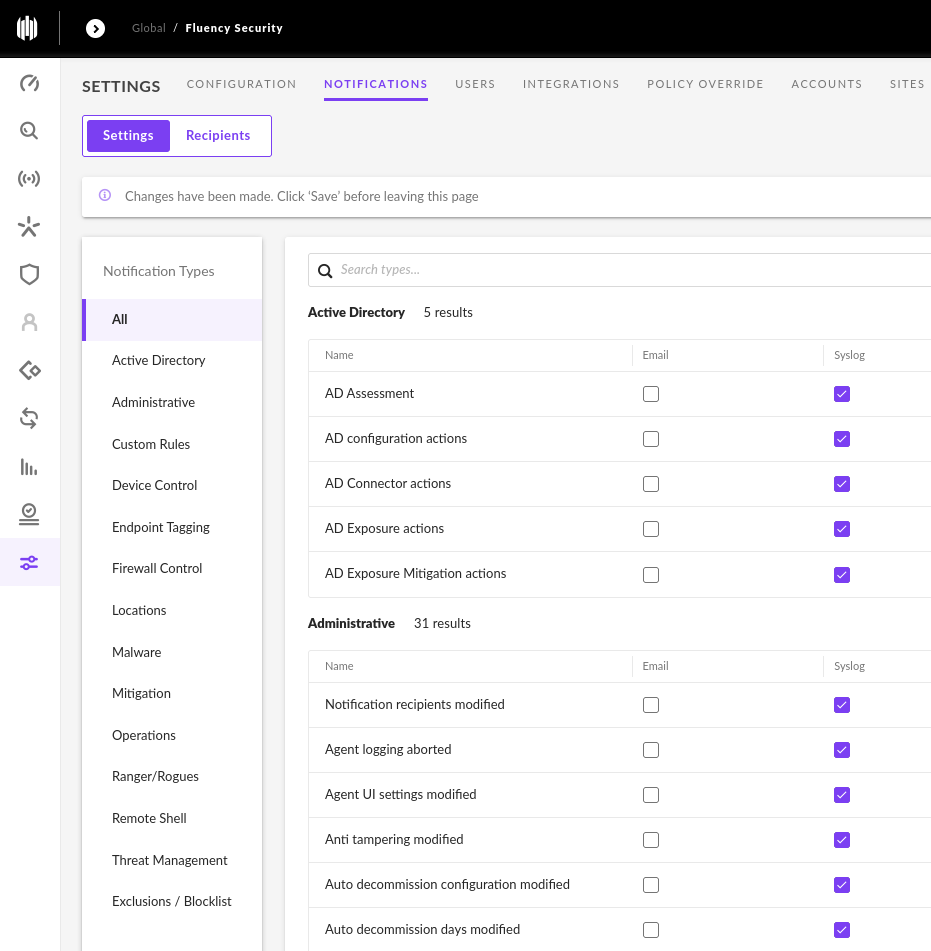
Note: Examine the Syslog column and select as many type as appropriate for your deployment.
    Fluency suggests selecting *ALL* event types, whenever possible.
API Integration
An API token from the SentinelOne portal is used by Fluency to provide API integration.
There are two methods to get an API token:
- via an existing user, or
- via a dedicated service account.
Existing User
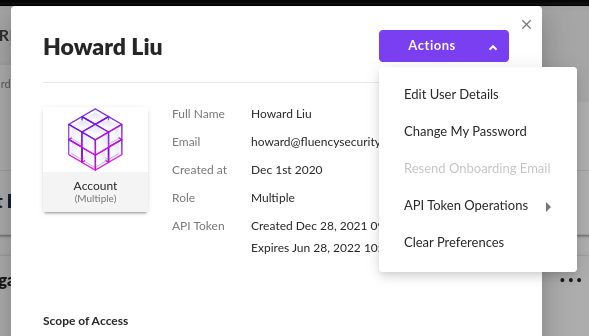
To get an API token (attached to an existing user), select the User name, and choose My User in the upper right corner of the portal.
The dis-advantage of using an API token attached to an existing user is a shorter expiration time.
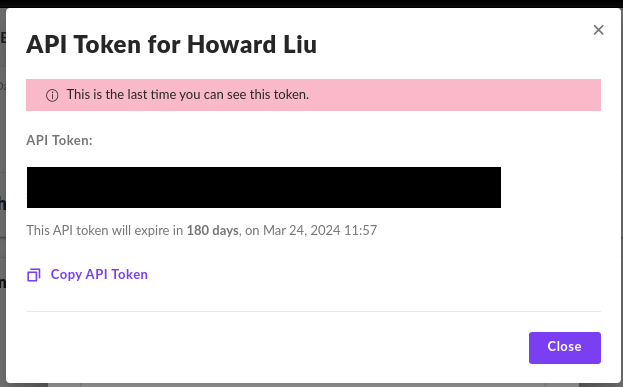
A user's API token will expire in 180 days
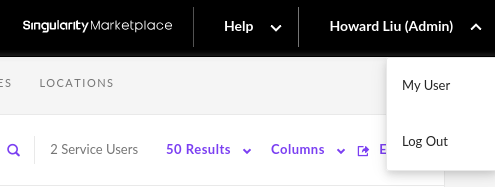
On this page, you can choose an option from the Actions dropdown to create or regenerate a new API token.
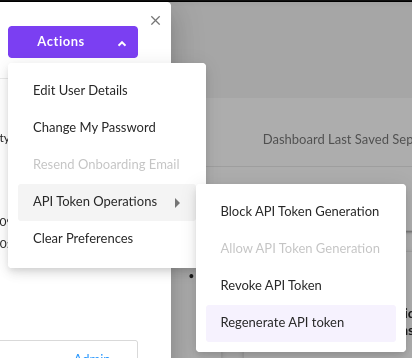
Copy the shown API Token on the next page, and save it for use in Fluency.
Dedicated Service Account
To create a dedicated service account, navigate to the Settings section of the SentinelOne main menu. Under the Users tab, navigate to the Service Users Section.
The Service User will allow API tokens to have a much longer Expiration Date.
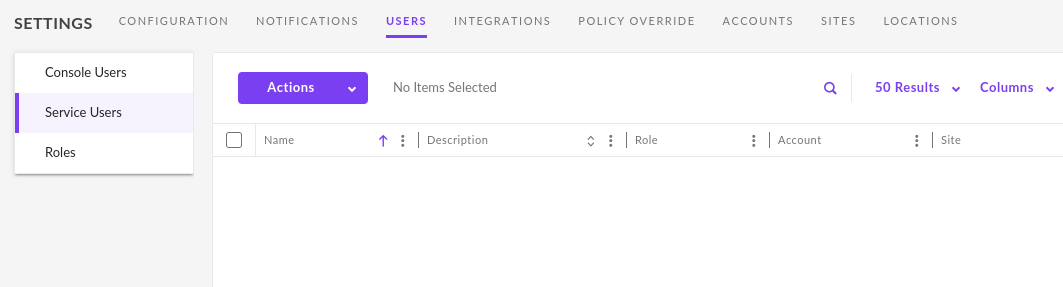
On this page, you can choose an option from the Actions dropdown to create a new user.
Fill in the appropriate fields and choose Next to continue.
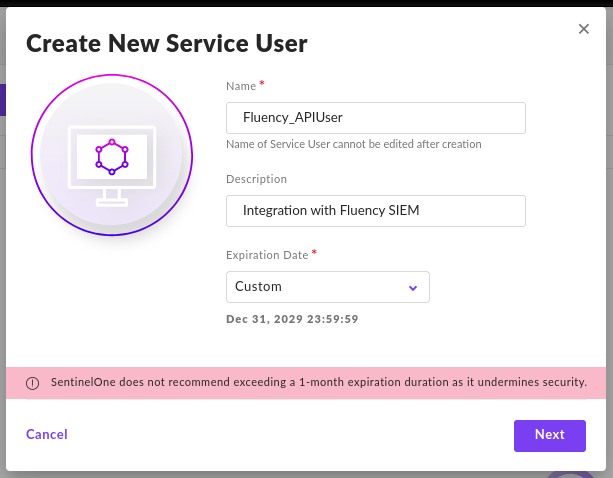
It is suggested to choose a longest expiration period allowable / possible.
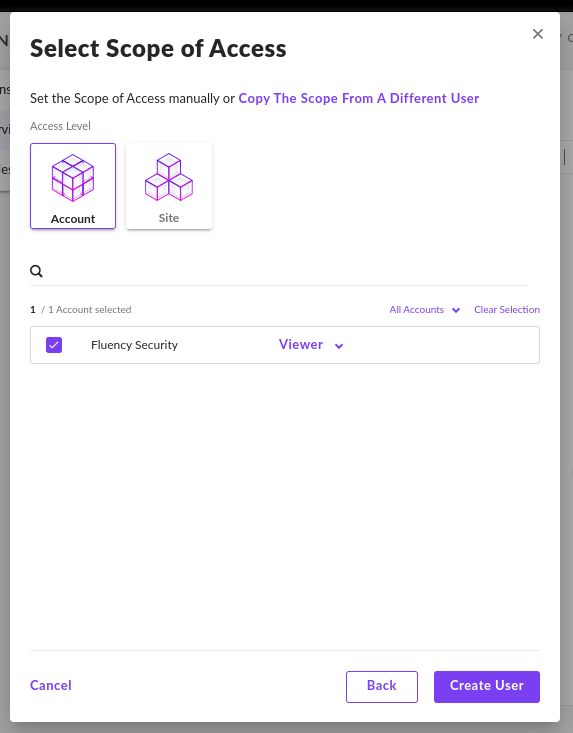
On the following page, select the appropriate Scope (account/site) for your use case.
This API token will only require the Viewer permission, as the Fluency integration is read-only.
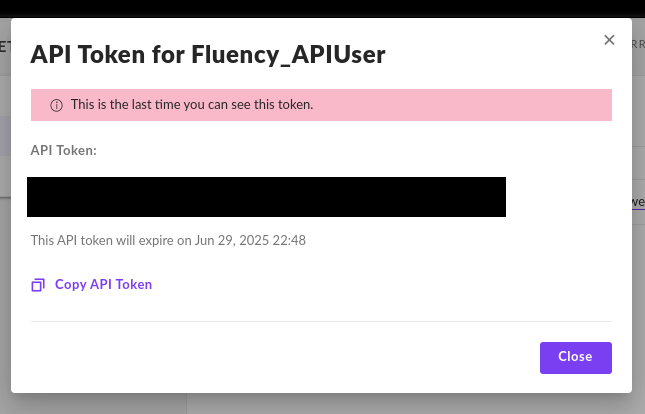
Copy the shown API Token on the next page, and save it for use in Fluency.
Install the Application
Go to Platform → Applications → Install Application From Template and choose SentinelOne API Integration from the Endpoint Management category. (Earlier releases listed the tile as SentinelOne API; the display name grew the word Integration, and the form did not change.)
| Parameter | Notes |
|---|---|
| Console Base URL | The management console host for your tenant. |
| API Token | The token issued to the console user or service user the integration runs as. Masked once the application is installed. |
| datalake | Pre-filled managed. |
| datalake index name | Pre-filled SentinelOne. Two applications writing to the same index name in the same lake will collide, and the second one aborts. |
The last two sit in the collapsed Advanced Configurations row below the parameters.
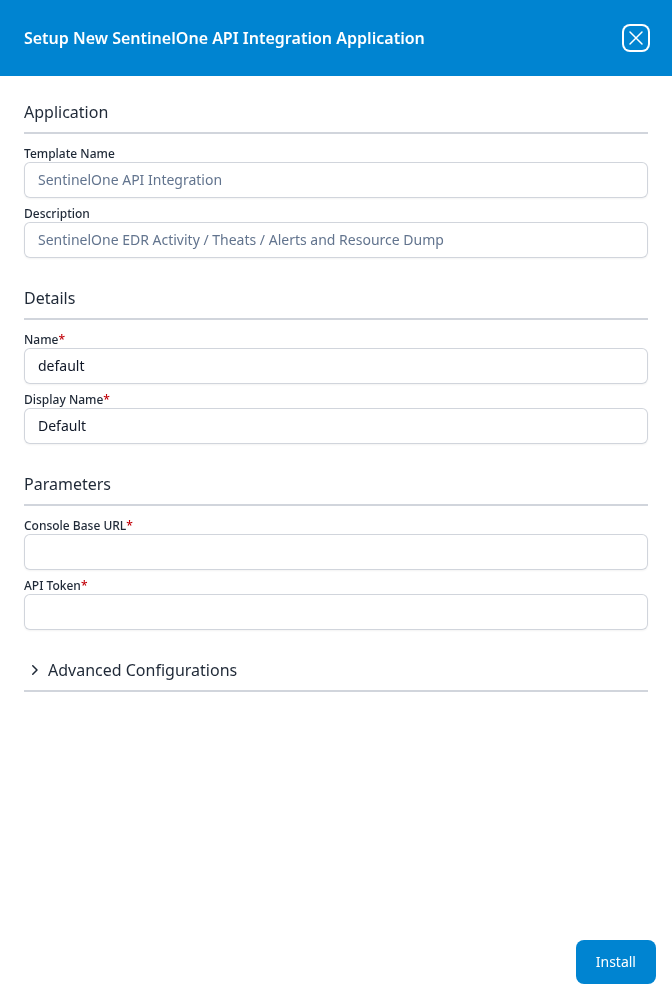
Press Install. The application then appears in the Installed Applications view, where its badge reads Running once the pipeline is up.
The template's description reads SentinelOne EDR Activity / Theats / Alerts and Resource Dump (the misspelling is the interface's own) — four feeds where earlier catalogs named two. Alerts and the resource dump are collected by this template as well as activity and threats, and the install creates two plugin data sources rather than one. Both are visible in the card's pipeline diagram and in the Actions list of its details panel.
The resource dump is the half that populates the SentinelOne roster on SIEM → Resources, and it is the better health check of the two: a device roster is never legitimately empty on a tenant with agents deployed, where an alert feed can be quiet for a day. If events arrive and the resource card is empty, the token is reaching the console but does not carry the permissions the roster call needs.
The template covers the API integration only. The Syslog export and Cloud Funnel portions of this page have no template and are configured separately.
Adding a Fluency Plug-In for SentinelOne EDR
Sign in to your Fluency portal at https://<companyname>.app.ingext.io — see Fluency Web Interface for the URL formats.
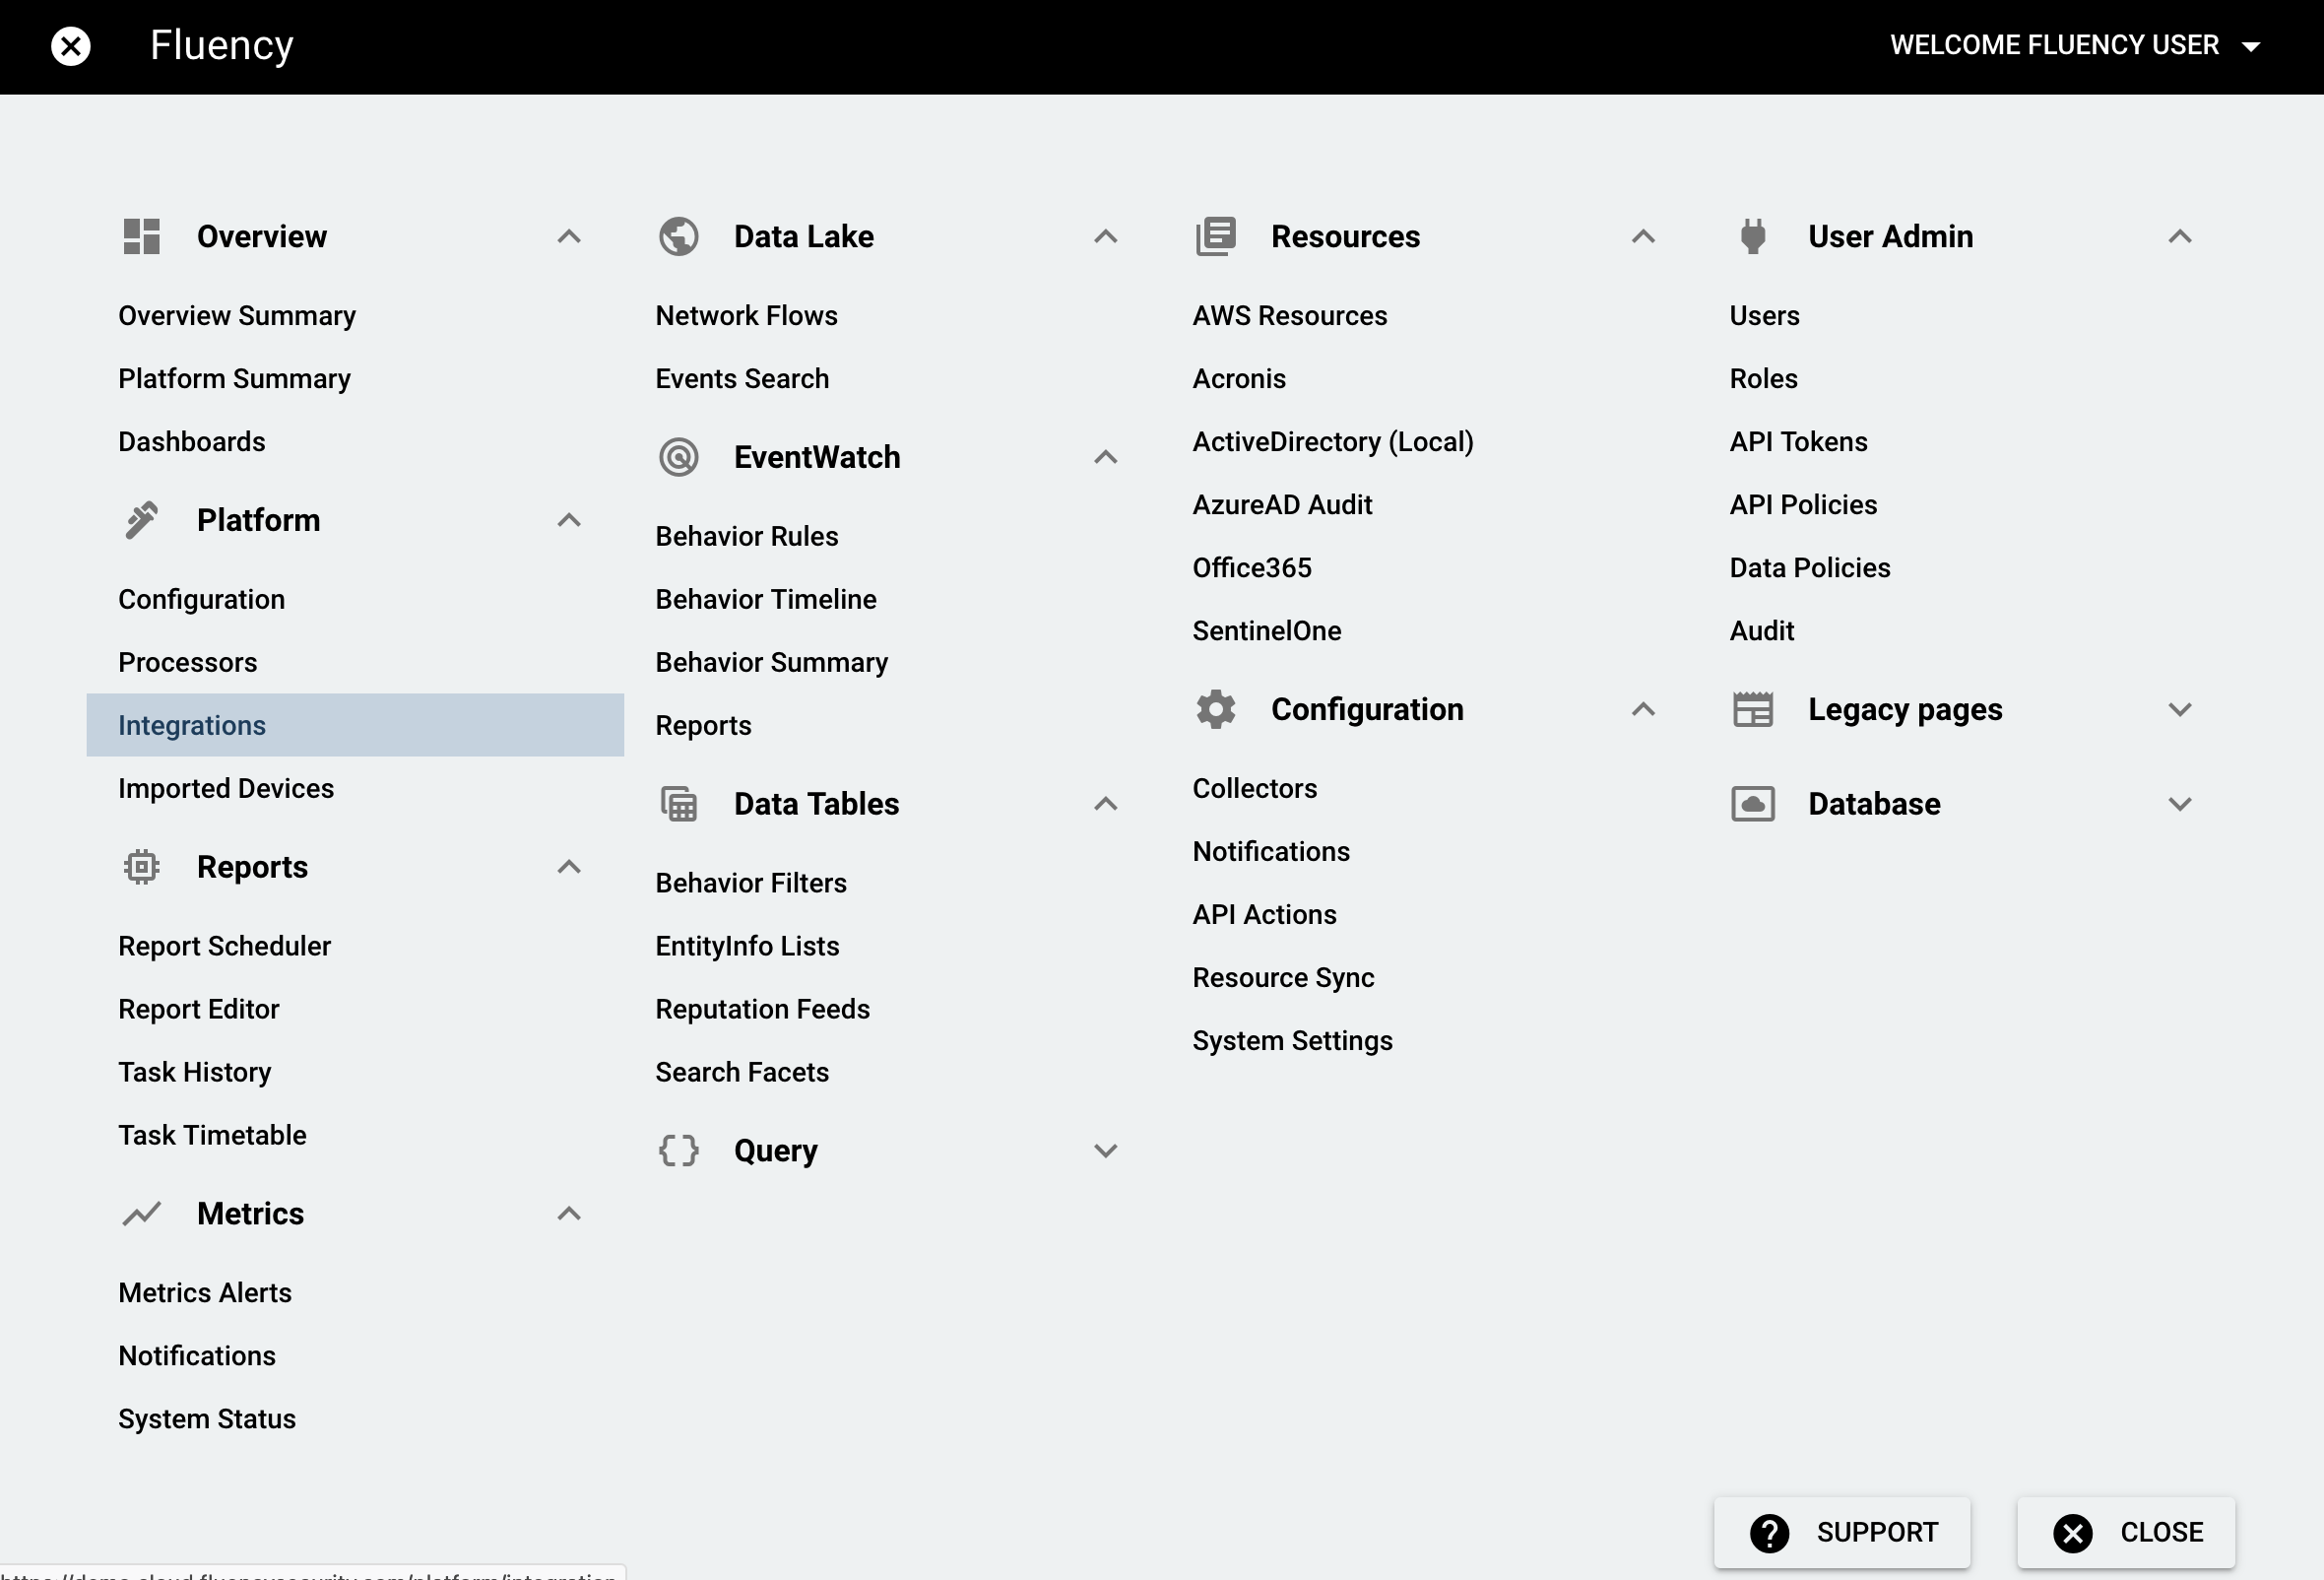
Choose the Integrations option under the Platform menu in the navigation bar.
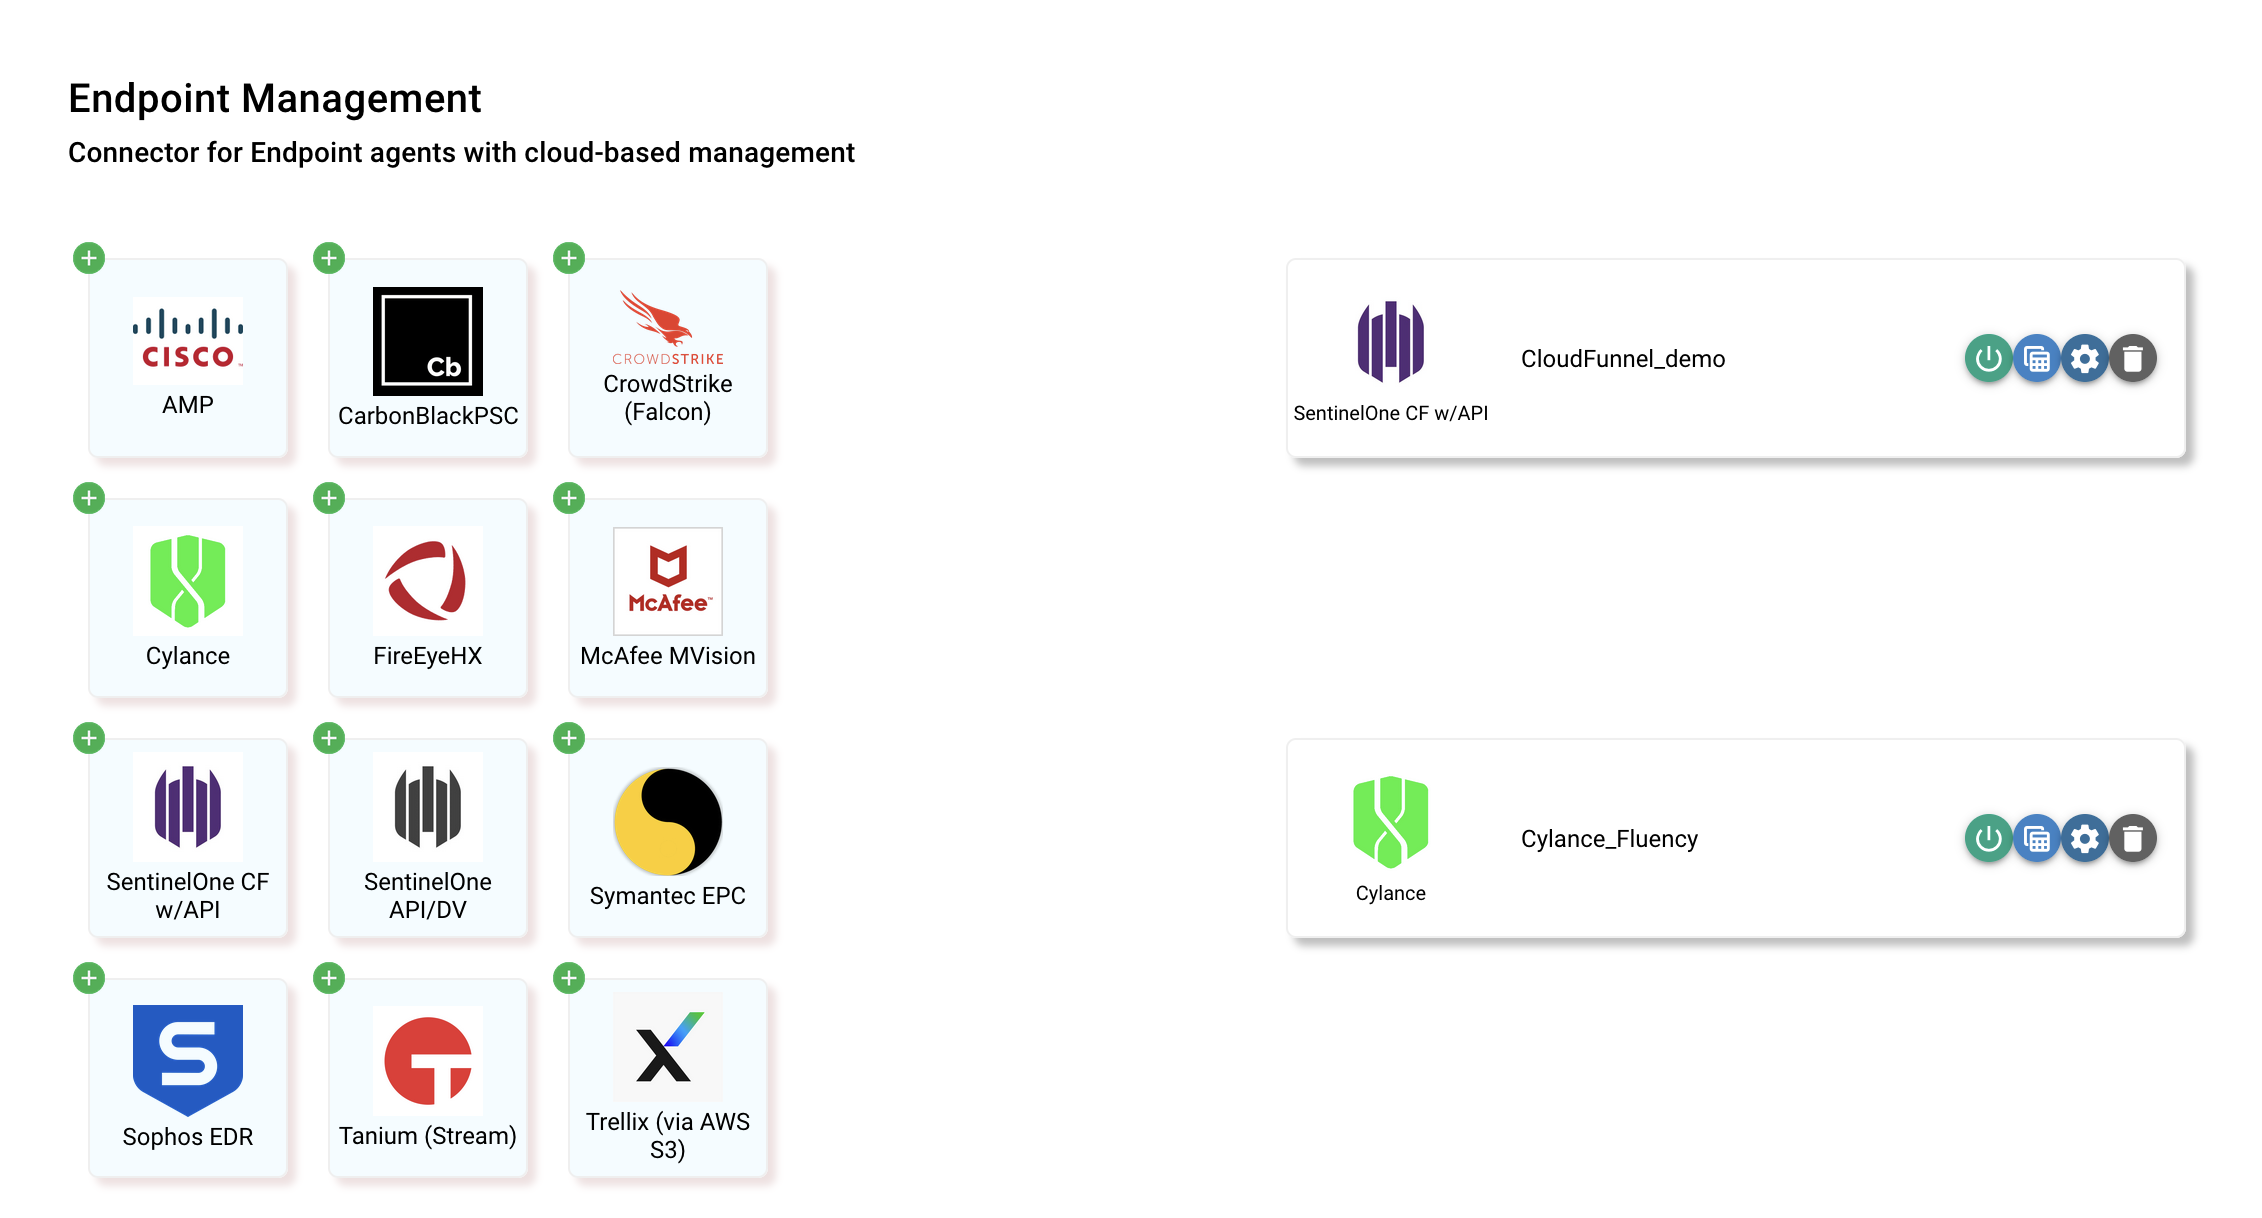
The "Sentinel One" icon is found under the section "Endpoint Management" in the second tab, "Available Integrations".
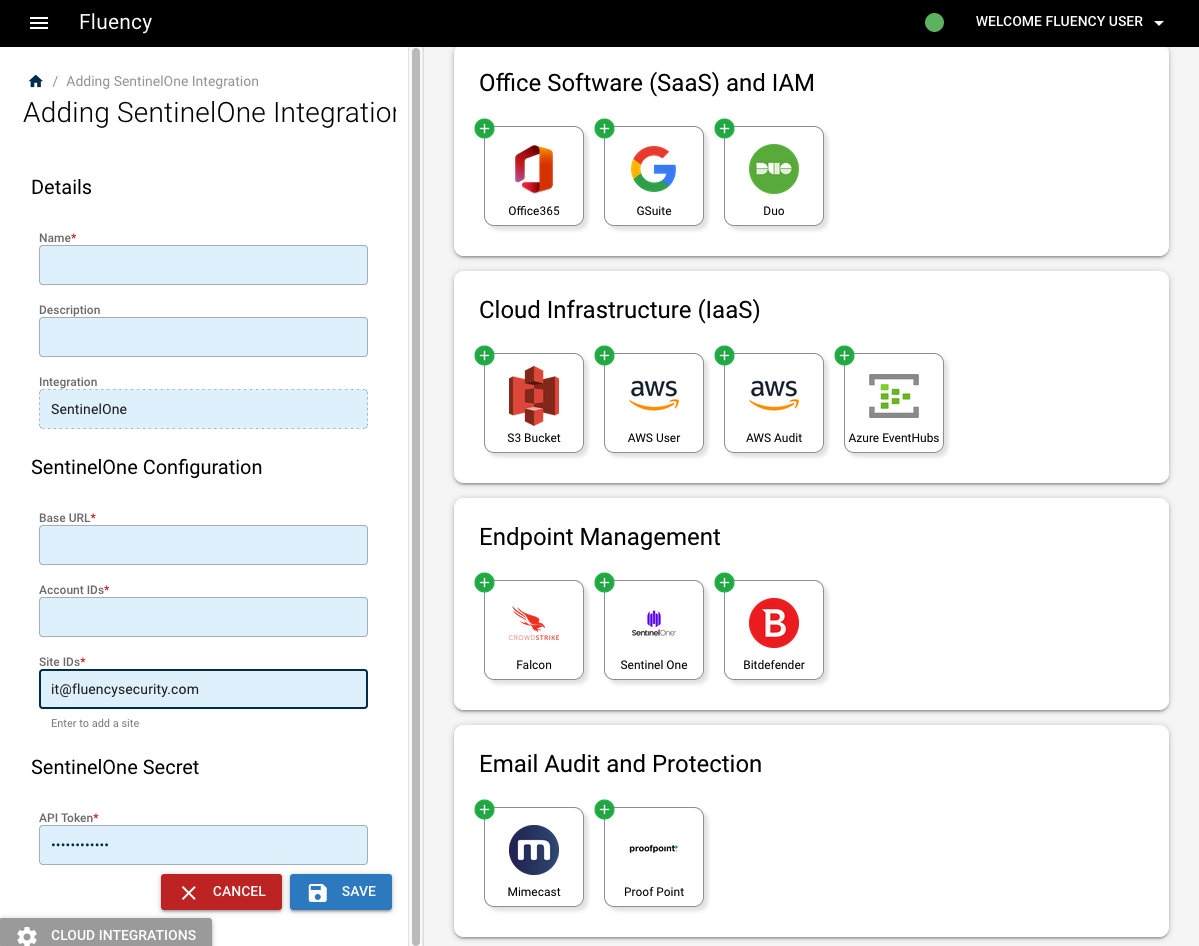
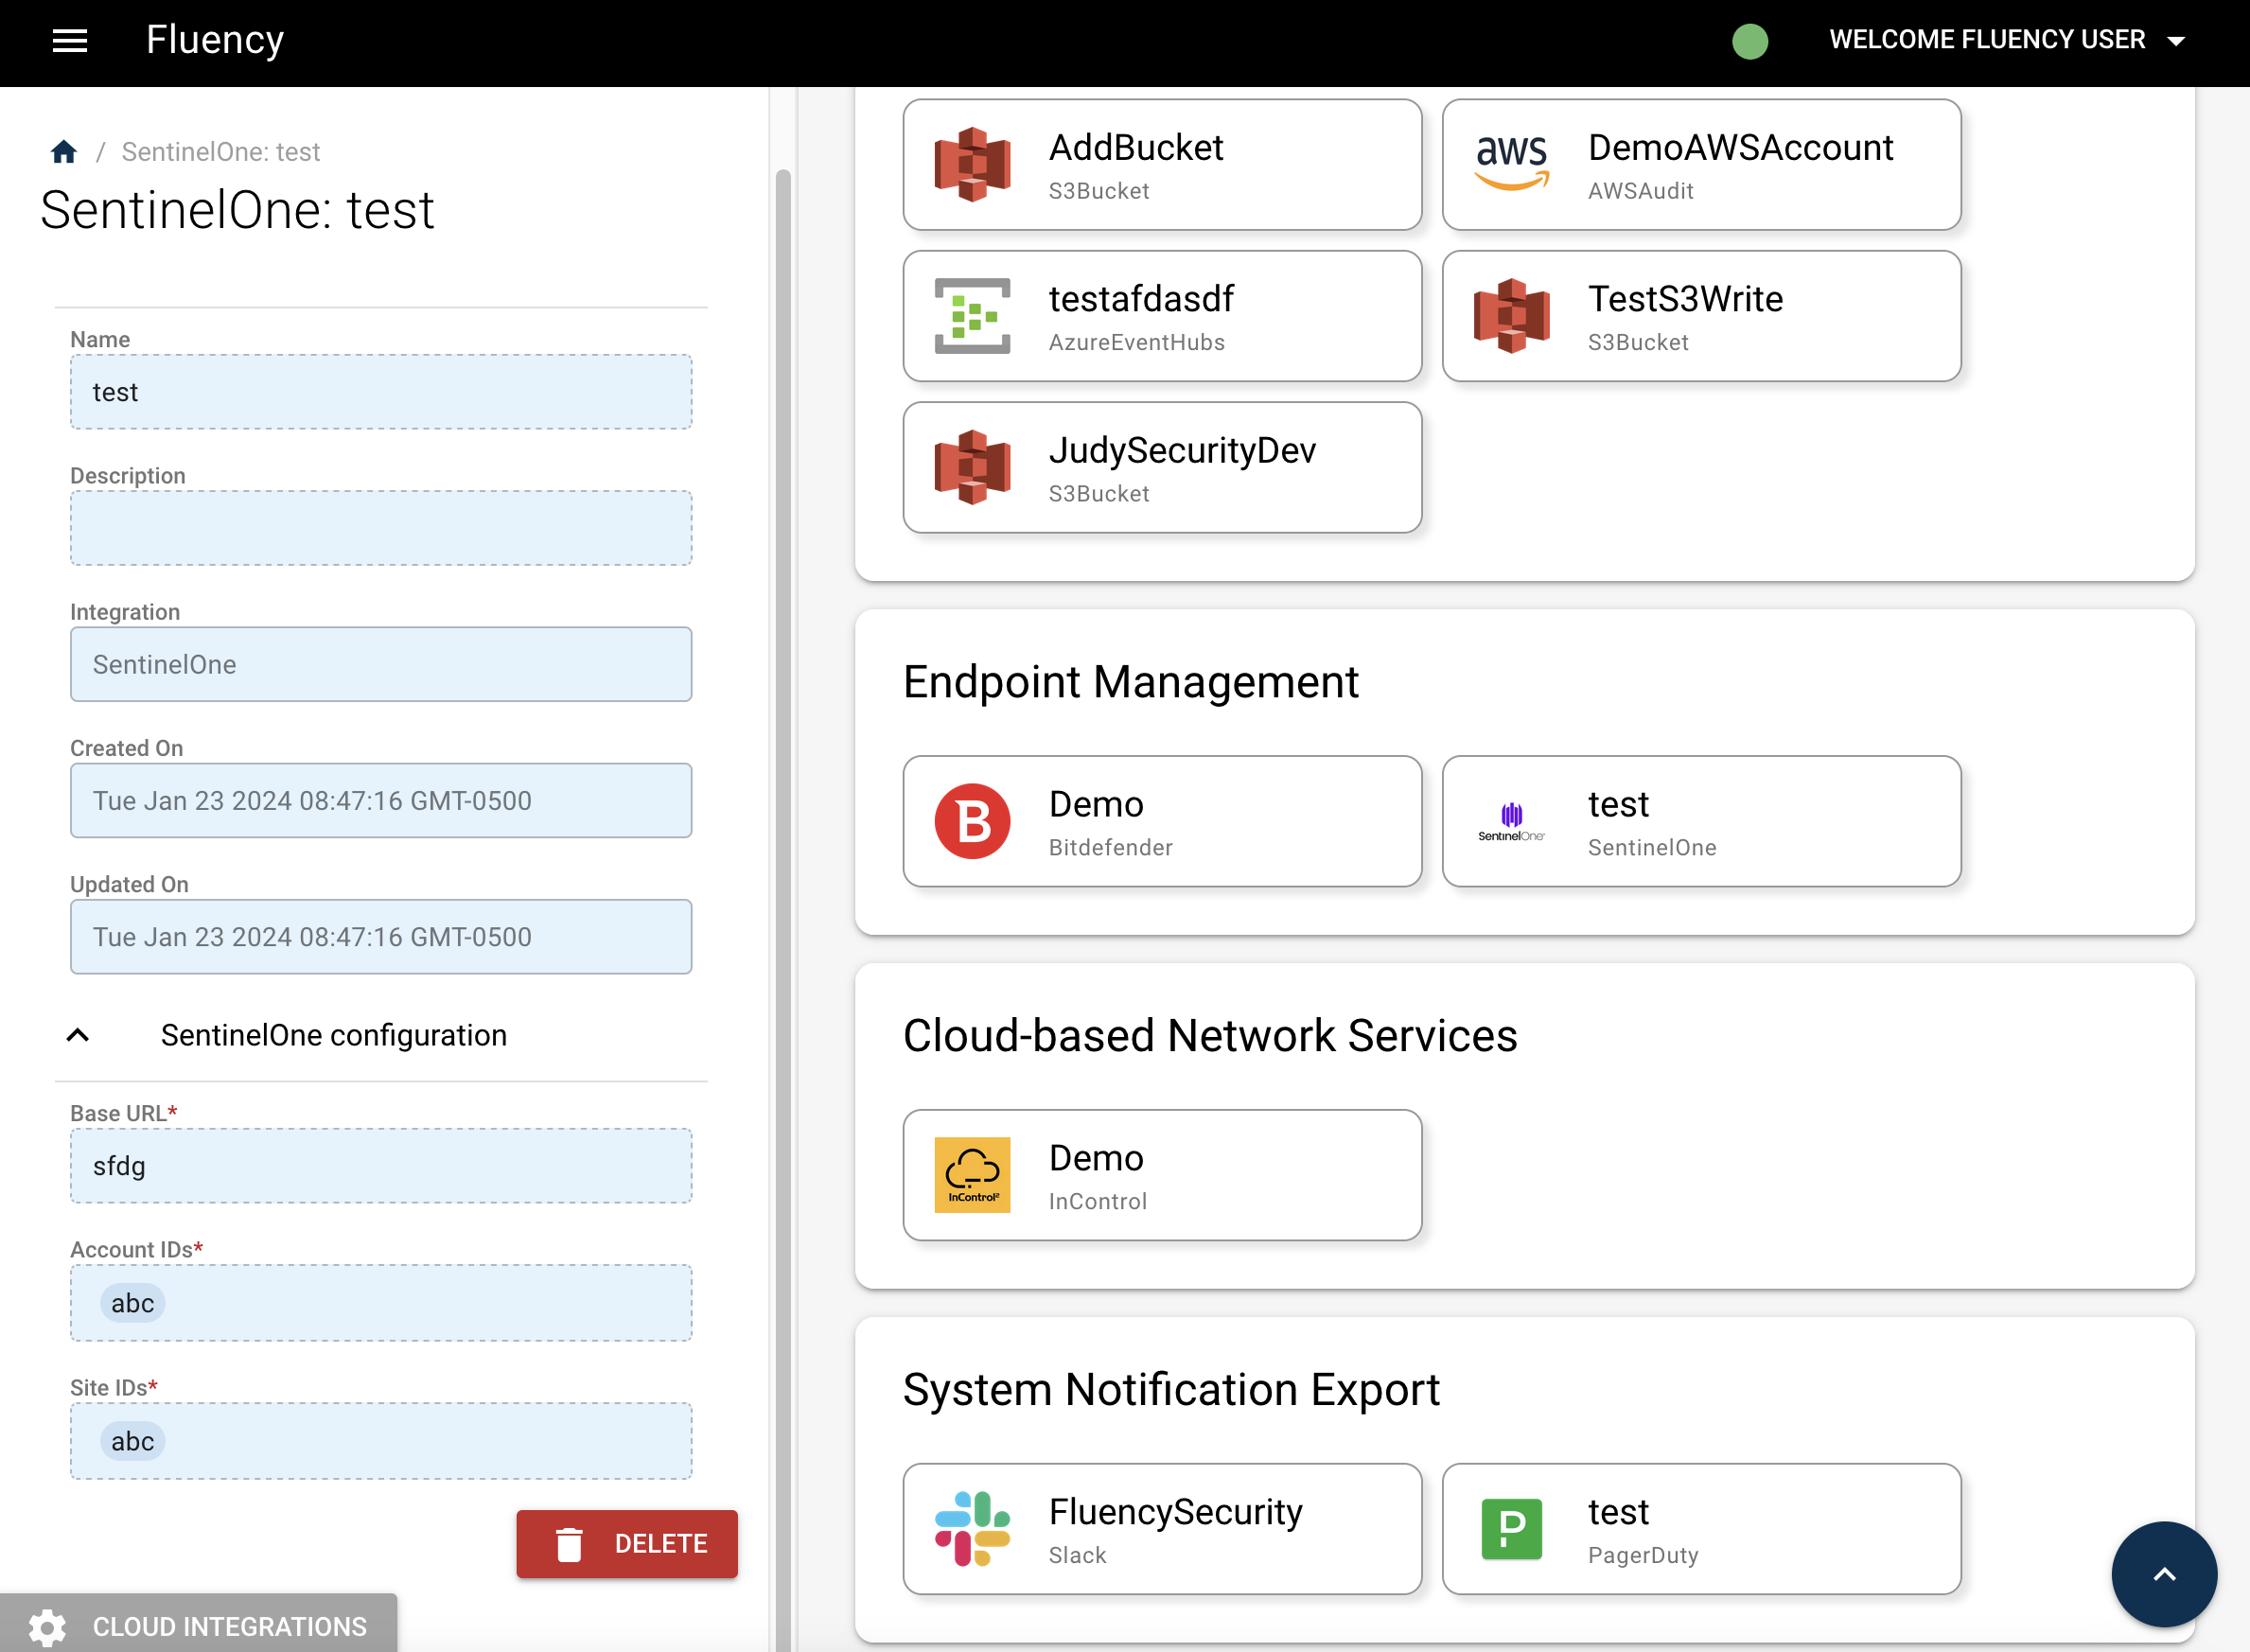
To add a new Sentinel One integration, click the "+" in the upper left corner, then you'll see a window on the left as below:
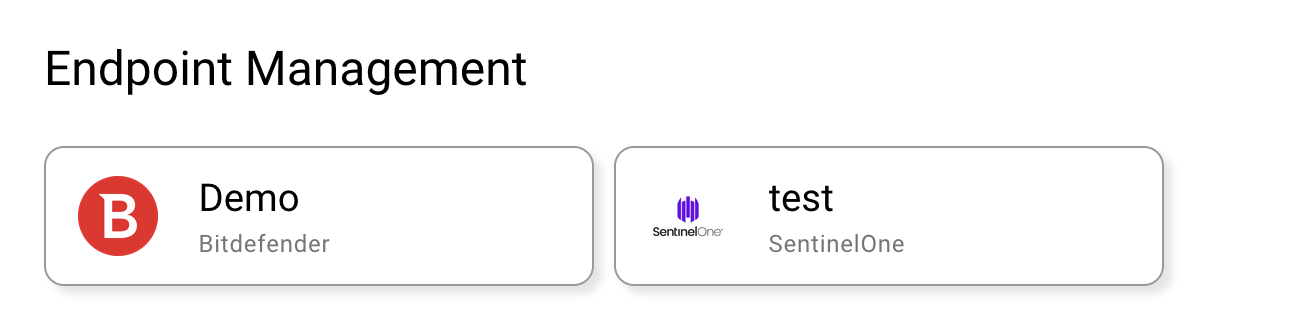
Click the "Save" button to add the connector. You can see it under the "Endpoint Management" section of the first tab "Existing Integrations".
Updating the API Token
In the first tab "Available Integrations", navigate to the Endpoint Management section, find the existing SentinelOne integration on the right side of the page.
Click the icon to view the integration.
Cloud Funnel 2.0
If available, the Cloud Funnel configuration page is found under the Settings section of the SentinelOne main menu.
Under the Integrations tab, navigate to the Cloud Funnel Section.
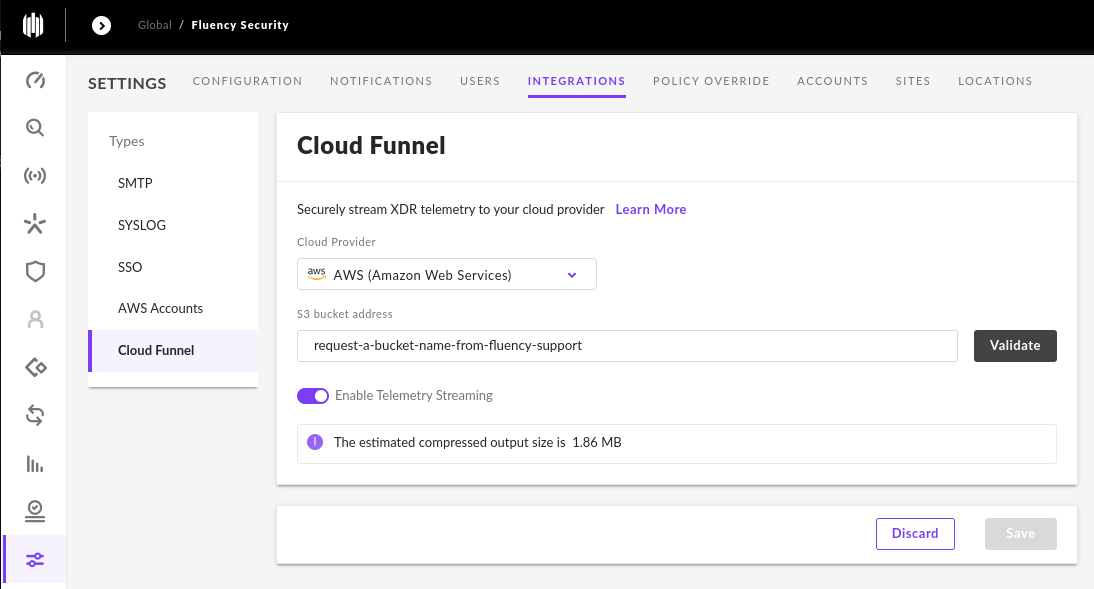
Please contact Fluency Support to request a dedicated S3 bucket address for your S1 Cloud Funnel integration.
Use the following link to: Create a Support Ticket
It is also possible (but not suggested) to use your own, existing bucket for this integration. Please reach out to Fluency Support if you have this need.
Once you have recieved your S3 bucket address from Fluency support, click Validate to validate the connection, and then click Save.
Adding a Fluency Plug-In for SentinelOne EDR w/ CloudFunnel
Sign in to your Fluency portal at https://<companyname>.app.ingext.io — see Fluency Web Interface for the URL formats.
Follow the instructions in the section above to start adding an integration.
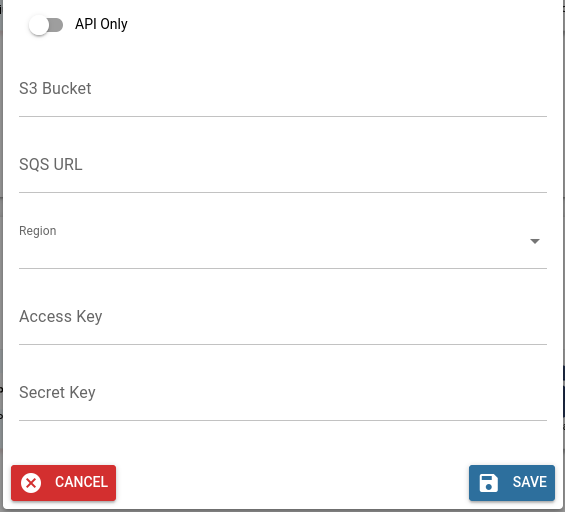
Please contact Fluency Support if you did not receive this information at the same time as your dedicated S3 bucket address.