Notifications
The Configuration → Notification walkthrough further down this page — its tabs, "+" buttons, and Lambda scripts — does not exist in the current interface. The current equivalent, Platform → Administration → Notifications, is documented immediately below. The older walkthrough is kept only until it can be rewritten.
The Notifications page itself, control by control, is documented in the interface reference at Platform → Administration → Notifications, which is canonical for what the screen contains. This page covers what to configure and why.
The Platform Notifications page
Menu path: Platform → Administration → Notifications · URL path: /platform/notifications
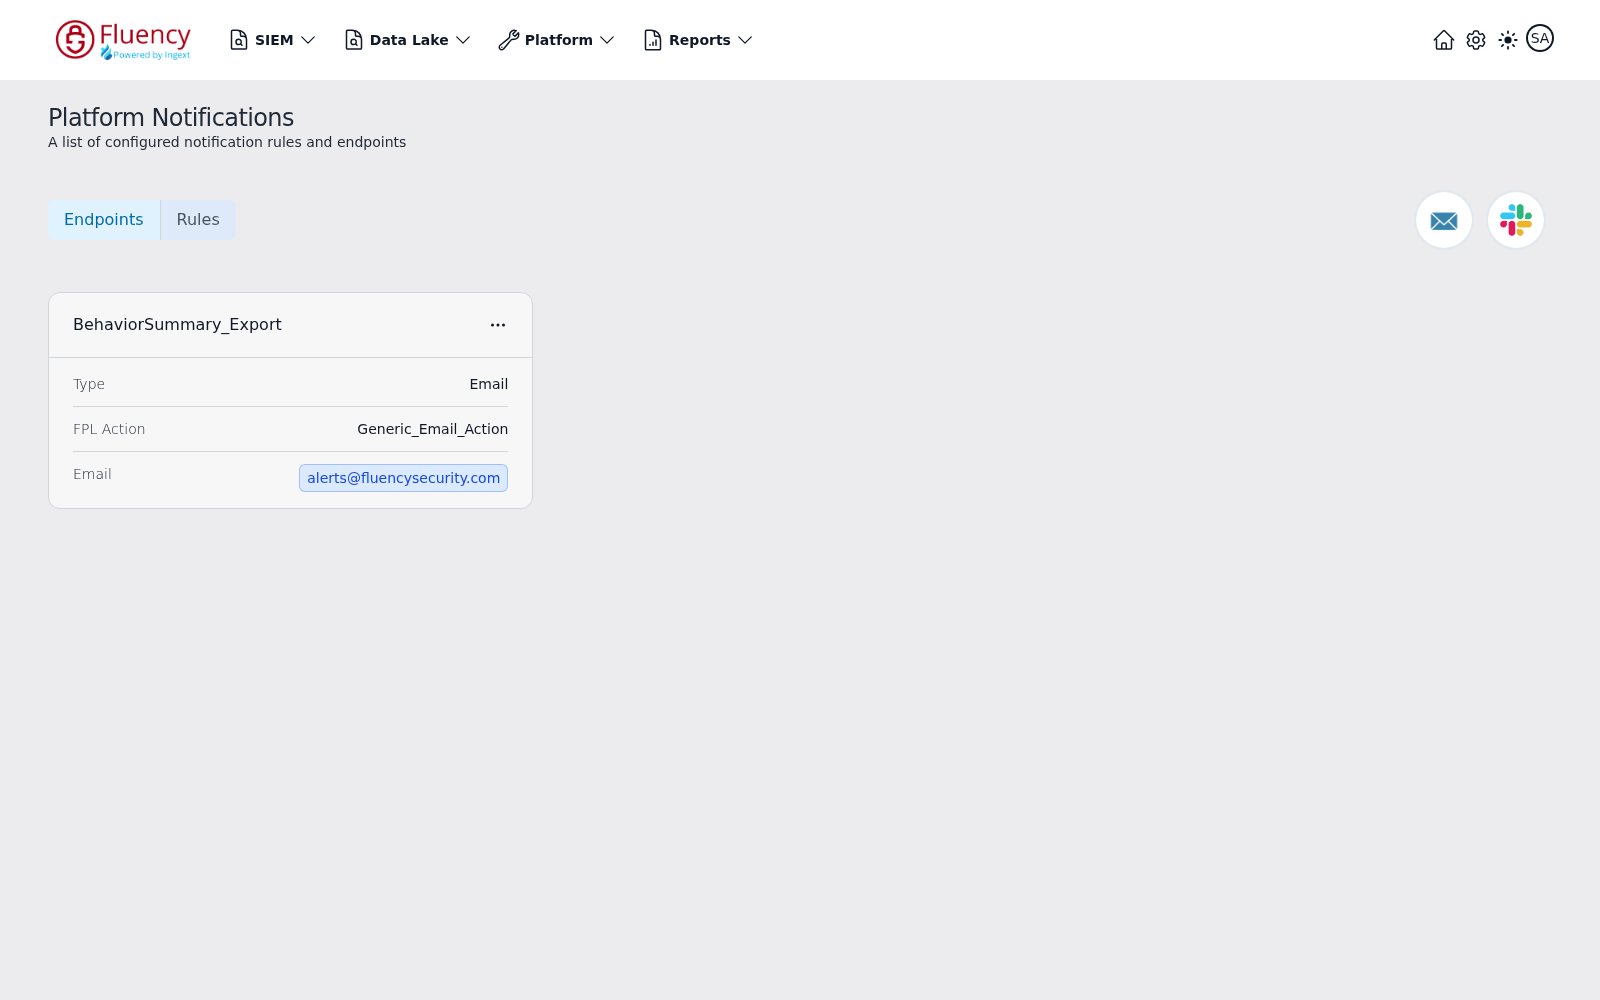
The page is titled Platform Notifications, subtitled A list of configured notification rules and endpoints. An Endpoints / Rules tab selector sits on the left, and two round add-endpoint icon buttons — an envelope and a Slack mark — sit on the right. Configured items appear underneath as cards.
- Endpoints (the default tab) lists the configured delivery destinations as cards.
- Rules switches the view to the configured notification rules.
Each endpoint is backed by an FPL Action rather than by a lambda. FPL Actions themselves are managed on the Platform → Processors page, under its Actions tab.
Adding an email endpoint
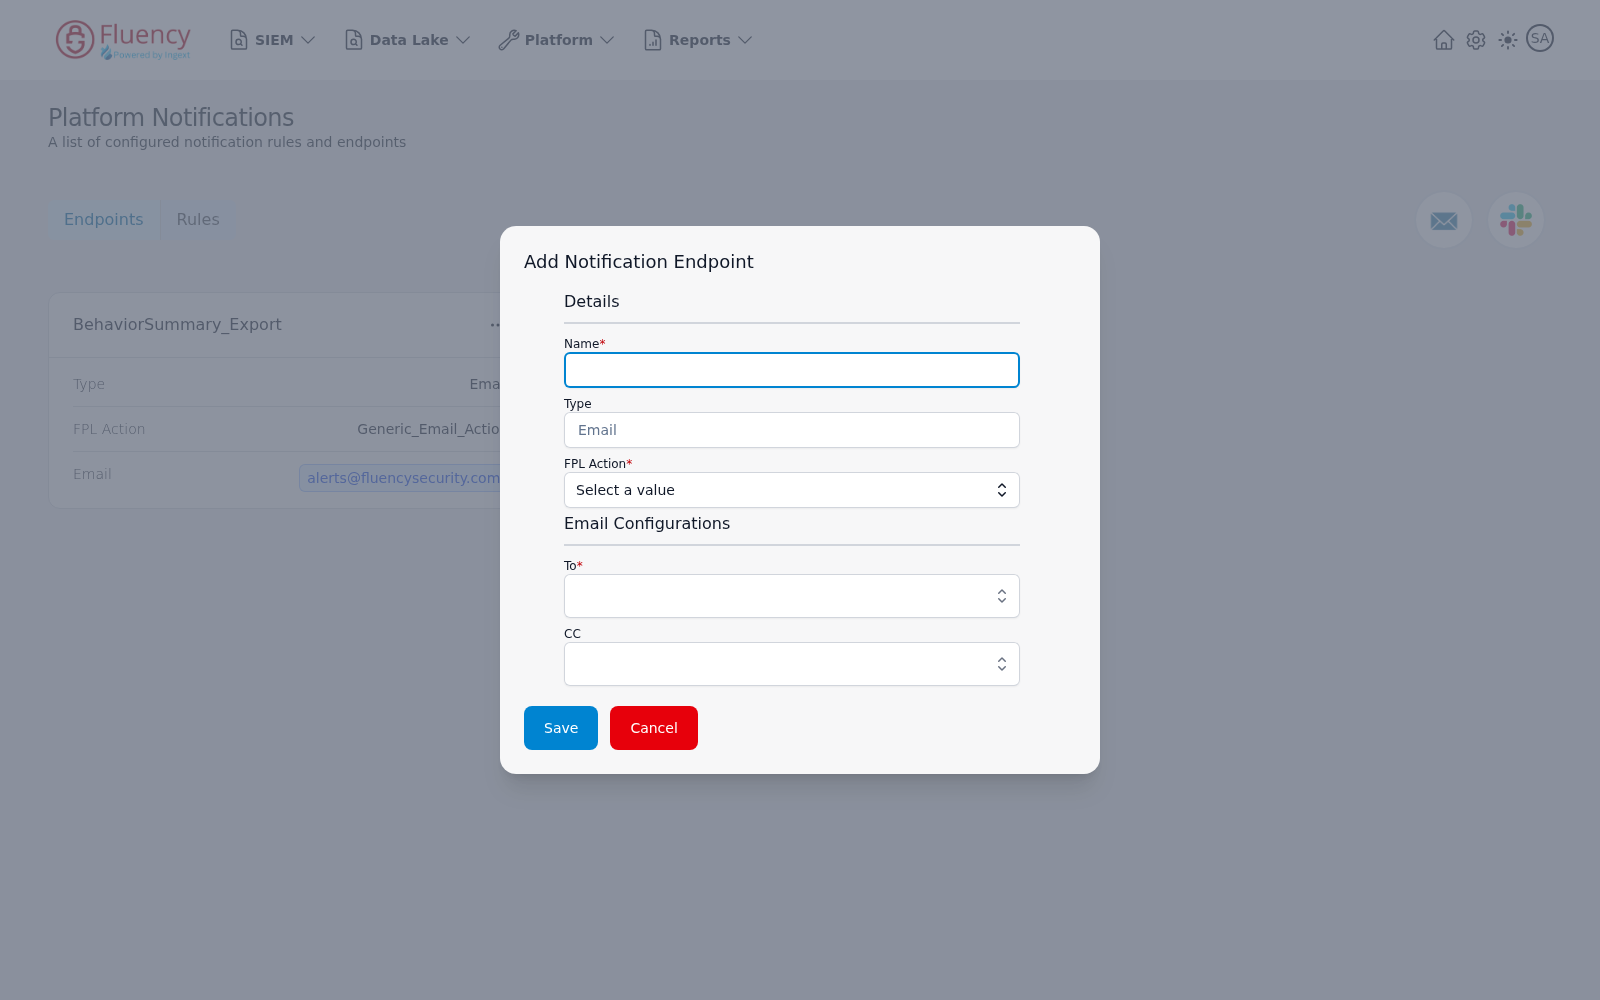
Click the envelope icon button. The Add Notification Endpoint dialog opens with Type fixed to Email and two sections:
- Details — Name (required), Type, and FPL Action (required, a Select a value drop-down).
- Email Configurations — To (required) and CC, both recipient selection fields.
Click Save to create the endpoint or Cancel to close the dialog.
Adding a Slack endpoint
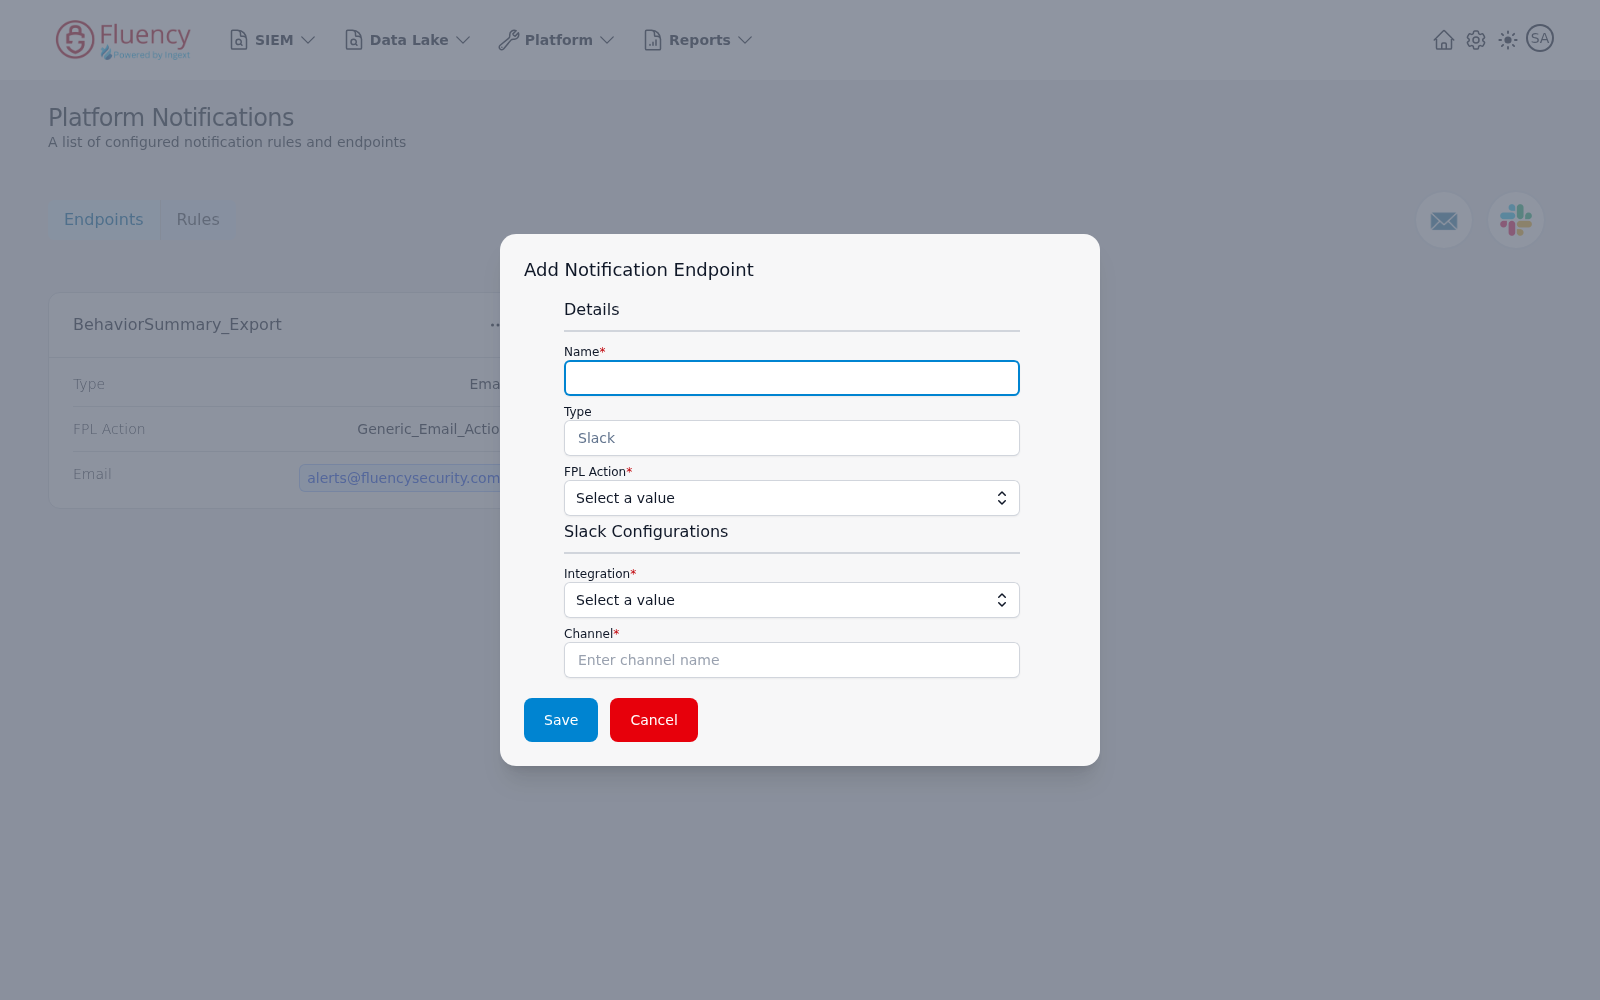
Click the Slack icon button. The same dialog opens with Type fixed to Slack:
- Details — Name (required), Type, and FPL Action (required).
- Slack Configurations — Integration (required, a Select a value drop-down of configured Slack integrations) and Channel (required, a text field with the placeholder Enter channel name).
Connecting the Slack workspace itself is a separate step, done on Platform → Integrations — see Slack Integration.
Endpoint cards
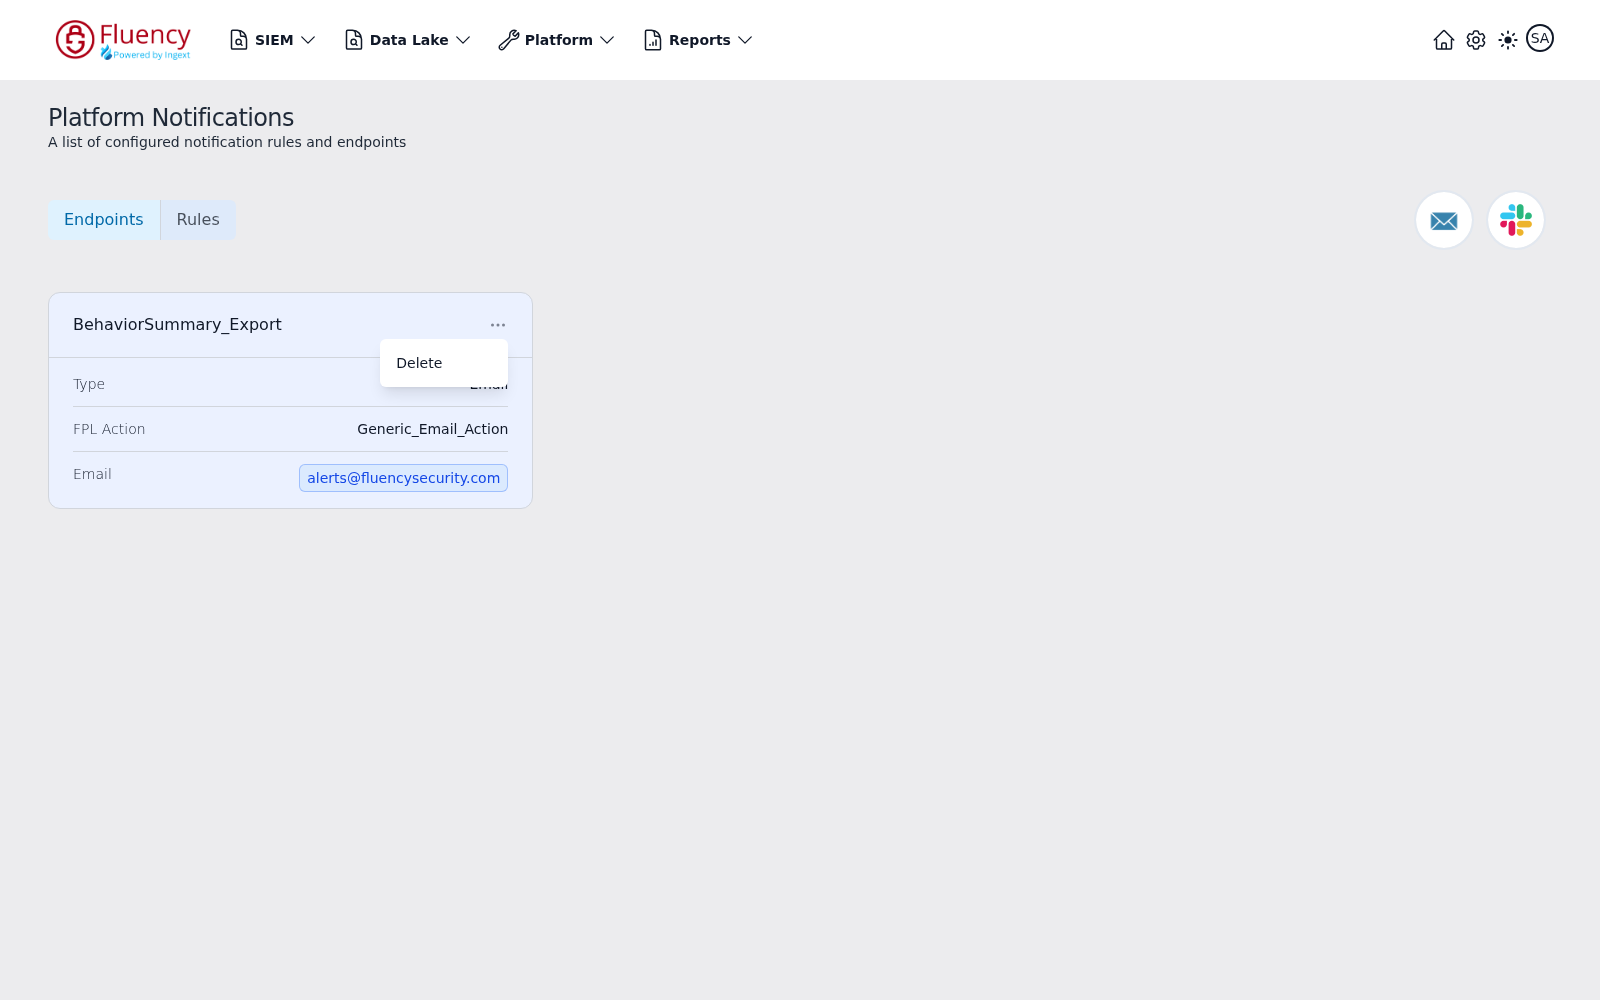
Each configured endpoint is a card whose header shows its name and an options button (...), and whose body lists the endpoint's properties — for an Email endpoint, the Type, the FPL Action that sends the notification, and the recipient Email shown as a tag.
Editing an endpoint
Click a card's body to open the Edit Notification Endpoint dialog. It carries the same fields as the add dialog, pre-filled with the endpoint's current values; Type is read-only, while the name, the FPL action, and the delivery configuration can all be changed. Save applies the change, Cancel discards it.
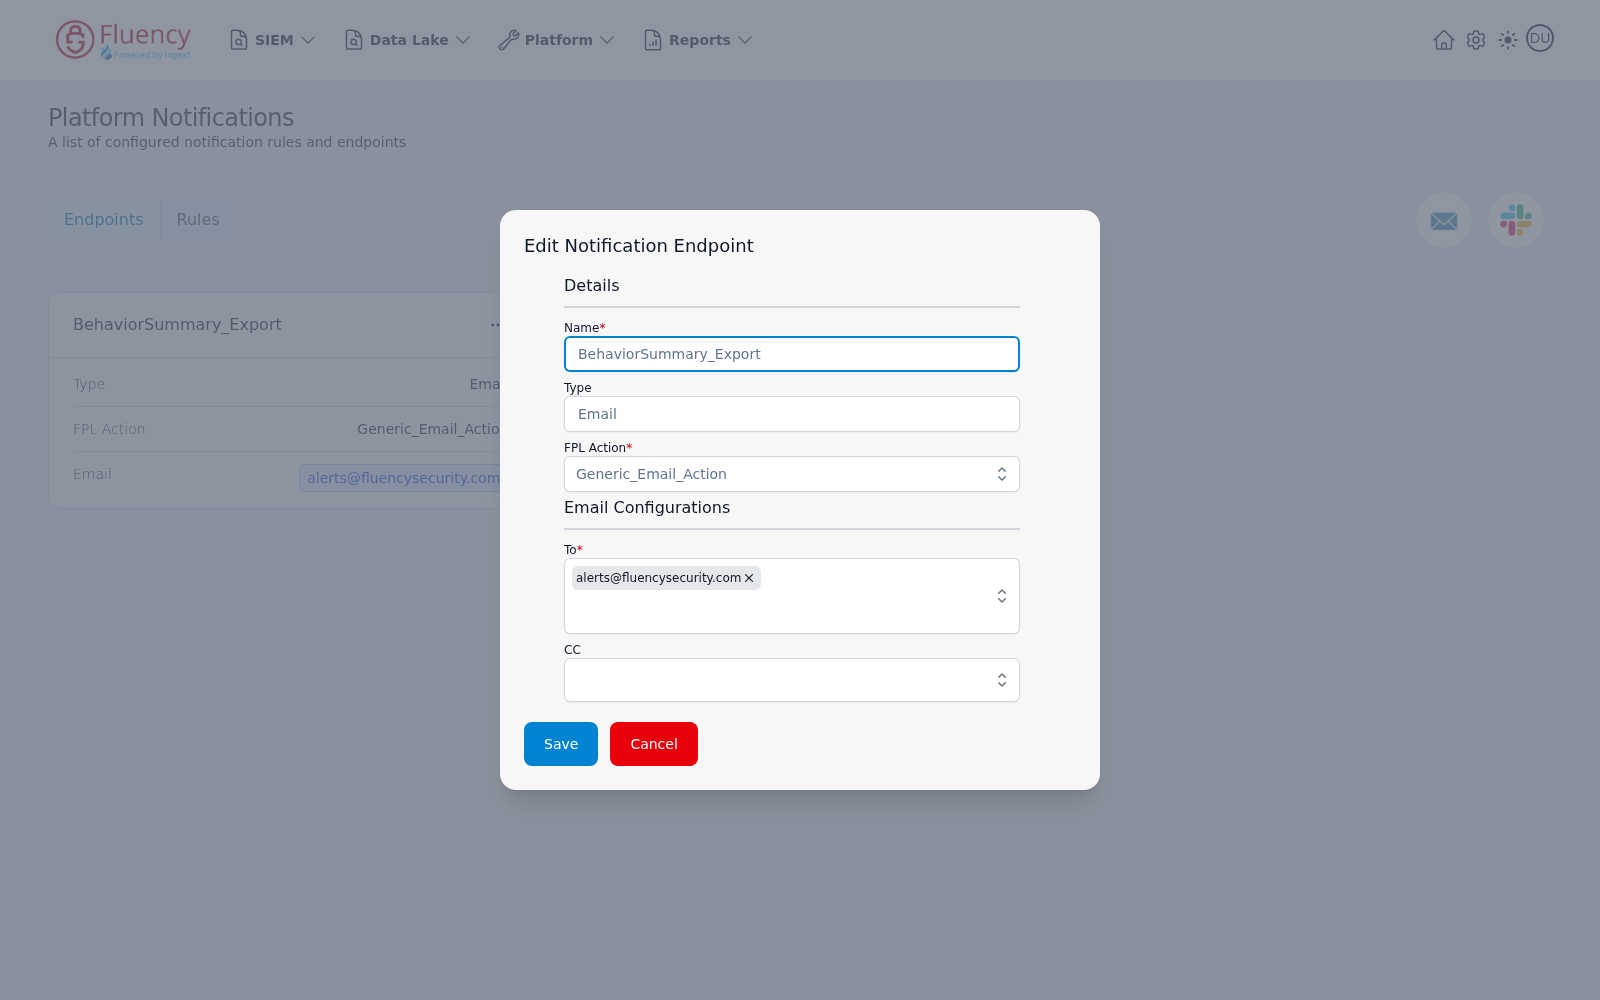
The edit action is on the card body rather than in the options menu, which is easy to miss — the ... menu offers only Delete.
Deleting an endpoint
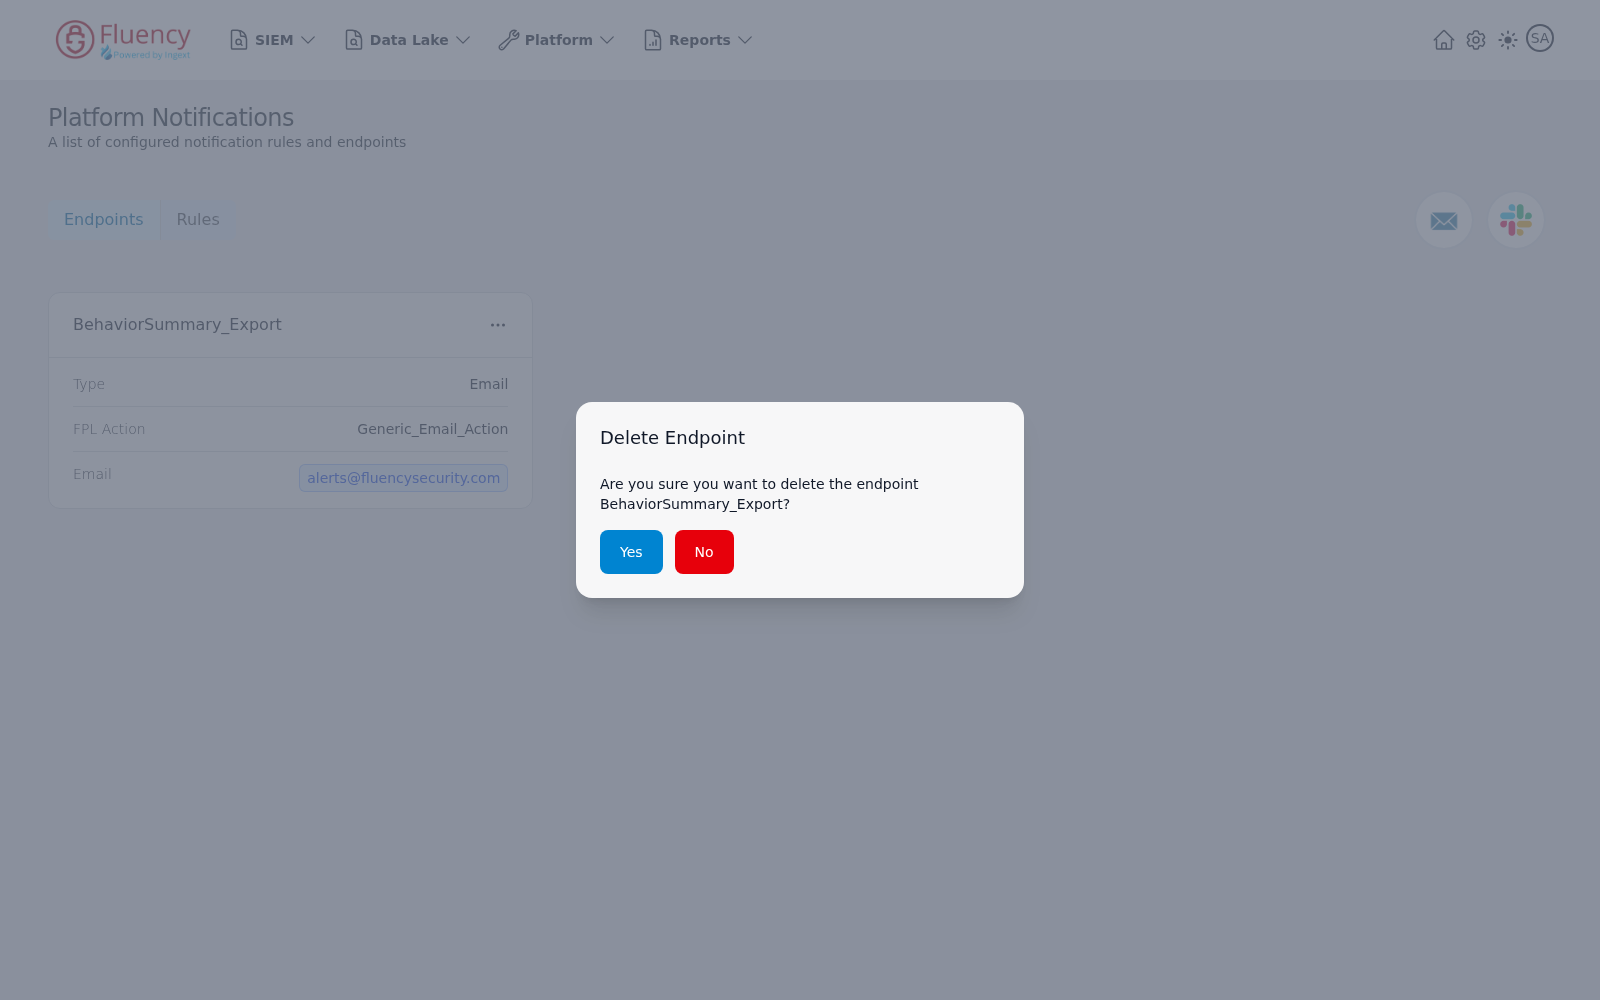
The options button (...) in a card's header opens a menu holding a single entry, Delete, which opens a Delete Endpoint confirmation asking Are you sure you want to delete the endpoint followed by the endpoint's name. The blue Yes deletes it; the red No keeps it.
Notification rules
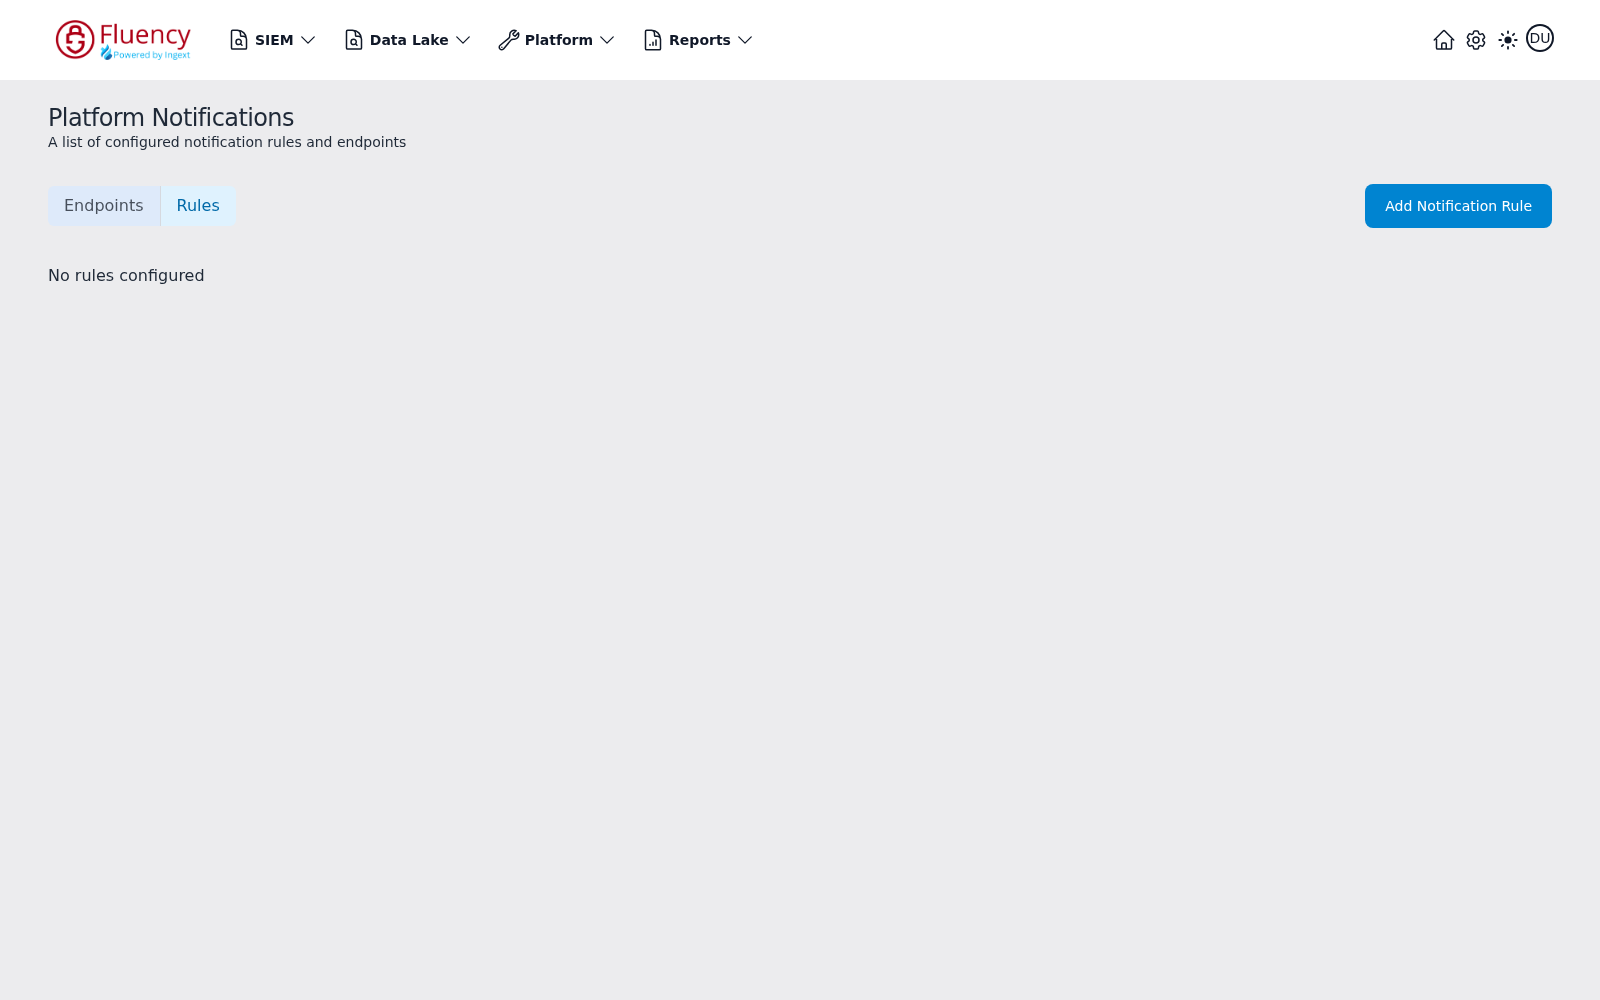
An endpoint says where a notification goes; a rule decides what goes there. Select the Rules tab to manage them. The tab replaces the two round add-endpoint icons with an Add Notification Rule button; with nothing configured the body reads No rules configured.
Adding a rule
Click Add Notification Rule to open the Add Notification Rule dialog, which has a single Details section:
- Name (required) — a name for the rule.
- Patterns (required) — a drop-down of the patterns that trigger the rule.
- Endpoints (required) — a Select Values drop-down for choosing which endpoints the rule delivers to. One rule can feed several endpoints, so the same trigger can reach both an email distribution list and a Slack channel.
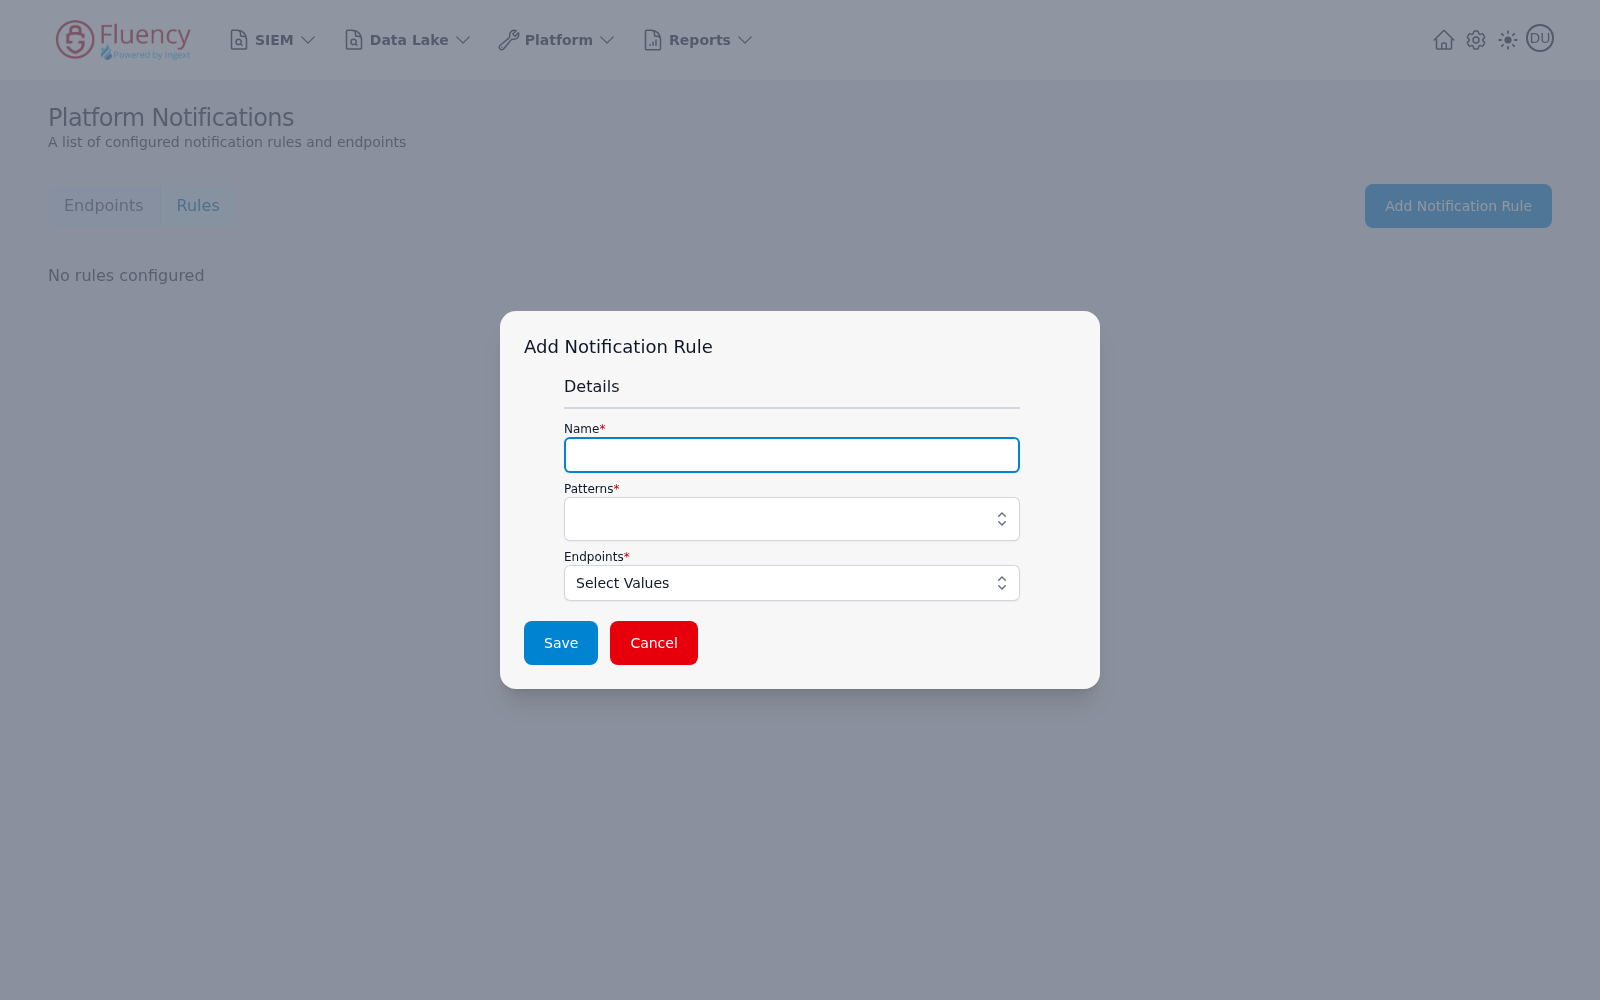
Click Save to create the rule or Cancel to close the dialog.
Because all three fields are required, an endpoint with no rule pointing at it delivers nothing — and does so silently. When a channel that used to work goes quiet, check the Rules tab before assuming a delivery failure; see Notification Delivery.
The BehaviorSummary Notification Export Application
Mailing behaviour summaries out is packaged as an application rather than assembled by hand. Go to Platform → Applications → Install Application From Template and choose BehaviorSummary Notification Export from the System Components category; it takes no parameters, so press Install.
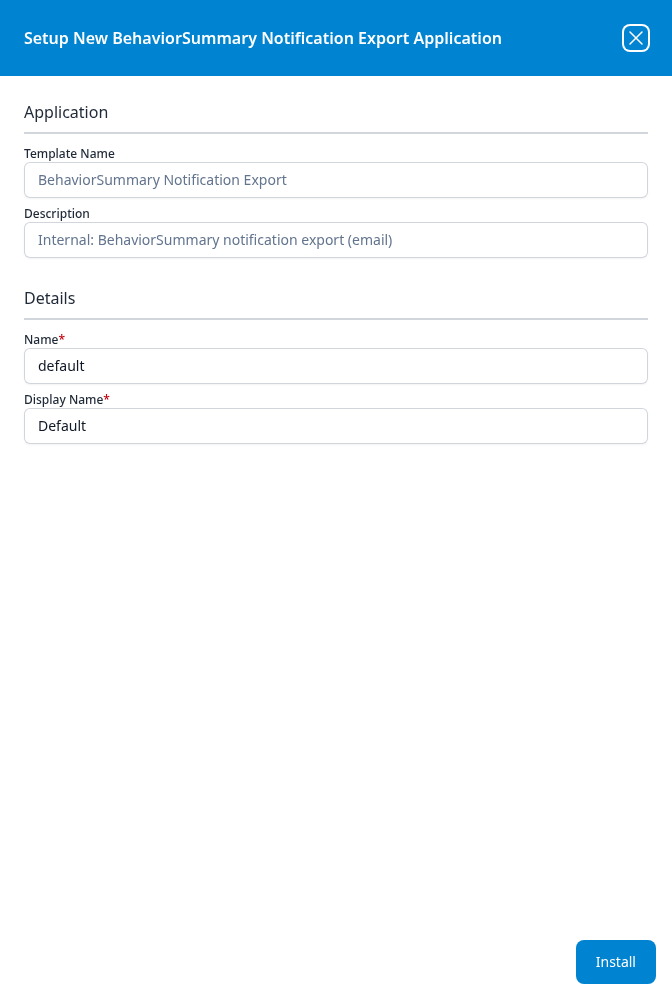
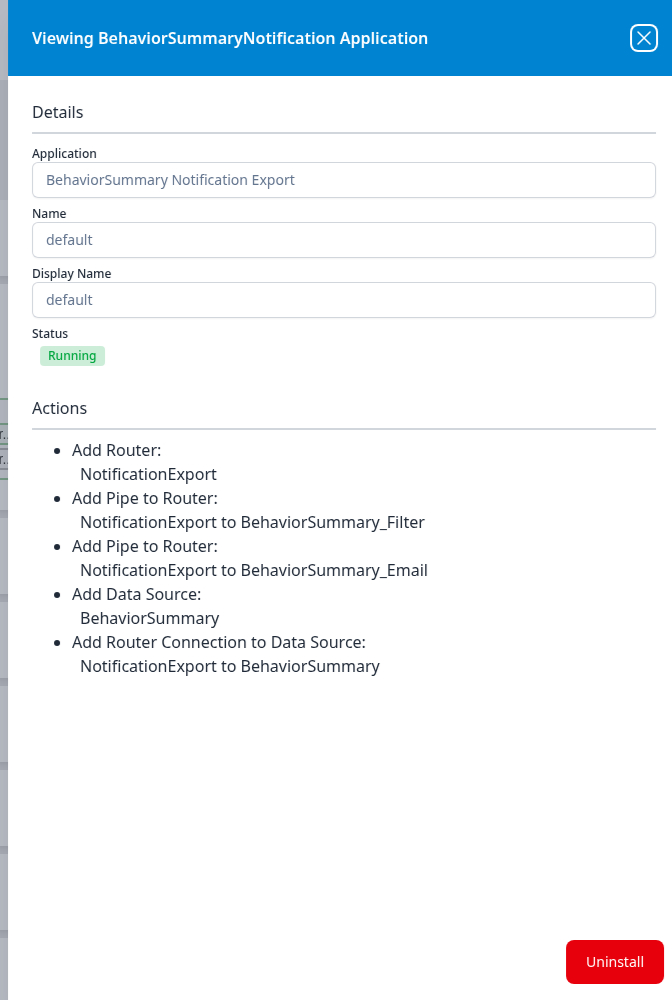
Open the installed application's details panel with the blue eye button on its card, and the Actions list records what it built — a NotificationExport router, a BehaviorSummary data source, the connection between them, and the BehaviorSummary_Filter and BehaviorSummary_Email pipes. Read that list before editing any of those objects by hand.
The older Notification page
Everything from here to the end of the page describes a build of the portal that is no longer shipping.
Sign in to your Fluency portal at https://<companyname>.app.ingext.io — see Fluency Web Interface for the URL formats.
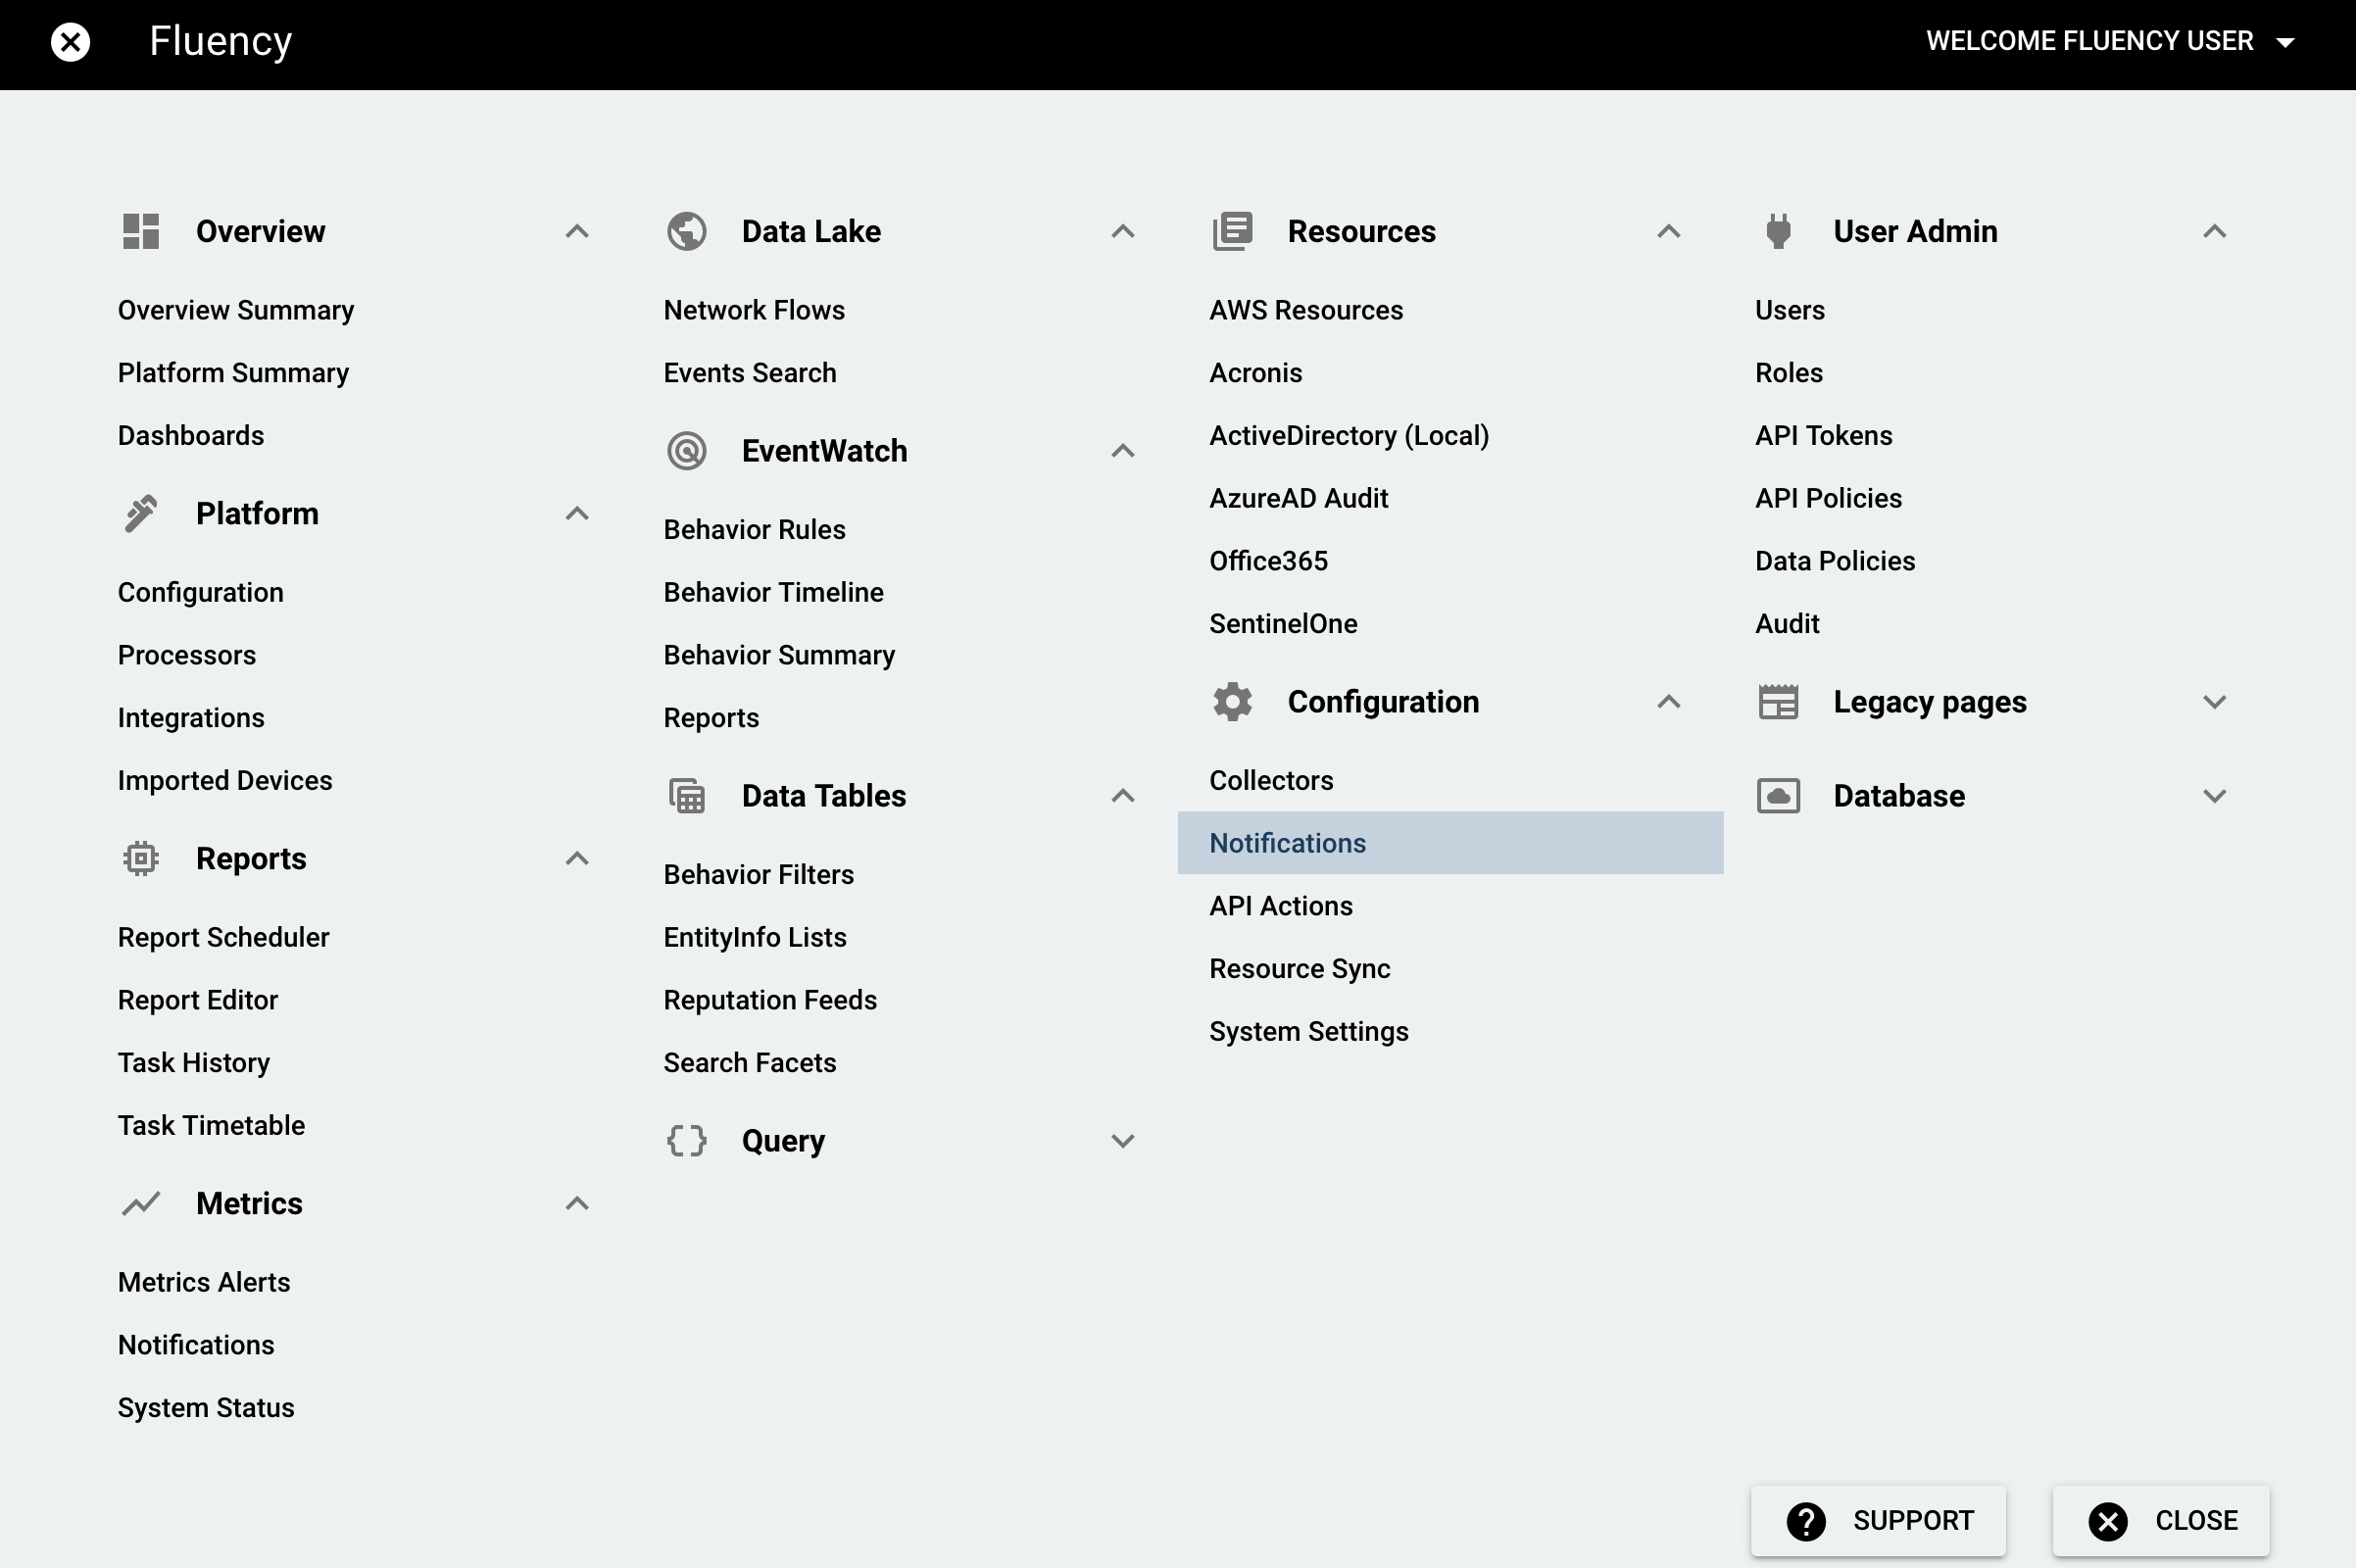
Open the Main Menu from the upper left-hand corner and choose the Notification option under the Configuration section.
On the following page, you'll see 2 tabs, "Notifications" and "Endpoints". Click the pencil button on the right side of each table if you'd like to edit the configuration.
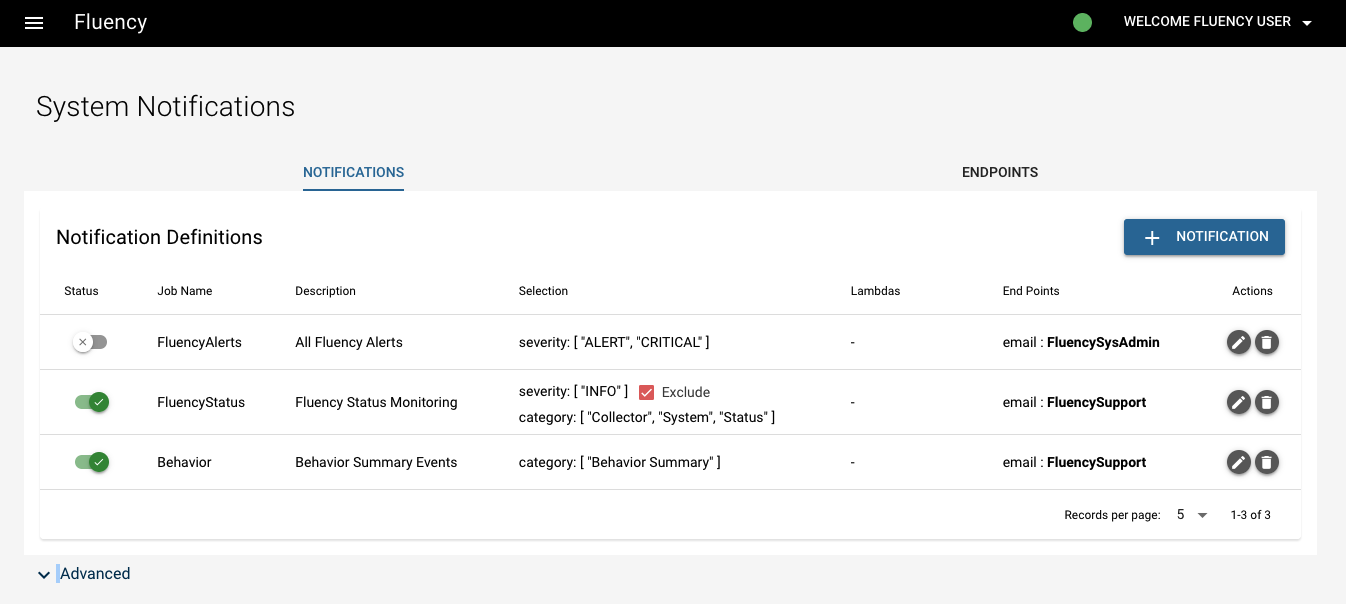
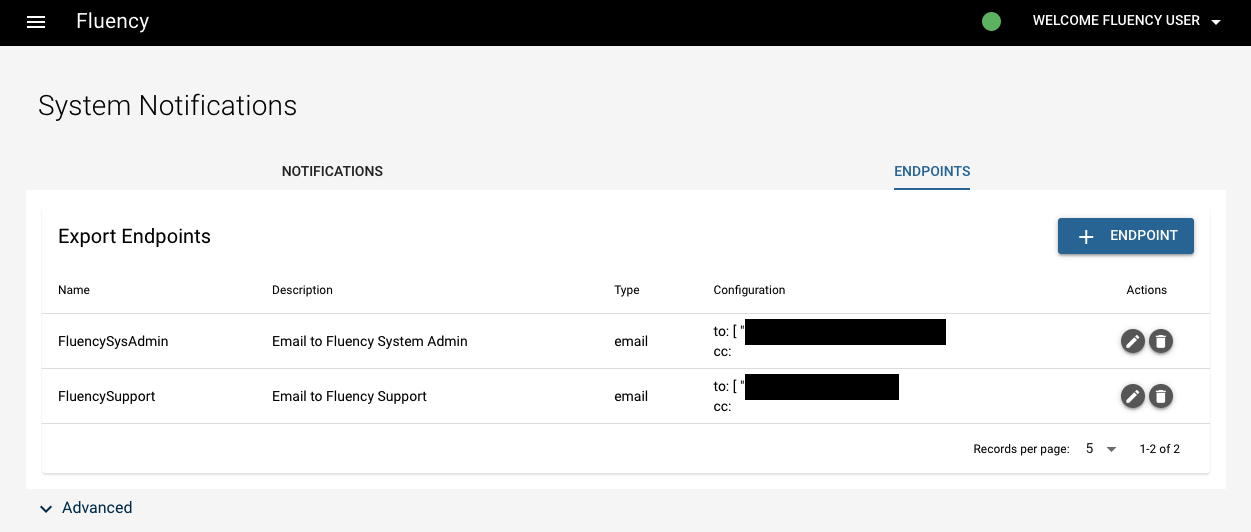
In the upper right corner of both the 2 tables, there are "+" buttons. Click them if you want to add new notification definition/endpoint.
Click "Advanced" below each table, there is a third table named "Lambda".

Notification Definition
Click the "+" button of the first tab "Notification Definition".
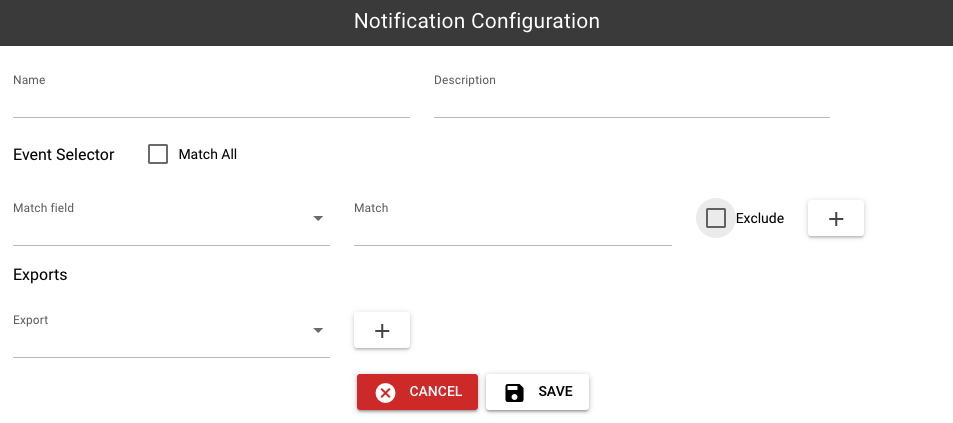
After giving name and description, you can define a list of "match fields" on "eventSource", "severity", "category" and "subCategory". An "Exclude" checkbox is available to "invert" the match result. Incoming event will be selected if all matches evaluated to be true. Press enter after typing in the "Match".
Endpoint
Click the "+" button of the second tab "Endpoint".
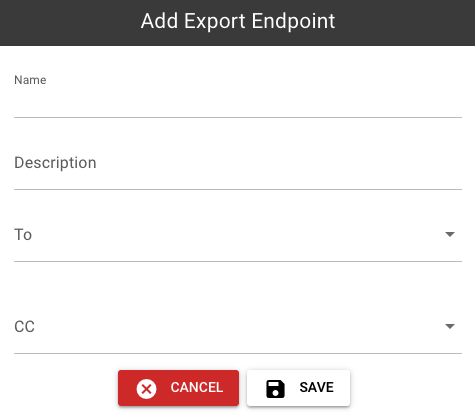
Add name, description and recipient of a new endpoint.
Advanced: Lambda
Lambda scripts can be used to parse events that do not already have parsers configured. They can also be used to create flows using the data presented in an event's fields. They can be written in javascript or groovy.
Click the "+" button in the upper right corner of the table.
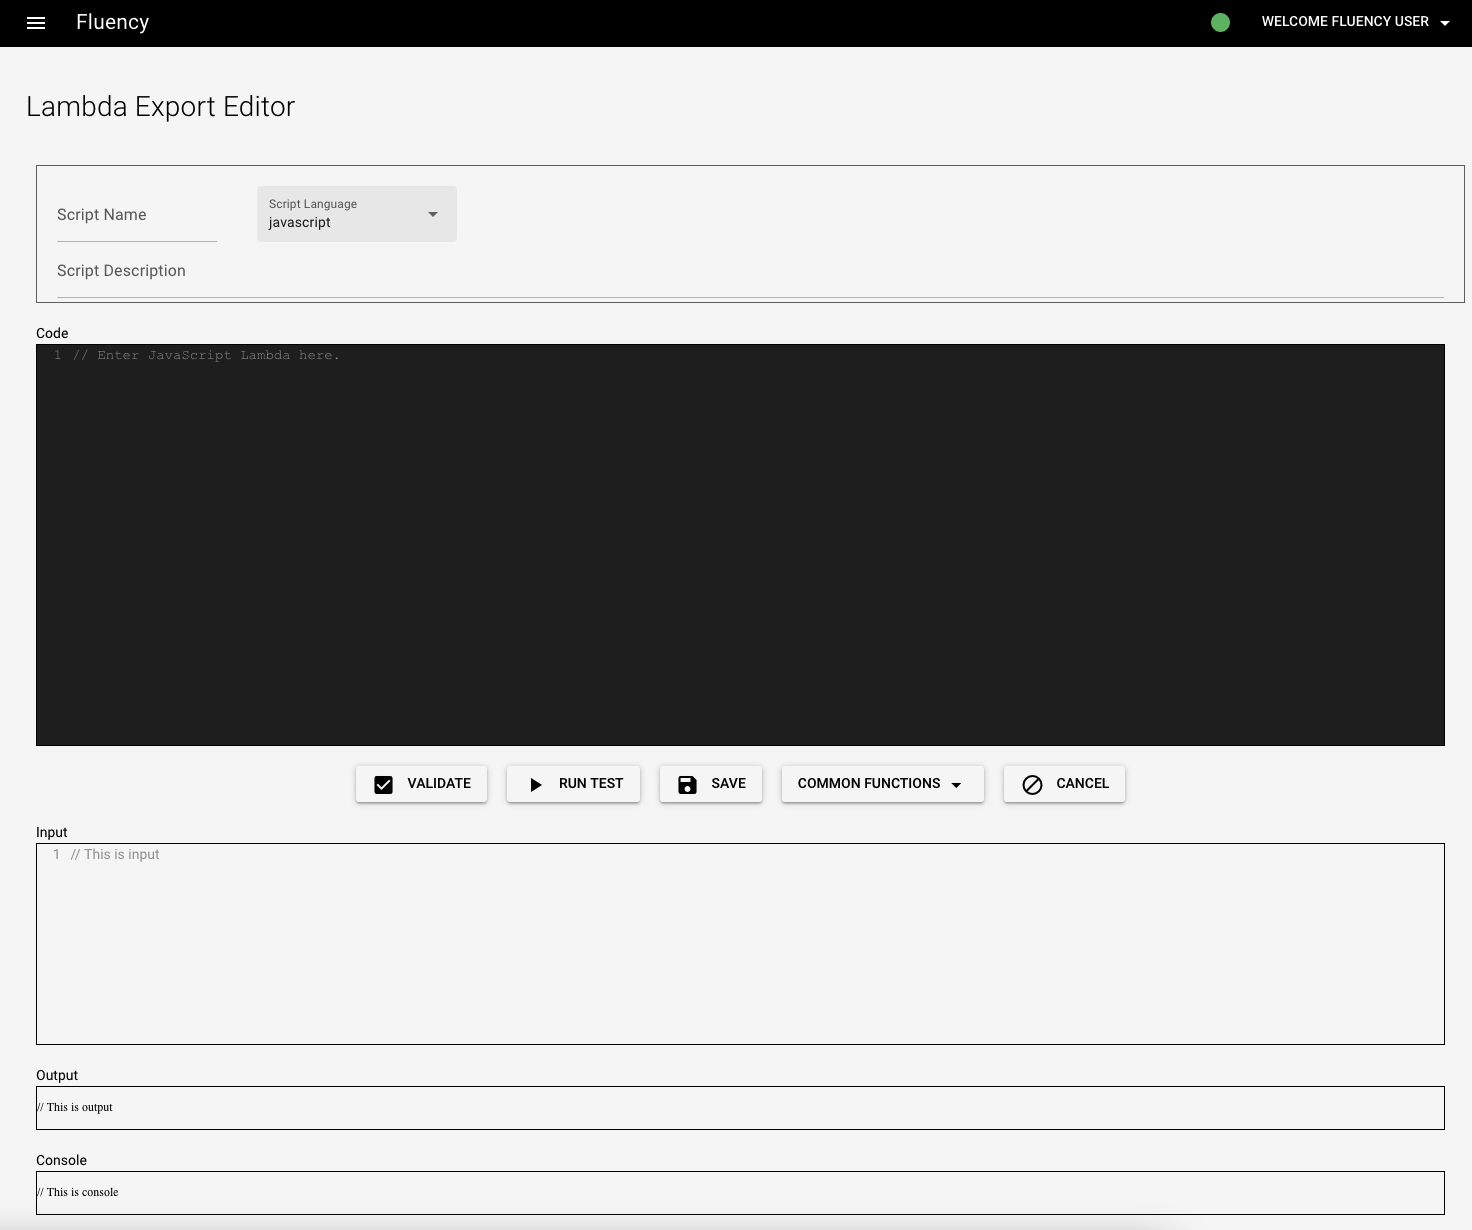
At the top of the page, enter a name and description for the lambda script. After saving the script, the name cannot be changed.
Use the "Code" tab to write the script. The "Input" tab allows a sample input to be entered; it can be used for testing. The console logs will display any errors or print statements. The output will display the output data after parsing.
Going back, there's also a "cat" button next to the "+" button which means "import from Github".