Slack Integration
Creating a Slack application
Navigate to the following Slack URL to create/configure a slack Application: https://api.slack.com/apps.
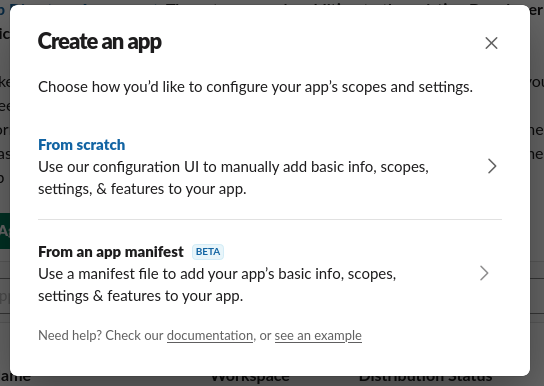
Click the "Create New App" button on the top right corner, and choose the "From scratch" option:
Give the App a name, and choose the desired workspace:
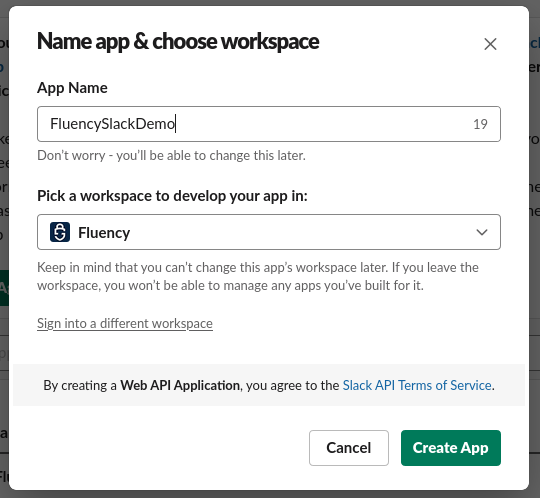
Click "Create App" to continue.
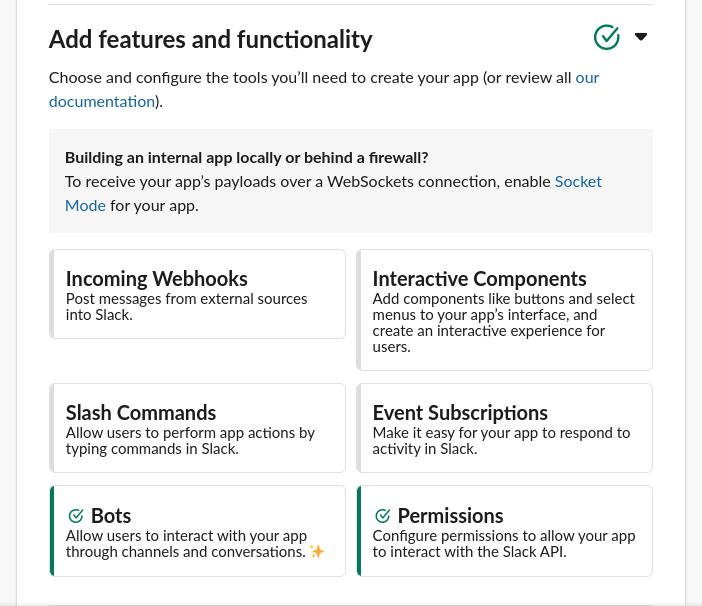
On the following page, configure the features/functionality of the App. Select the "Permissions" tab:
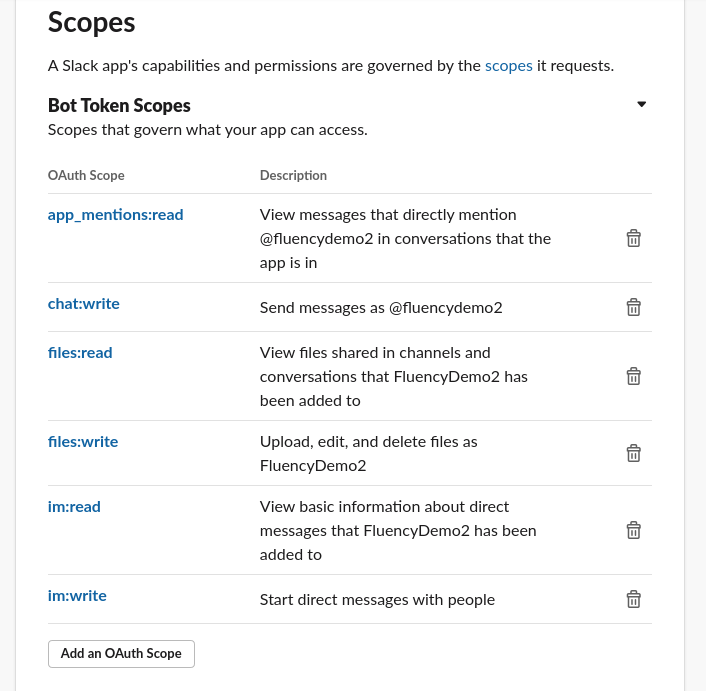
Scroll down to the "Scopes" section, and add the following permissions to the App:
Installing a Slack application to a Workspace
Navigate back to the top of the page, and Install the App to the desired Workspace:
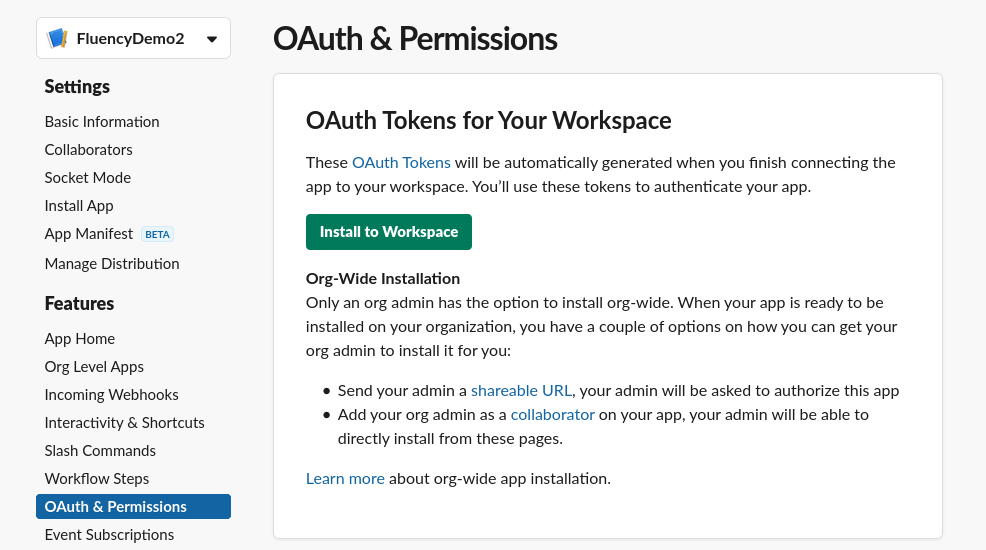
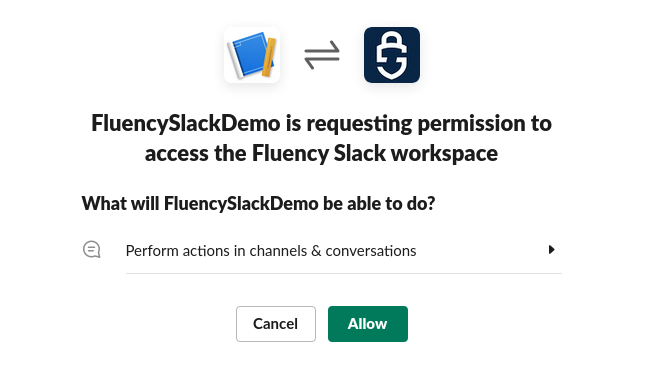
Accept the permission request:
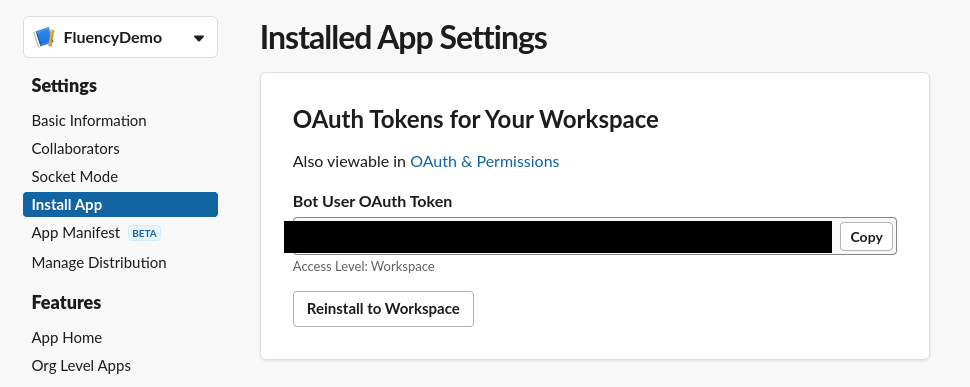
Make a note of the Bot User OAuth Token. It will be needed in the following steps:
Adding a Slack application to a Channel
Navigate to the Slack workspace. Click on the channel name to see the channel details. Choose the Integrations tab:

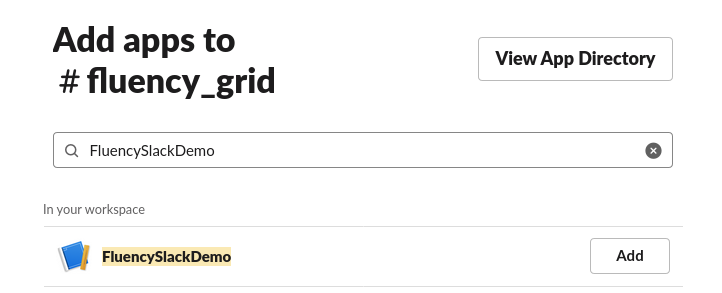
Scroll down and select "Add apps" to add the App to the Slack channel:
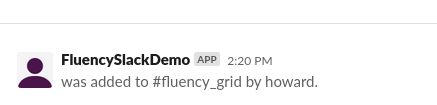
See the confirmation message in the Slack channel:
Configuring in Fluency
The API Actions page and its Actors and API Configs used in the Slack Actor, Slack API, and Behavior Action steps below do not exist in the current interface. Use The Slack notification endpoint immediately below instead.
The Slack notification endpoint
Two steps, on two pages:
-
Connect the Slack workspace on Platform → Integrations — the New Integration view, Slack under System Notification Export. This is the step described under Platform Integration (System Notification Export) at the foot of this page, and it is where the Bot User OAuth Token recorded above is pasted.
-
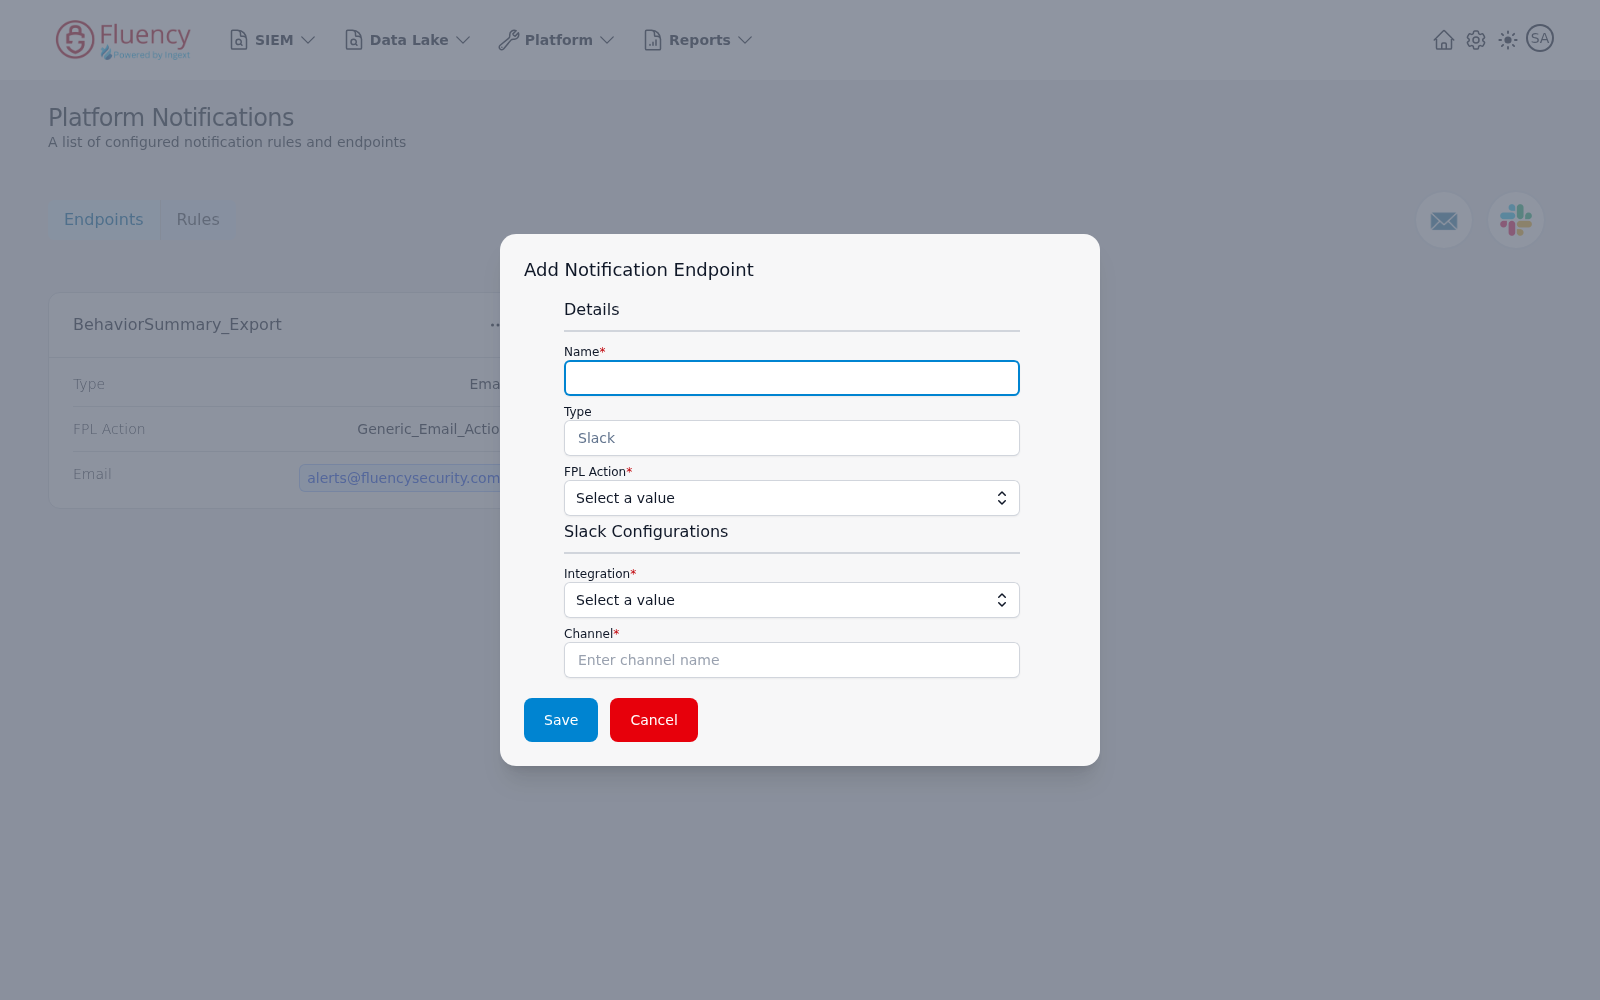
Create the endpoint on Platform → Administration → Notifications. On the Endpoints tab, click the round Slack icon button at the right of the header. The Add Notification Endpoint dialog opens with Type fixed to Slack:
- Details — Name (required), Type, and FPL Action (required, a Select a value drop-down).
- Slack Configurations — Integration (required, a Select a value drop-down listing the Slack integrations configured in step 1) and Channel (required, a text field with the placeholder Enter channel name).
Click Save to create the endpoint, or Cancel to close the dialog.
The endpoint then appears as a card on the Endpoints tab; its options button (...) offers a single Delete entry, behind a confirmation dialog.
The older API Actions route
Refer to the main page of Actions.
Slack Actor
For a Slack actor:
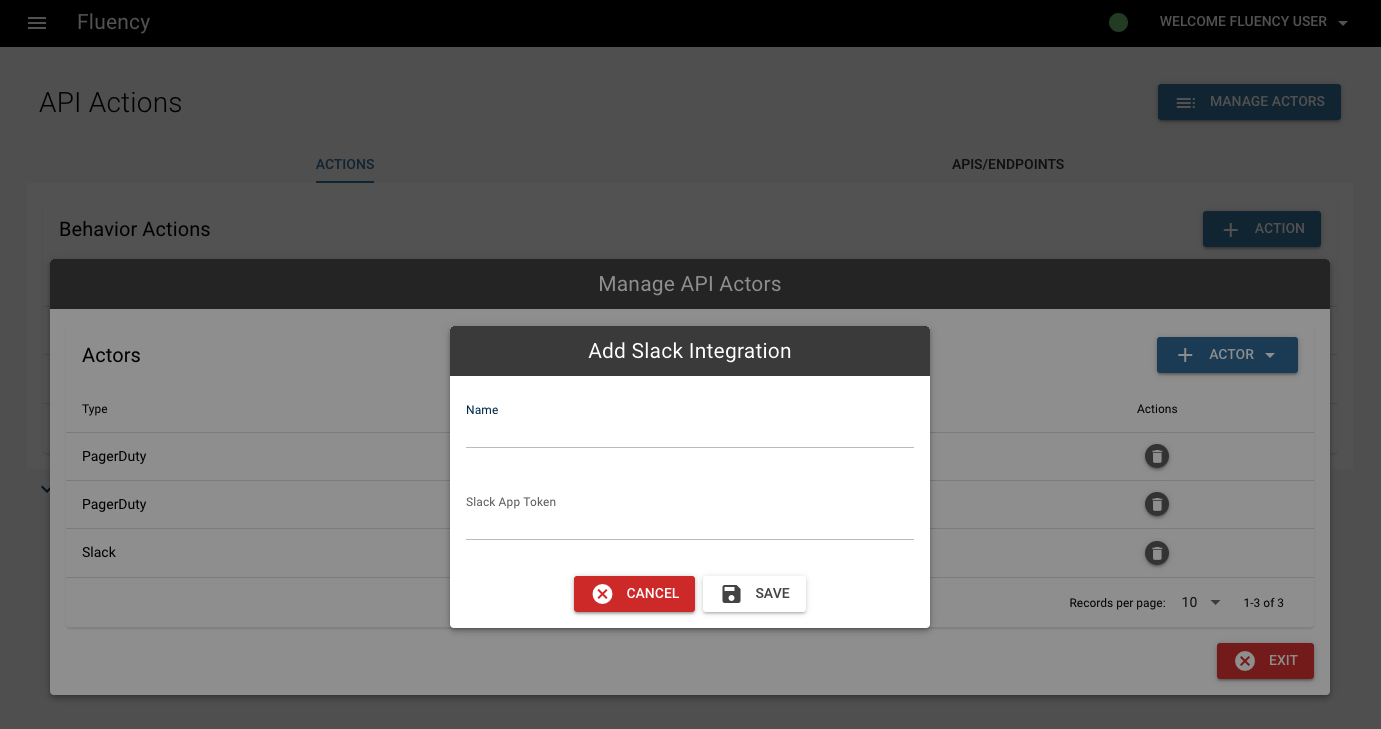
(1) Click "MANAGE ACTORS" on API Actions page;
(2) Click "+ ACTOR" and choose "slack" from the pull-down menu;
(3) Fill in the name and Slack App token, click "SAVE".
Slack API
(1) Switch to the second tab "APIS/ENDPOINT" on API Actions page;
(2) Click the button "+ API CONFIG" and choose "Slack-Message" from the pull-down menu;
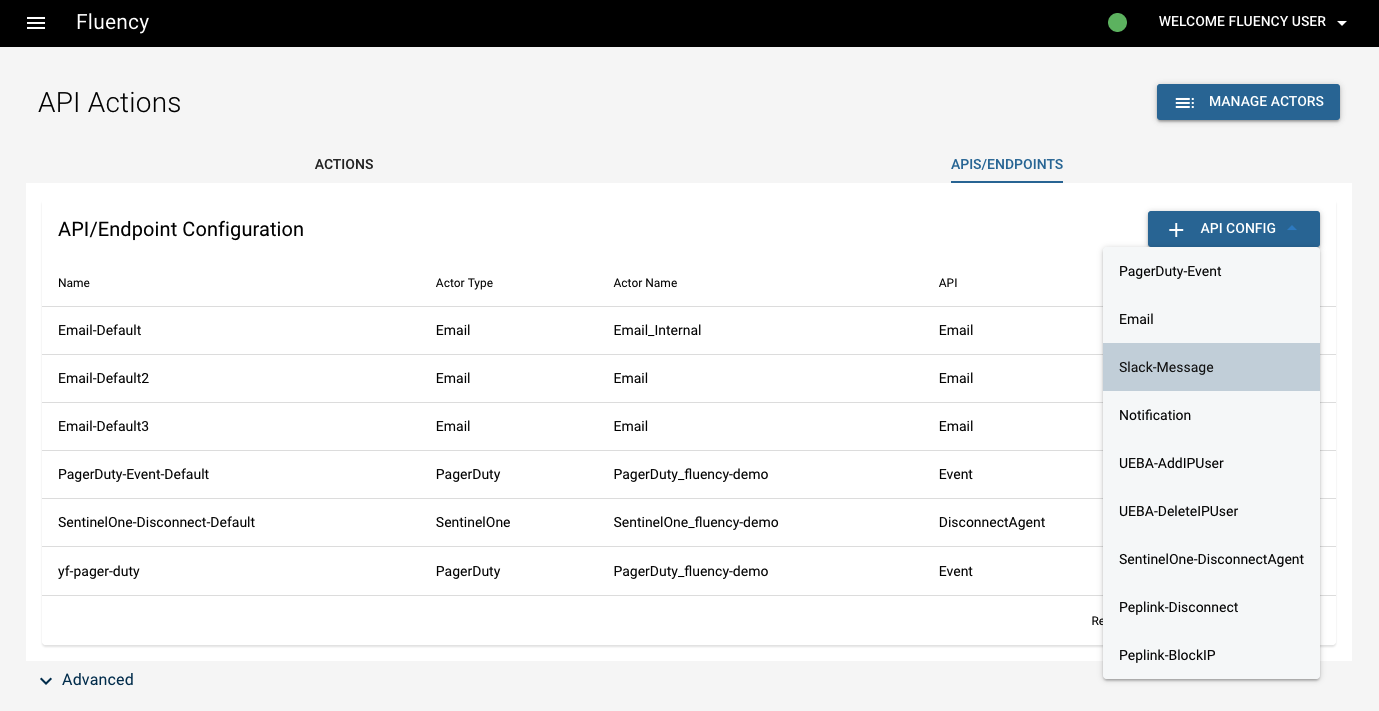
(3) Configure the "Actor Name" and choose the "Slack Actor" added above ("Slack_Fluency");
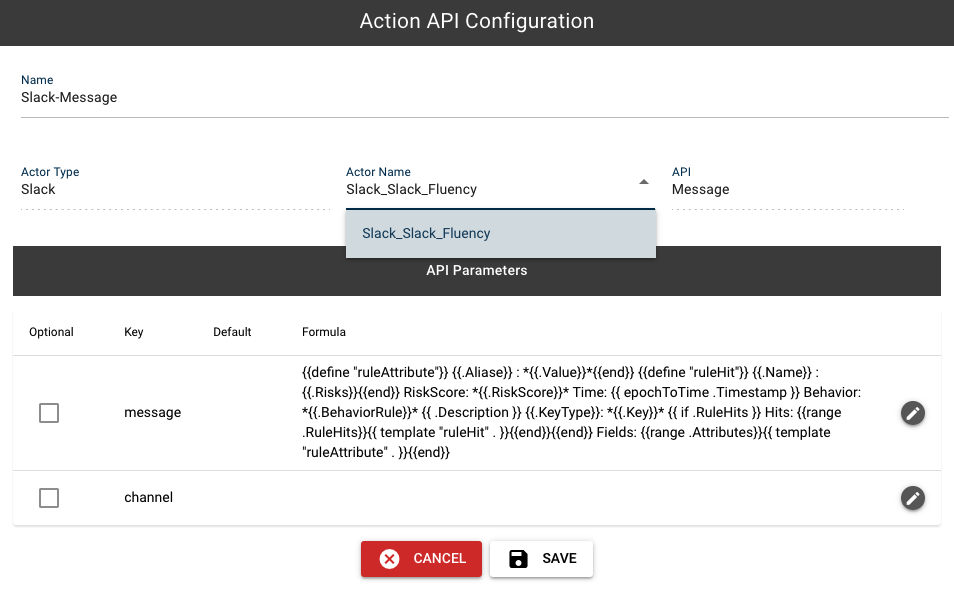
(4) Click Save to add the API configuration.
Behavior Action
(1) Switch to the first tab "ACTIONS" on API Actions page;
(2) Click the button "+ ACTION" to add a new action. Choose the Behavior(s) alerts to be exported, and select the "Slack API" added above in the Actions box:
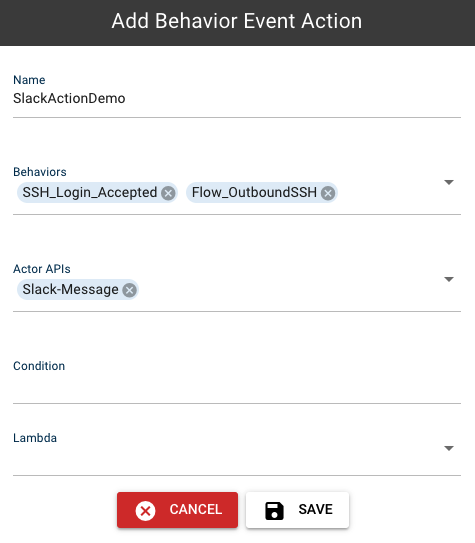
(3) Click "SAVE" to add the Behavior Action.
Platform Integration (System Notification Export)
Alternatively, Slack can be configured as a Platform integration.
Log into Fluency, and navigate to the Integrations page under the Platform menu in the navigation bar.
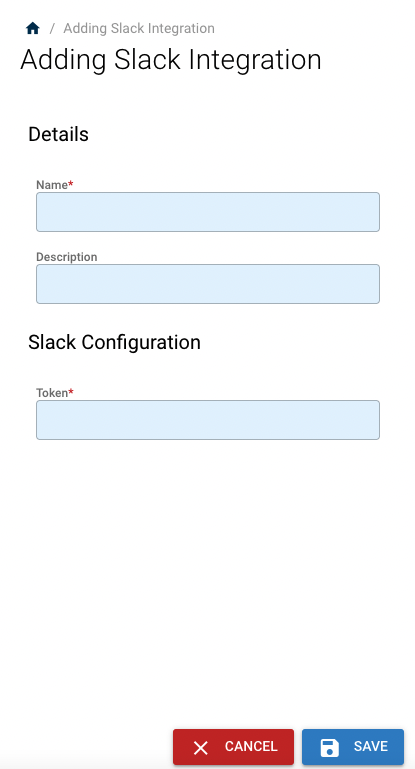
On the Integrations page, go to the New Integration view and choose the Slack integration, under System Notification Export.

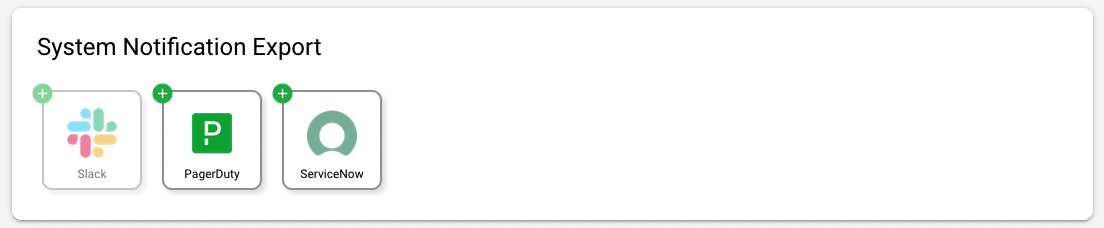
On the left-side panel, fill in the name and token, and click "SAVE".