Application Templates
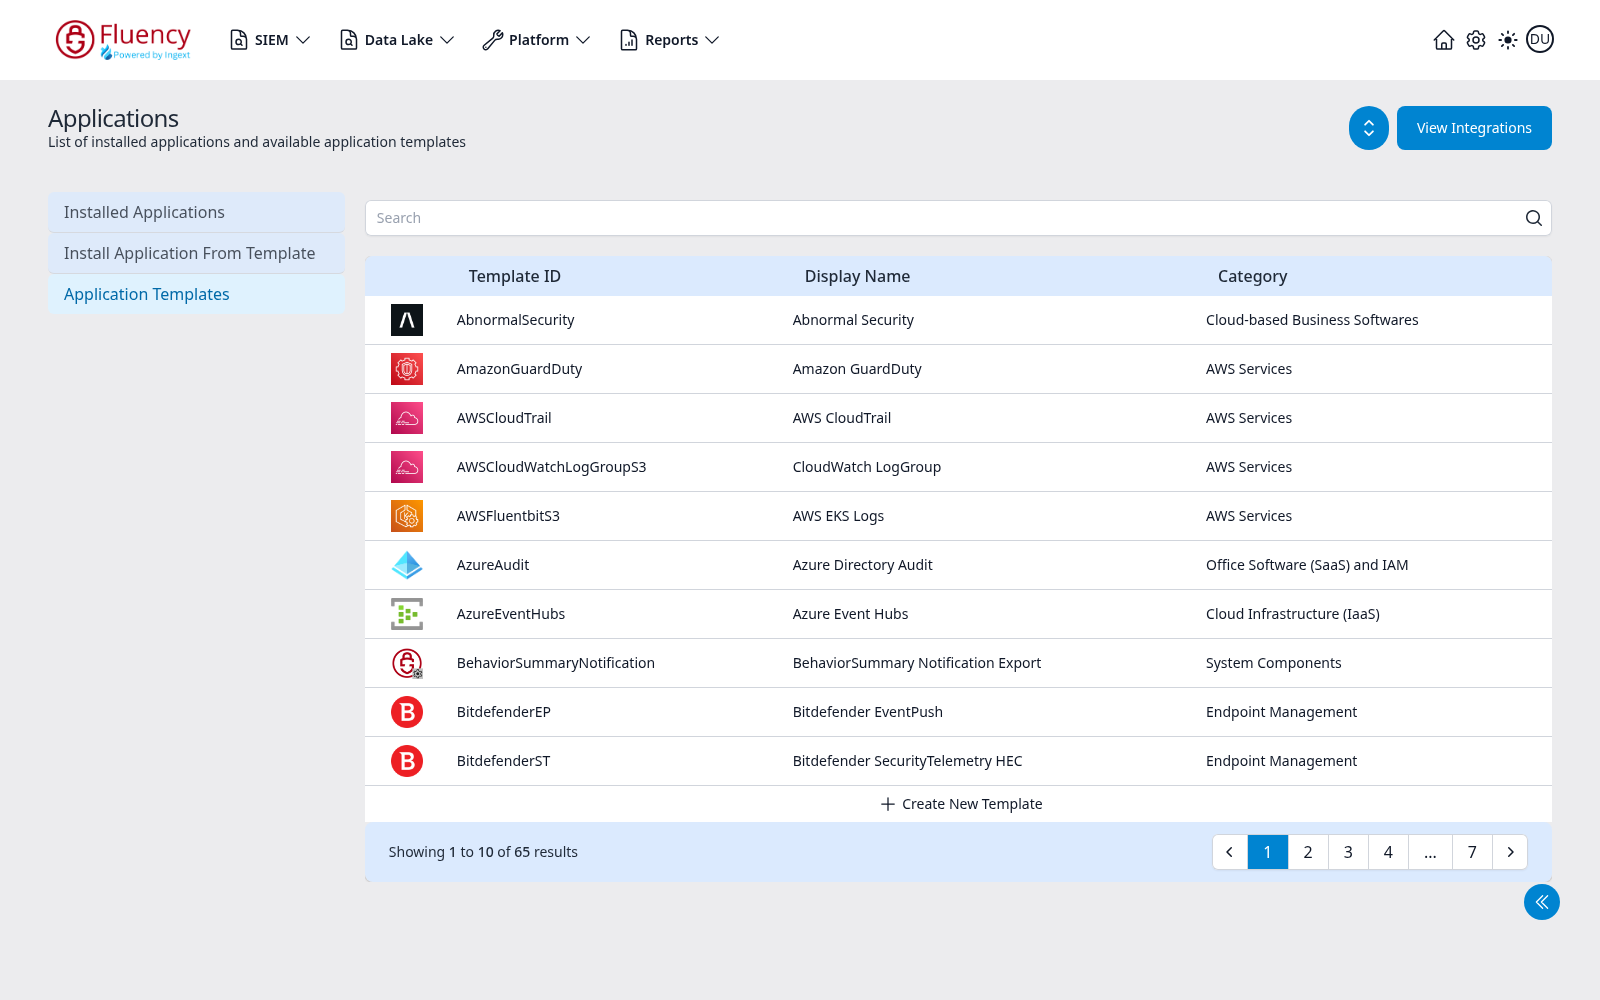
Application Templates is the third view of the Applications page. Where Install Application From Template presents the same templates as a catalog to install from, this view presents them as a library to look up and extend: a flat table of every template the platform knows about, and an editor for adding one of your own.
Template Table
A Search box sits above the table. Below it, each row is one template:
| Column | Contents |
|---|---|
| (unlabelled) | The template's icon — the same icon used on its tile in the catalog. |
| Template ID | The template's internal identifier, such as AWSCloudWatchLogGroupS3. |
| Display Name | The name shown everywhere in the interface, such as CloudWatch LogGroup. |
| Category | The catalog category the template is filed under, such as AWS Services. |
Rows are ordered by Template ID, ignoring case, so the table's sequence has nothing to do with the category grouping the catalog uses — AbnormalSecurity, AmazonGuardDuty and AWSCloudTrail open the first page in that order.
The Template ID and the Display Name are frequently different, and the ID is the one that appears in configuration and in API calls. AWSFluentbitS3 is displayed as AWS EKS Logs, AzureAudit as Azure Directory Audit, BehaviorSummaryNotification as BehaviorSummary Notification Export, CloudflareAPI as Cloudflare API, FluencyMetaflow as Normalized Metaflow, GitHubOrg as GitHub via Org Webhook, HecPassthrough as HEC Input Passthrough, and GSuite as Google Workspace (OAuth) — while the template actually called Google Workspace has the ID GoogleWorkspace.
Two pairs of IDs are worth knowing before you read a configuration file. Falcon is CrowdStrike Falcon while FalconResource is the roster add-on of the same name, and DefenderATPLegacy is Microsoft Defender Legacy while MSDefender is the current Microsoft Defender — the two Defender templates sort onto different pages of the table, so the library view is the quickest way to tell which one an application came from.
The table is also where a display name that has drifted from its ID is caught. FortiGateFWLogV2 is listed as FortiGate NGFW Syslog: the tile lost its V2 suffix, the identifier kept it, and this row is the only place the interface shows both at once.
The last row of the table is a + Create New Template action, described below. It is pinned to the bottom of every page, not just the last one.
A footer strip under the table reports the range in view — Showing 1 to 10 of 65 results — with page controls at the right: previous, numbered pages, and next. The table shows ten templates per page, so the 65 templates span seven pages, and the numbered controls run 1 2 3 4 … 7.
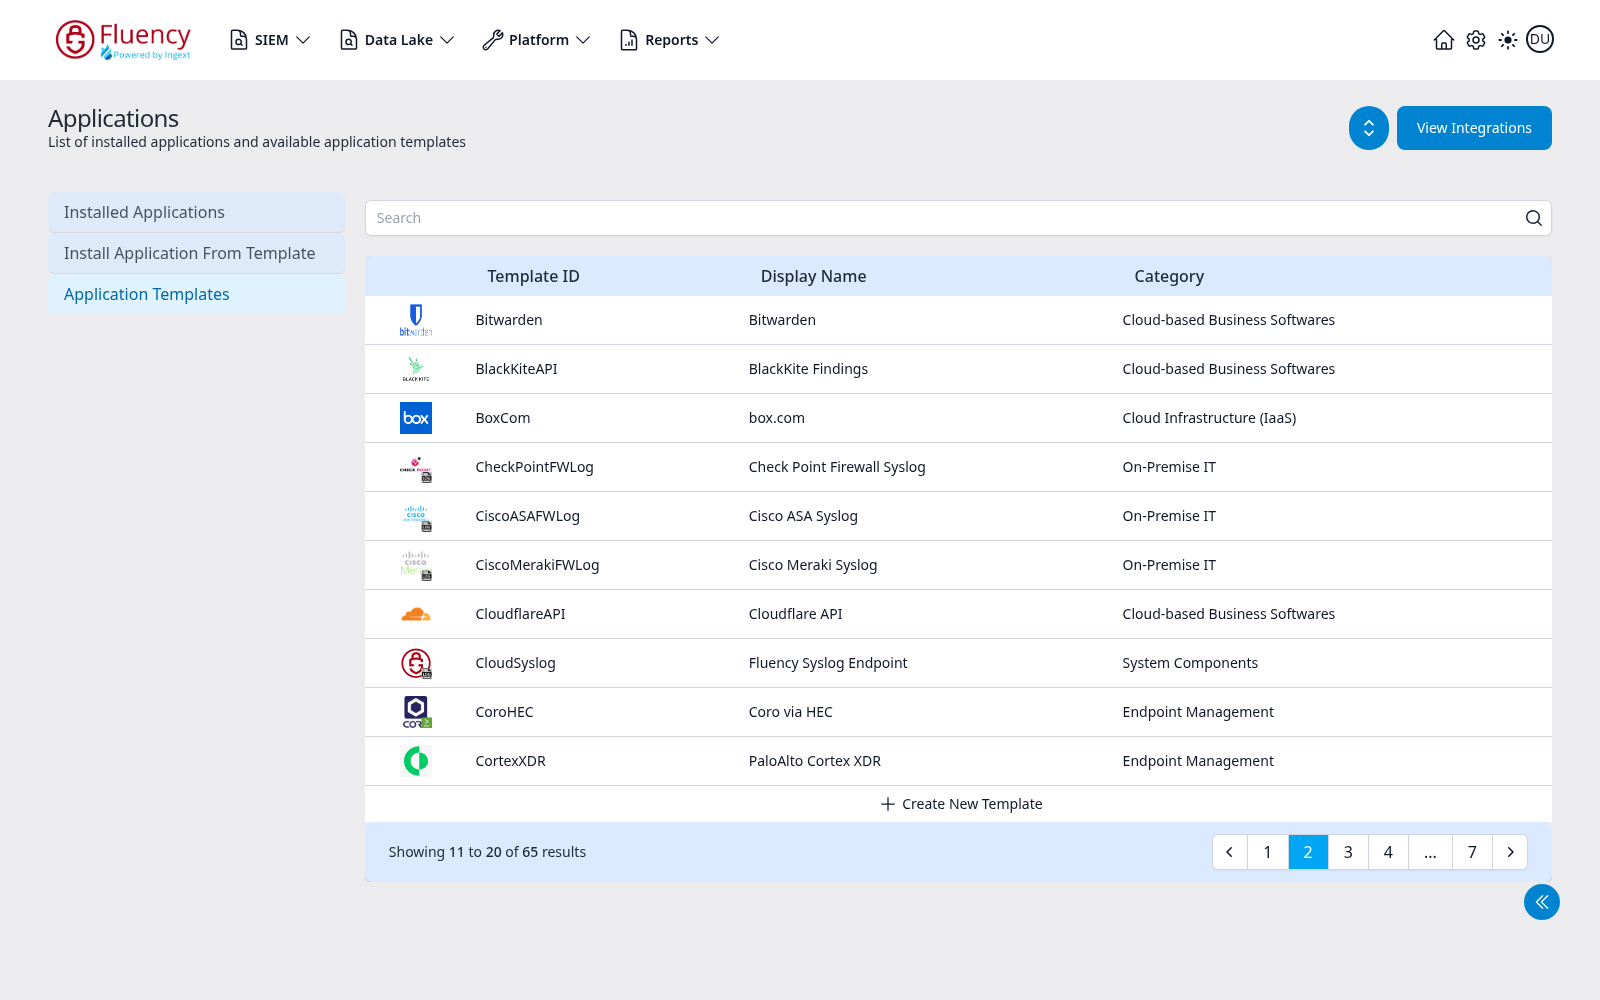
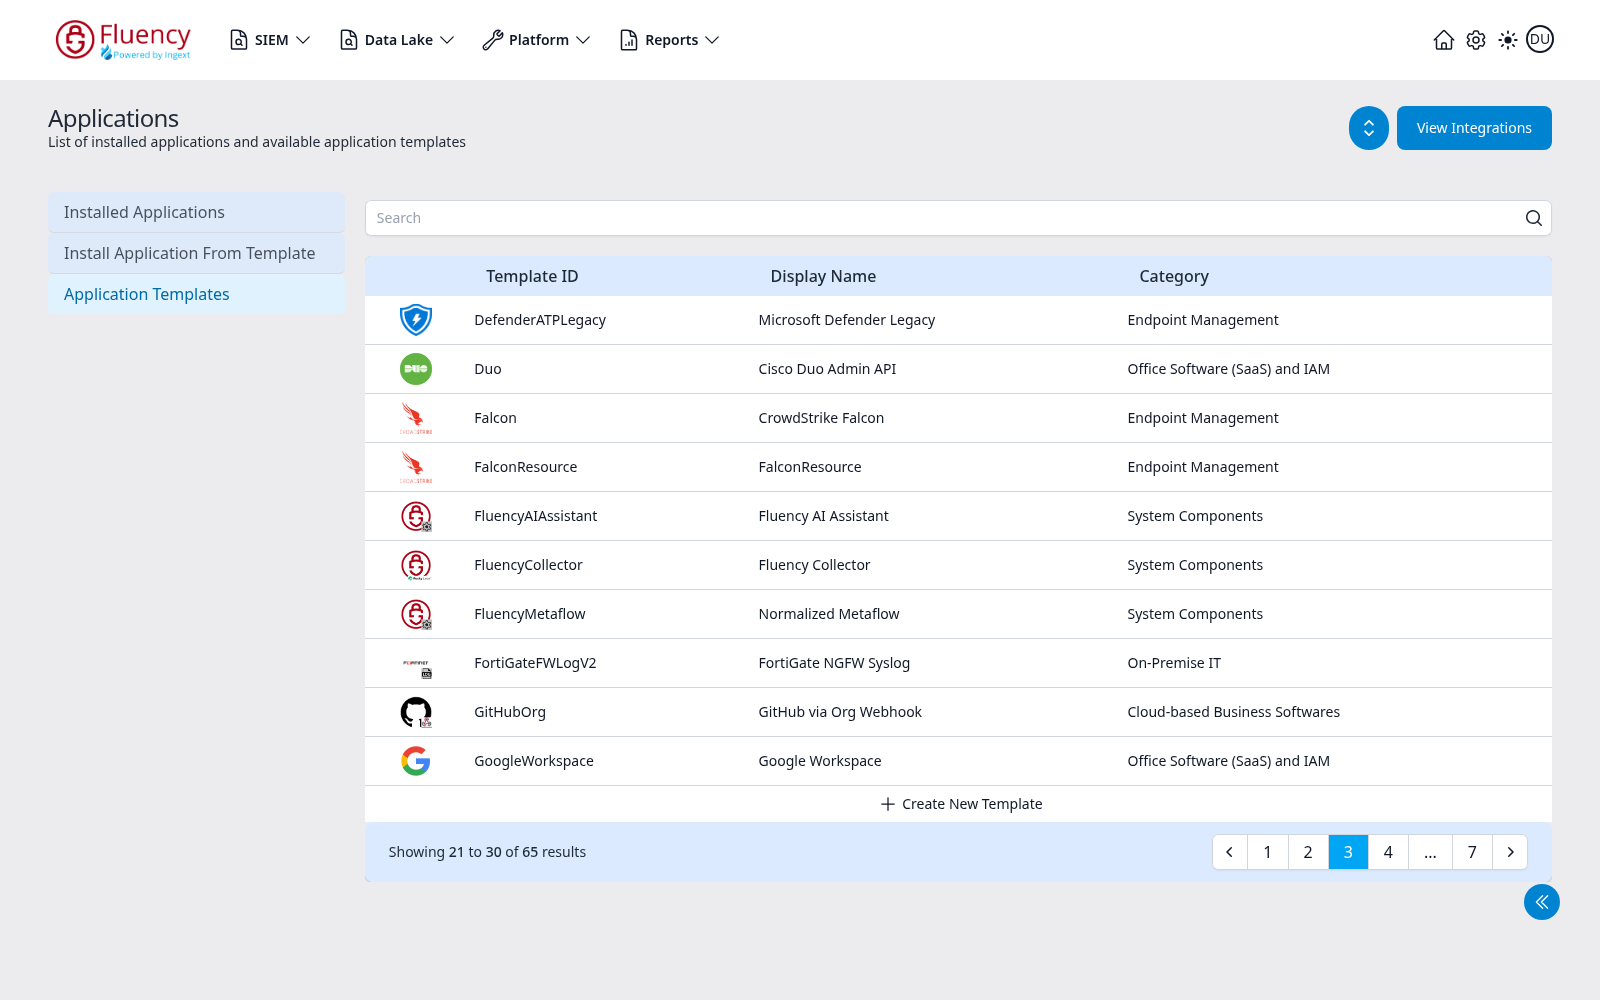
Pages 2 and 3, which cover Bitwarden through GoogleWorkspace:
Create New Template
+ Create New Template opens a Create New Application Template panel over the right of the page. The panel holds a single YAML Template field — a dark code editor pre-filled with a skeleton — and a Save button in the lower-right corner.
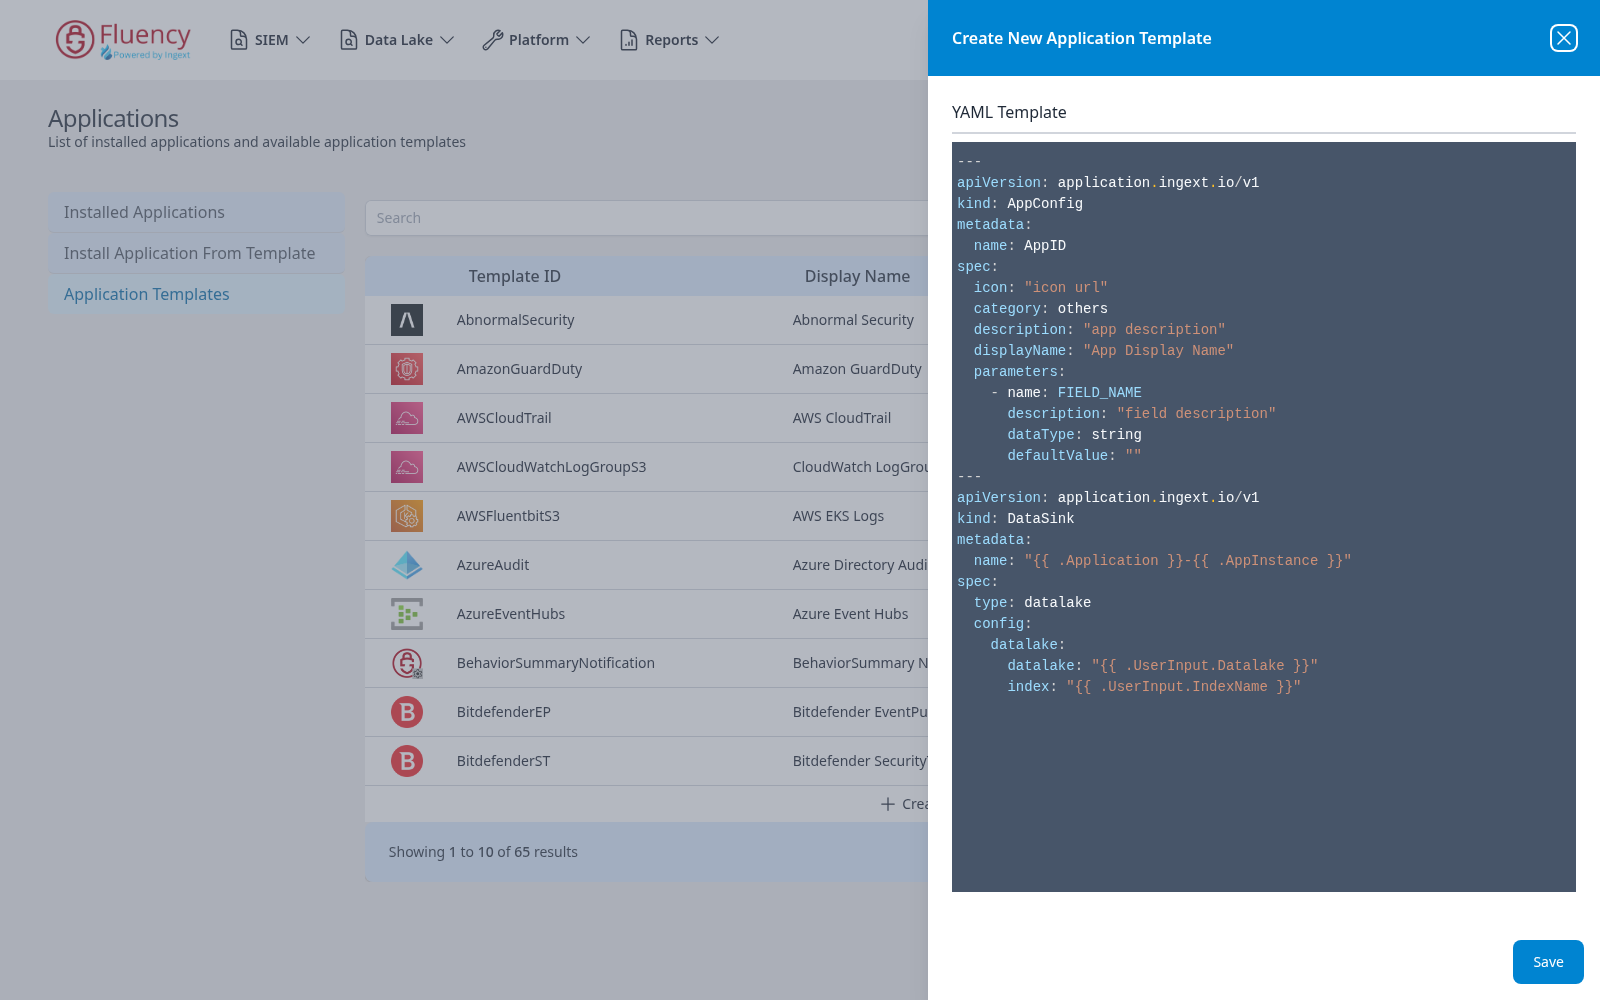
The skeleton is a multi-document YAML file. The first document declares the template itself; each further document declares one object the template installs.
---
apiVersion: application.ingext.io/v1
kind: AppConfig
metadata:
  name: AppID
spec:
  icon: "icon url"
  category: others
  description: "app description"
  displayName: "App Display Name"
  parameters:
    - name: FIELD_NAME
      description: "field description"
      dataType: string
      defaultValue: ""
---
apiVersion: application.ingext.io/v1
kind: DataSink
metadata:
  name: "{{ .Application }}-{{ .AppInstance }}"
spec:
  type: datalake
  config:
    datalake:
      datalake: "{{ .UserInput.Datalake }}"
      index: "{{ .UserInput.IndexName }}"
Reading the skeleton against the rest of this page:
- The
AppConfigdocument is what the library table and the catalog display.metadata.nameis the Template ID;spec.displayNameis the Display Name;spec.categoryis the Category, which decides the catalog section the tile appears in;spec.iconis the icon shown in both. - Each entry under
spec.parametersbecomes one field in the Parameters section of the template's setup form, withdescriptionas its label anddefaultValueas the value the field opens with. A parameter with nodescriptionfalls back to itsnameas the label, which is why the box.com template's fields read asClientIDrather than Client ID. - Declaring parameters named
datalakeandindexis what gives a template the collapsed Advanced Configurations section on its setup form; the skeleton'sDataSinkreads them back as.UserInput.Datalakeand.UserInput.IndexName. A template that declares neither has no such section, and its destination is whatever its own documents name. - The documents that follow are the objects the install creates — the ones the finished application later lists under Actions in its details panel. The example declares a
DataSinkof typedatalake. {{ … }}placeholders are filled in at install time..Applicationand.AppInstancecome from the Name field on the setup form, and.UserInput.<name>reads back a parameter the operator typed.
The category value in the skeleton is a short internal key, not the heading the catalog shows. The eight keys behind the catalog's eight cards are aws, business, cloud, email, endpoint, office, onpremise and system; the skeleton's own others is not one of them, so set it to the key for the card you want the tile to appear in.