LDAP (Requires collector)
The pages used in these steps — System Settings (under the old "Configuration" menu) and Cloud Integrations (under the old "Data Ingress" menu) — do not exist in the current interface (see Page Functionality). In the current interface, resource data is viewed on SIEM → Resources. The Install the Application section below is verified against the 2026-07 interface capture and answers where the LDAP credentials now go; the two-part walkthrough that follows it has not been updated.
Install the Application
The LDAP connection is now one form rather than two pages. Everything the old walkthrough split between a System Settings connection and an Integrations plugin — the directory server, the bind account, and which collector reaches it — is entered once when installing the template.
Go to Platform → Applications → Install Application From Template and choose LDAP Connector from the Endpoint Management category. Every parameter is required:
| Parameter | Notes |
|---|---|
| Local Fluency Collector Name | The collector that will reach the directory server. LDAP is queried from inside the network, so a collector is a prerequisite. |
| AD/LDAP Server IP | |
| AD/LDAP Server Port | Pre-filled 389. |
| BaseDN String | The search base for the directory queries. |
| Username | The bind account. |
| Password | The interface renders this as an ordinary text field rather than a masked one, so take the usual care about who is looking at the screen. |
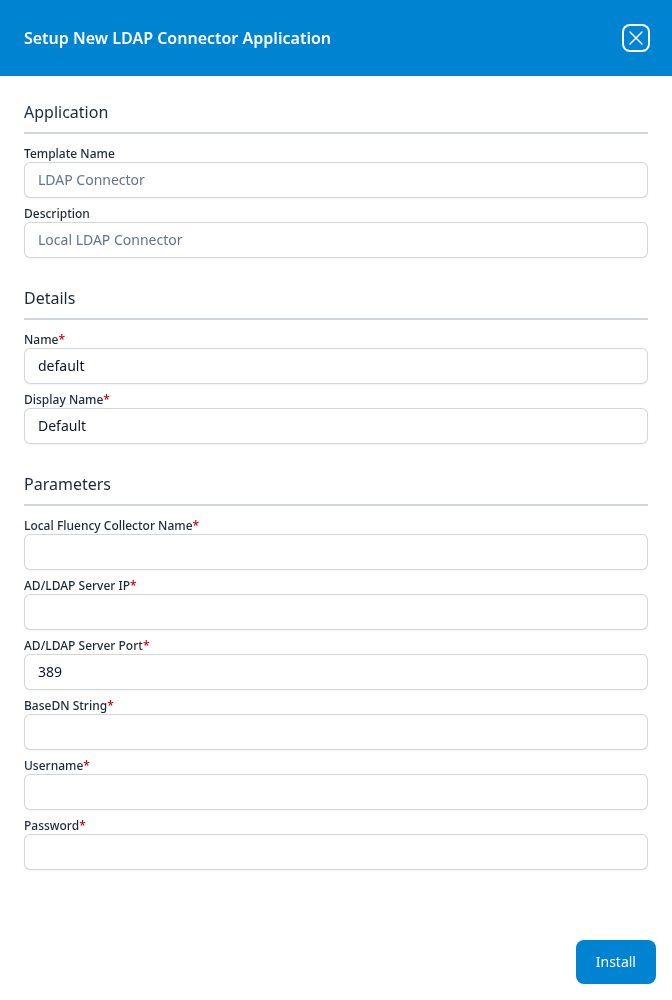
Press Install. The application then appears in the Installed Applications view, where its badge reads Running once the pipeline is up.
Configuring an LDAP integration via a Local collector
This integration is configured in two portions.
LDAP Connection
The first part will require your LDAP service account(s) credentials.
Sign in to your Fluency portal at https://<companyname>.app.ingext.io — see Fluency Web Interface for the URL formats.
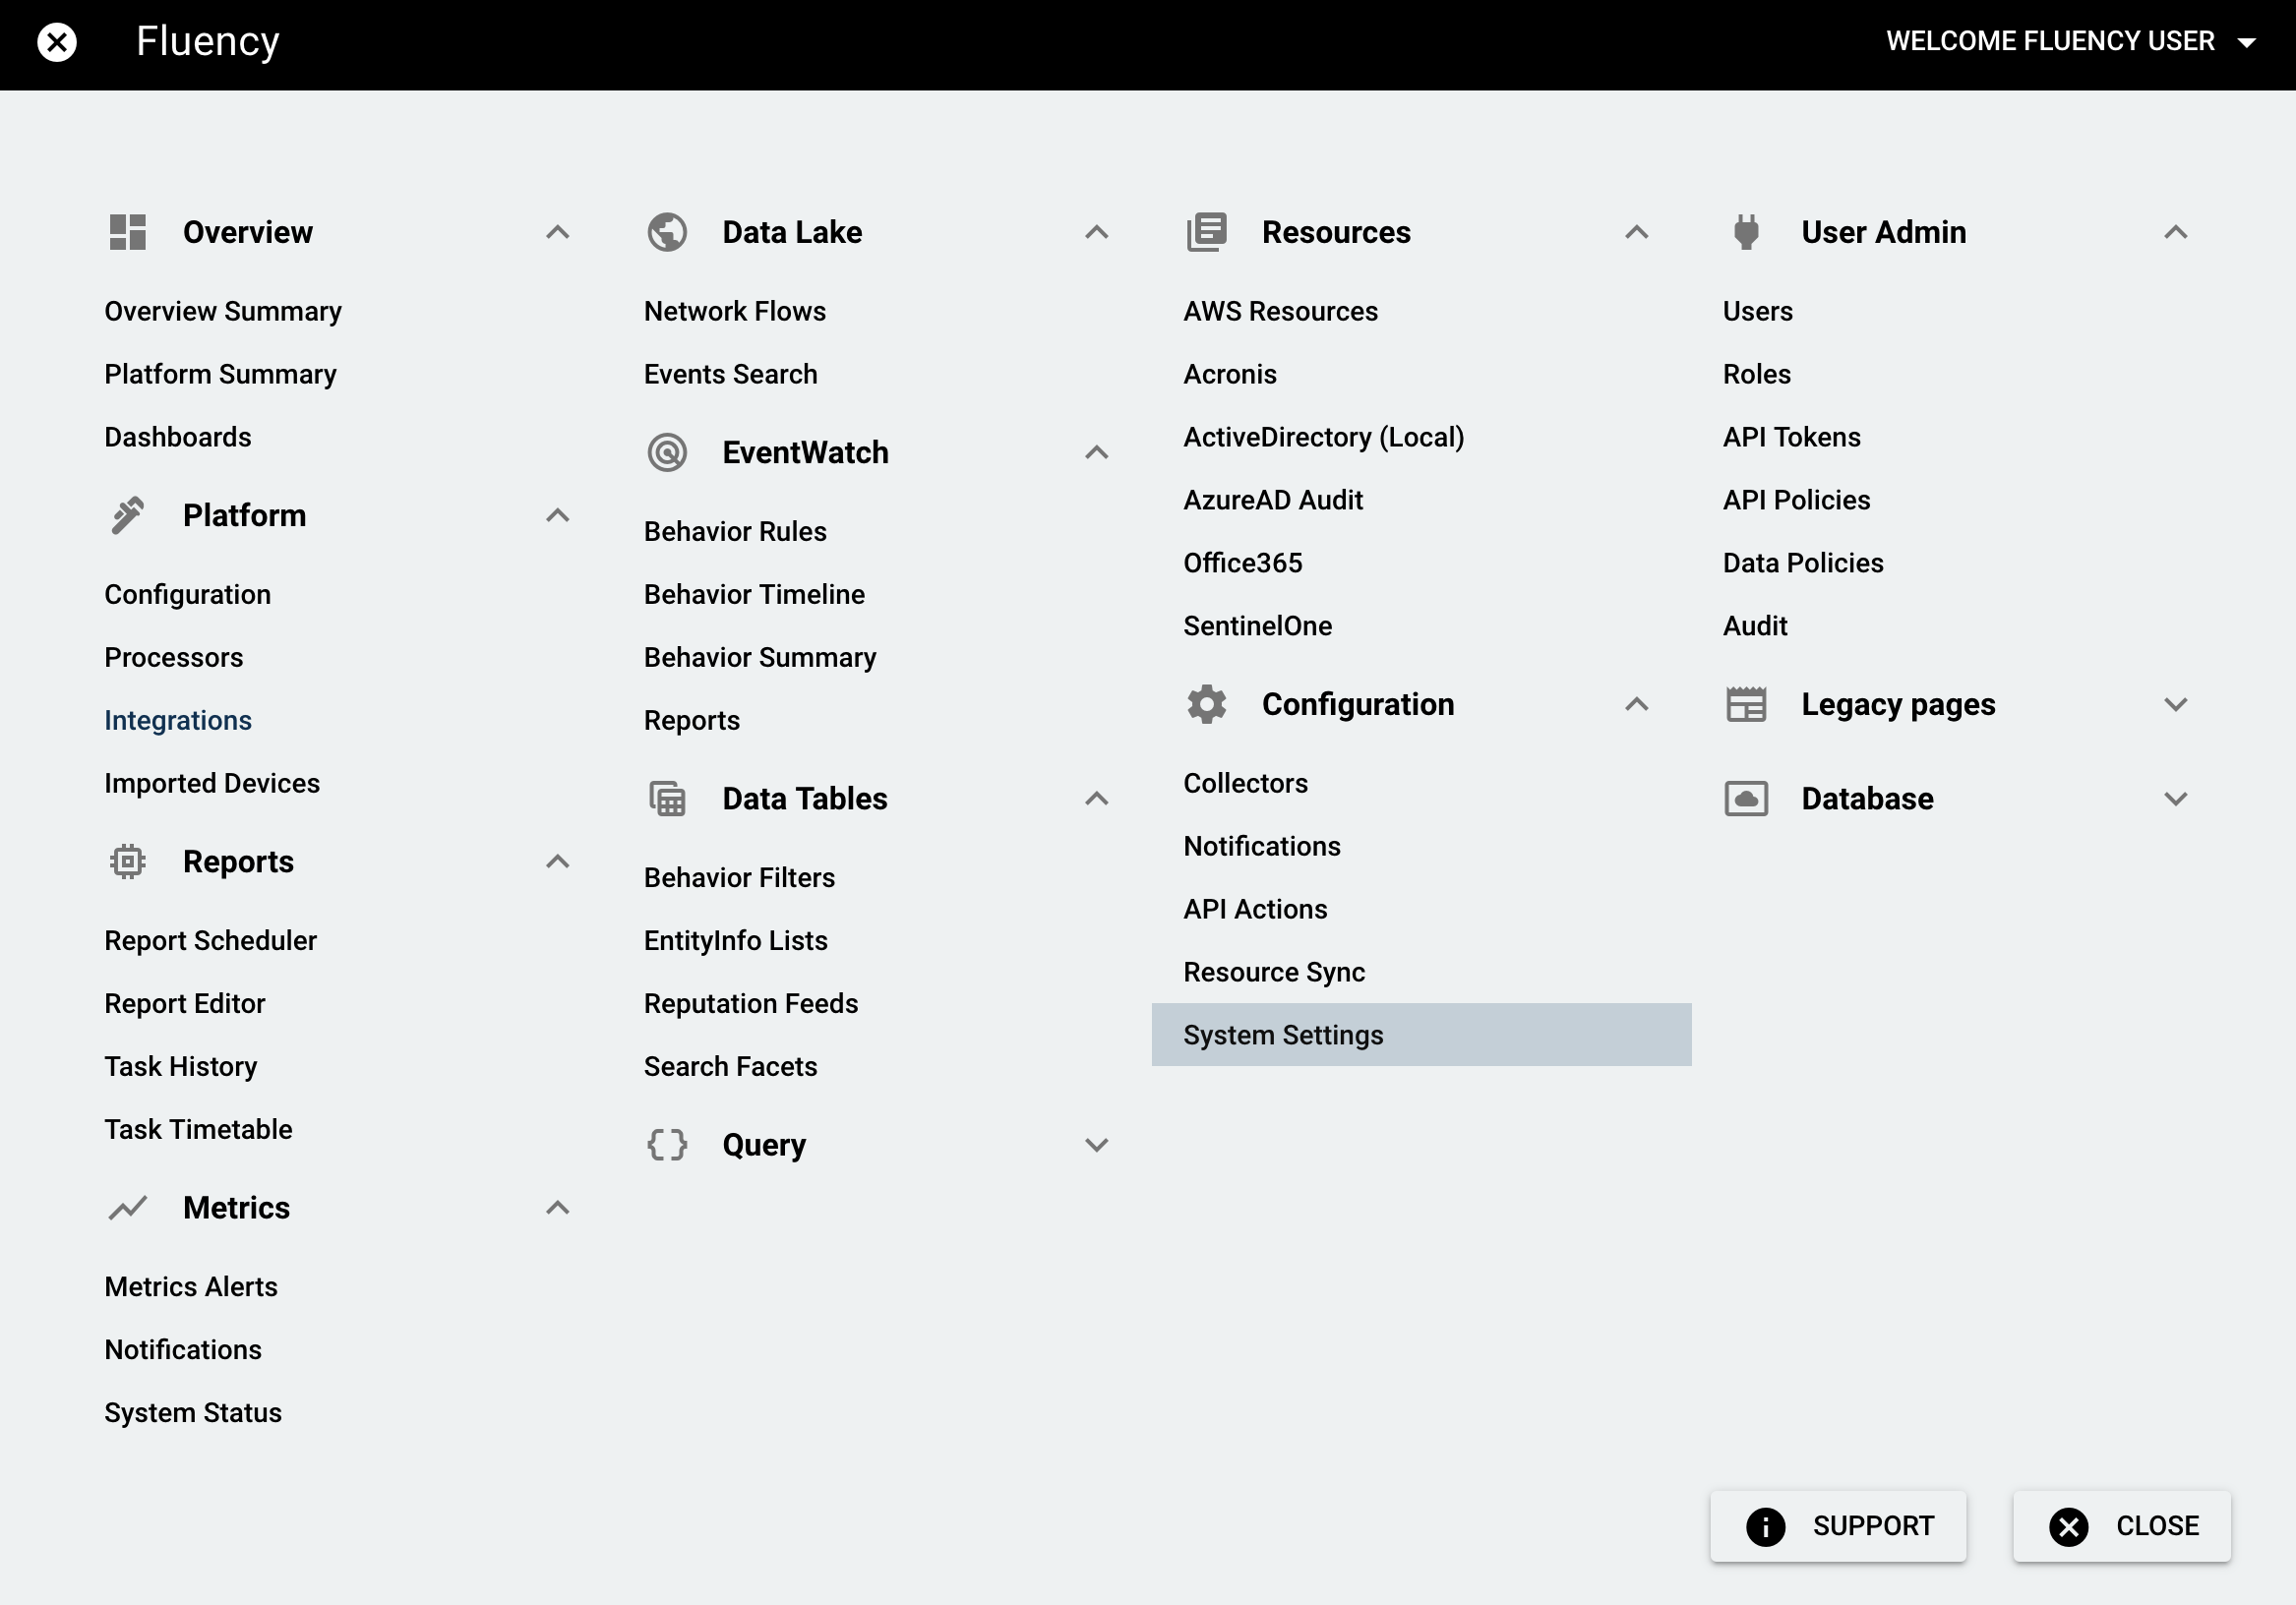
Open the dropdown menu and choose the System Settings option under the Configuration section.
Choose the "LDAP Connections" tab.

Click the "+" icon to add a LDAP connection.
For each LDAP account, the following information should be provided:
- Description
- LDAP server address and port
- LDAP username and password
- BaseDN, for the LDAP query
- typically, this may be something like
DC=com,DC=company,DC=department, or similar
- typically, this may be something like
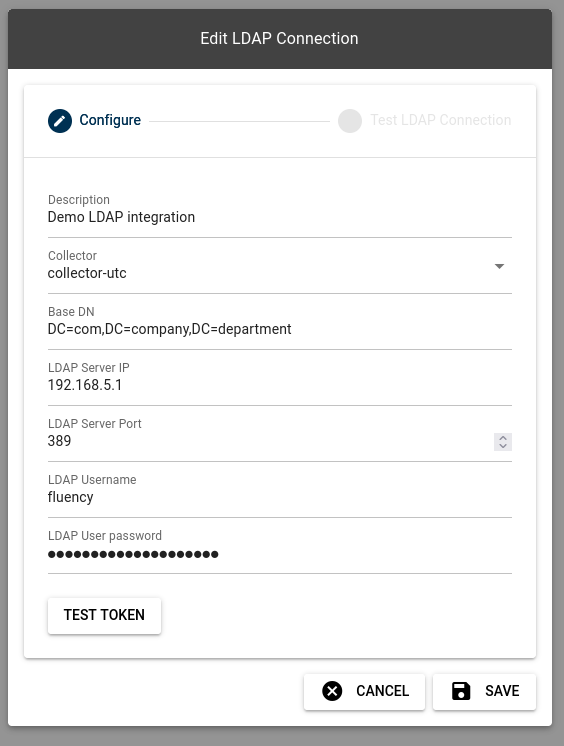
Note: One of the on-site collectors should be chosen (from the dropdown) to be used to launch the LDAP query.
The page also provides a "TEST TOKEN" function to verify the supplied credentials prior to saving.
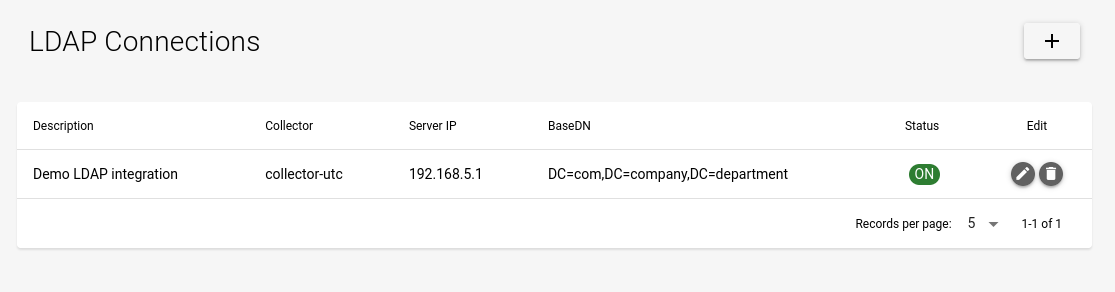
A new LDAP connection is created as below:
LDAP Plugin
This second part no longer exists as a separate step. The LDAP Connector template covers it — see Install the Application above. The steps below are kept only for what they show about the fields involved.
Once the LDAP credentials are configured, the second part requires you to add a Windows DC (LDAP) plugin connection in the Integrations page.
Open the dropdown menu and choose the Cloud Integrations option under the Data Ingress section.
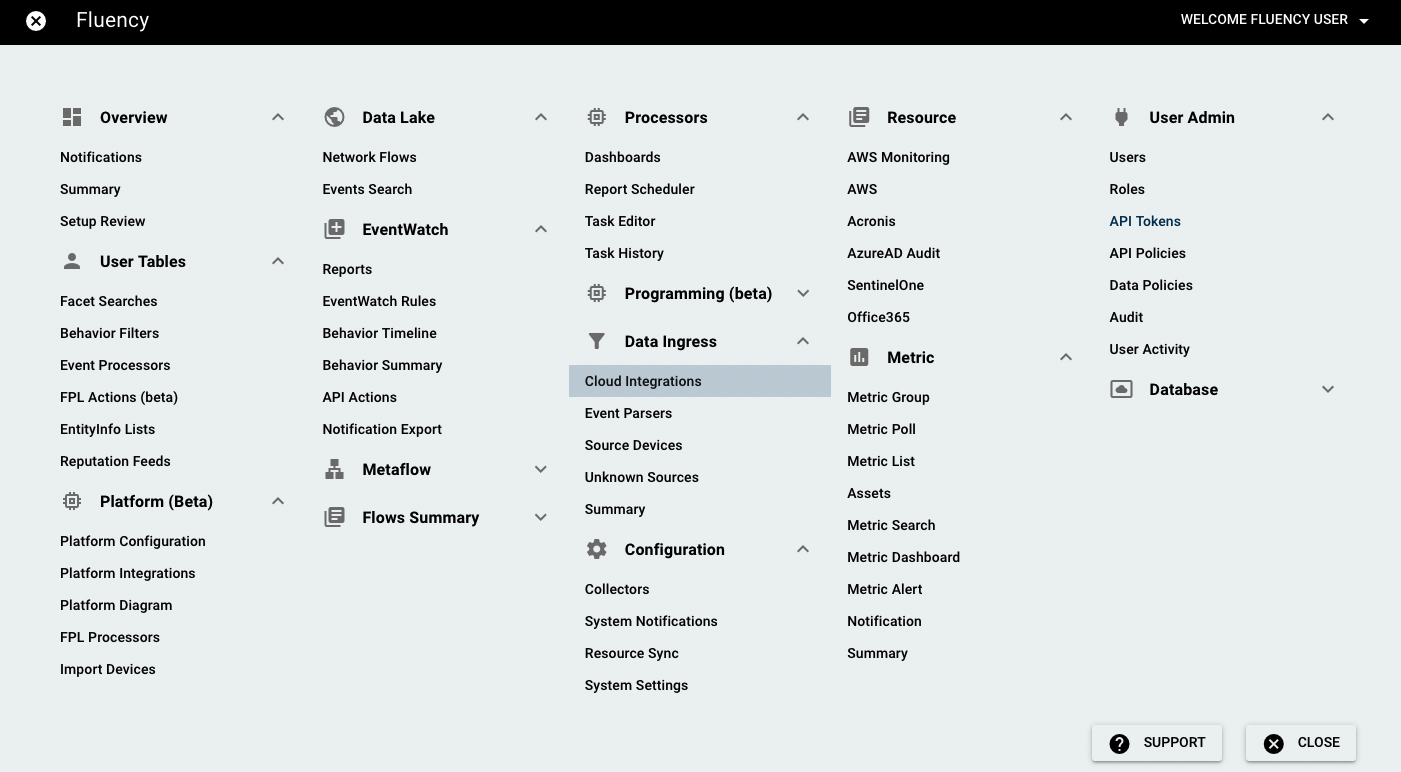
On the following page, navigate to the On-Premise IT section.
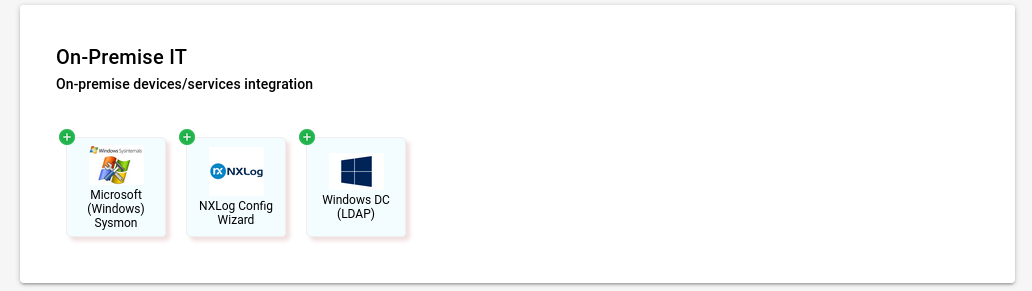
To add a new integration, click the "Windows DC (LDAP)" icon from the list on the left side of the page.
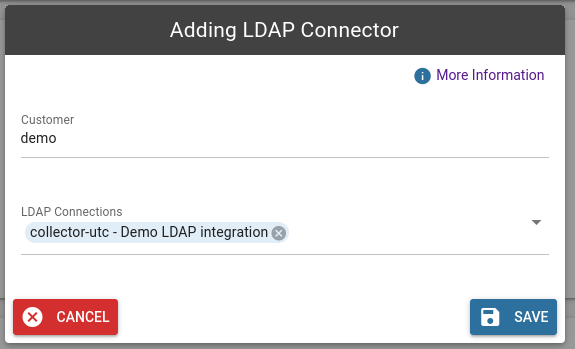
Simply select one of the LDAP connections you've previously configured, and select "Save". The plugin will perform queries on a regular basis.
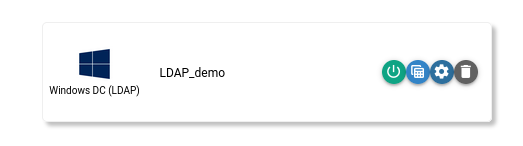
The data can then be viewed on the Resources page (SIEM → Resources, URL path /SIEM/resources).
That page shows one card per integration that has contributed resources, with a button inside the card for each resource type it provides. Clicking a resource type opens its record browser at /SIEM/resources/<Integration>/<ResourceType> — a Search bar, a faceted filter panel reporting Total Records with per-value counts, one card per record, a Download Resource export, and a red Back to Resources button. If the resource type button returns Resource Load Failed, nothing has been collected for it yet. See SIEM → Resources for the full page reference.